Red Velvet Cheesecake
September 26, 2010 at 7:33 pm | Posted in Uncategorized | 1 Comment
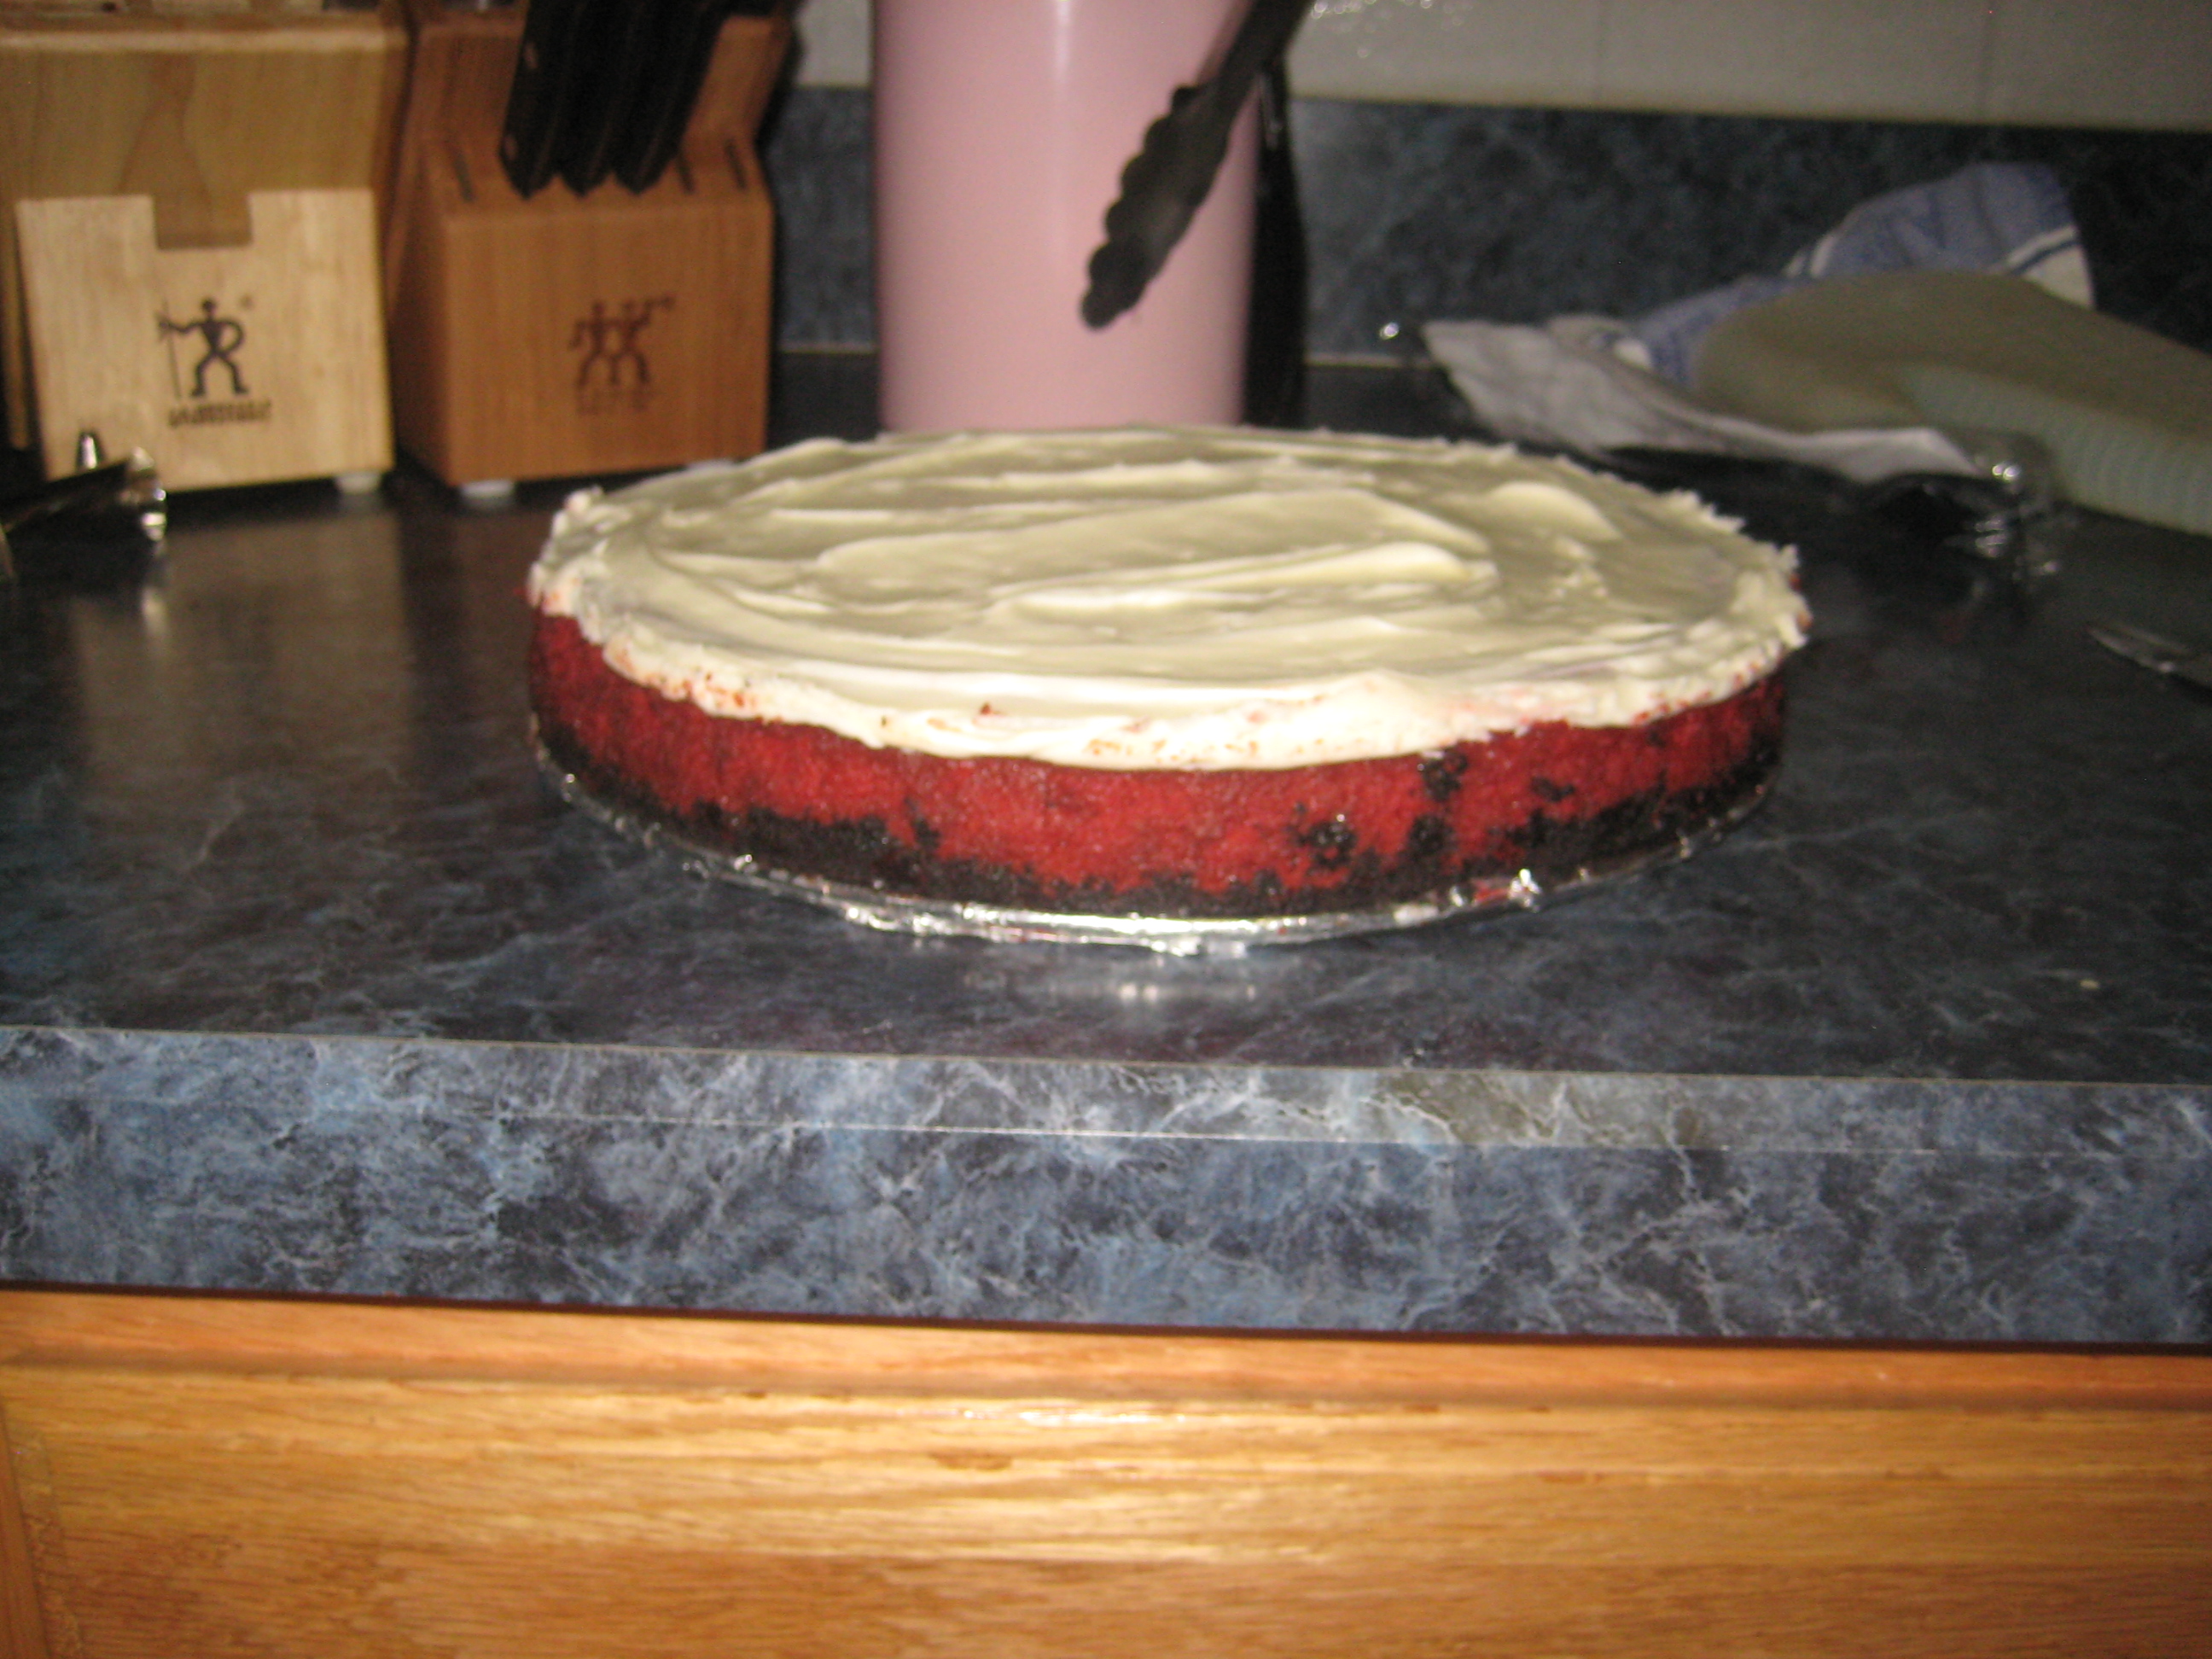
If I end up making a recipe twice within a month, it must be pretty good. (If it gets made a few times in two weeks, it must be awesome, for the record.) This red velvet cheesecake is definitely pretty good, since I’ve made it twice in September! This is adapted from a Southern Living recipe, and it’s attractive and unusual and would be lovely to serve to company.
When made in a 9 inch springform pan, each slice turns out quite pretty.
 When made in a mini cheesecake pan, they make a great “finger food” dessert.

If you’re looking for a good mini cheesecake pan, I have the Norpro one, and I like it pretty well.

Crust:
1 package of oreos, ground fine in the food processor
1/4 cup butter, melted
Cheesecake:
3 8 oz. packages cream cheese, softened
1 1/2 cups granulated sugar
4 large eggs, lightly beaten
3 tablespoons unsweetened cocoa
1 cup sour cream
1/2 cup whole buttermilk
2 teaspoons vanilla extract
1 oz. bottle of red food coloring
For the topping:
1 (3-ounce) package cream cheese, softened
1/4 cup butter, softened
2 cups powdered sugar
1 teaspoon vanilla extract
Garnish: fresh mint sprigs
Stir together oreo crumbs and melted butter; press mixture into bottom of a 9-inch springform pan OR press about 1 tablespoon of mixture into bottom of each mini cheesecake hole
Beat the 3 packages of cream cheese and 1 1/2 cups granulated sugar at medium-low speed with an electric mixer 1 minute. Add eggs and next 6 ingredients, mixing on low speed just until fully combined. Pour batter into the crust (or mini crusts).
Bake at 325° for for 1 hour and 25 minutes or until center is firm. Run knife along outer edge of cheesecake. Cover and chill.

Beat 1 package cream cheese and 1/4 cup butter at medium speed with an electric mixer until smooth; gradually add powdered sugar and vanilla, beating until smooth. Spread evenly over top of cheesecake (or pipe a dollop onto each mini cheesecake). Store covered in the fridge!!

Mint Chocolate Chip Ice Cream Lasagna
September 12, 2010 at 7:20 pm | Posted in Uncategorized | 1 Comment
I really wish I could remember where I first heard about this recipe. I owe a debt of gratitude to the forgotten person who shared it with me!
It was described to me as an “ice cream sandwich cake,” but the first time Matt had it, he dubbed it “Ice Cream Lasagna.”
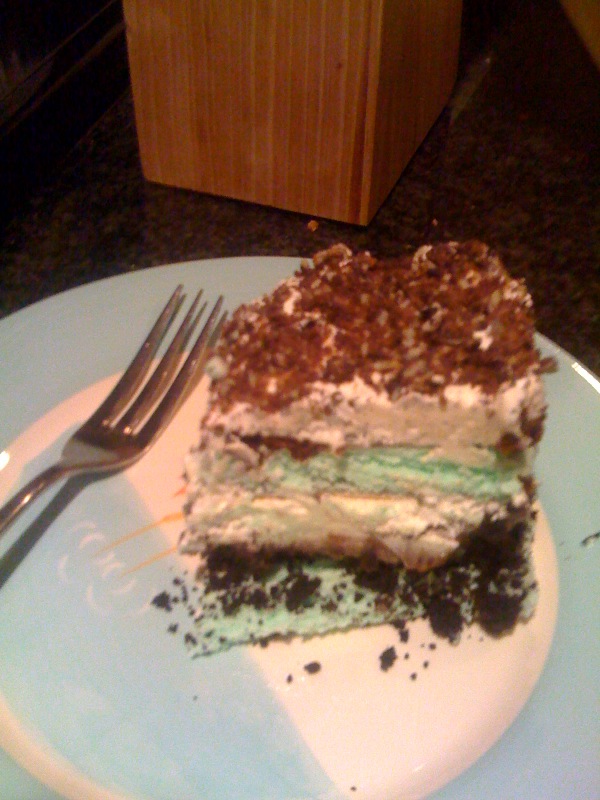
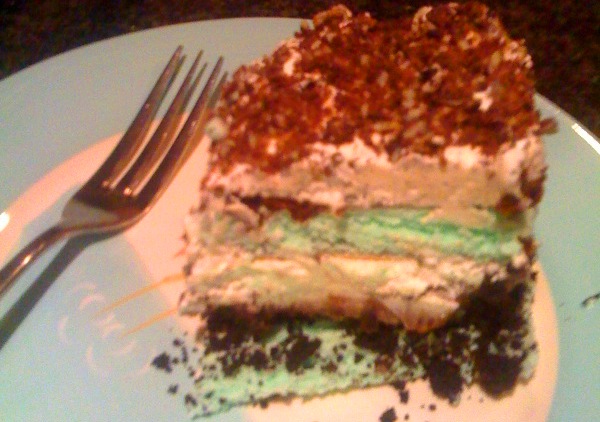
It is truly the world’s easiest way to make an ice cream cake, and the layers are so pretty when it is cut. This particular version was for the birthday of a friend who likes mint chocolate – so it is modified slightly from the original. Basically, whatever flavors and toppings you like will work, so be creative and enjoy!
25 ice cream sandwiches (these were mint chocolate chip ice cream sandwiches)
1 jar of hot fudge
1 large tub of cool whip, softened
chopped candy for the topping (I used Andes mints)
1 package of Oreos, crushed in food processor to powdery consistency
Line the bottom of a 9×13 pan with aluminum foil. Unwrap the ice cream sandwiches and arrange them tightly in the bottom of the pan – cutting them if necessary to fit.

Next, top the layer of ice cream sandwiches with about half of the cool whip.


Then top the layer of cool whip with the slightly warmed hot fudge.

And gently spread the hot fudge all over the layer.

Cover this layer with the chopped up Oreos. I mixed a little chocolate sauce in with the Oreos because I was afraid it might be too crumbly out of the freezer, but it probably wasn’t necessary. And now you’re ready for the next layer of ice cream sandwiches!

Cover the Oreo layer tightly with ice cream sandwiches, cutting them to fit as before.
(At this point, you could frost the top with cool whip, top with candies, and put it back into the freezer to freeze before serving, but since this was for a special occasion, I proceeded a little differently.)
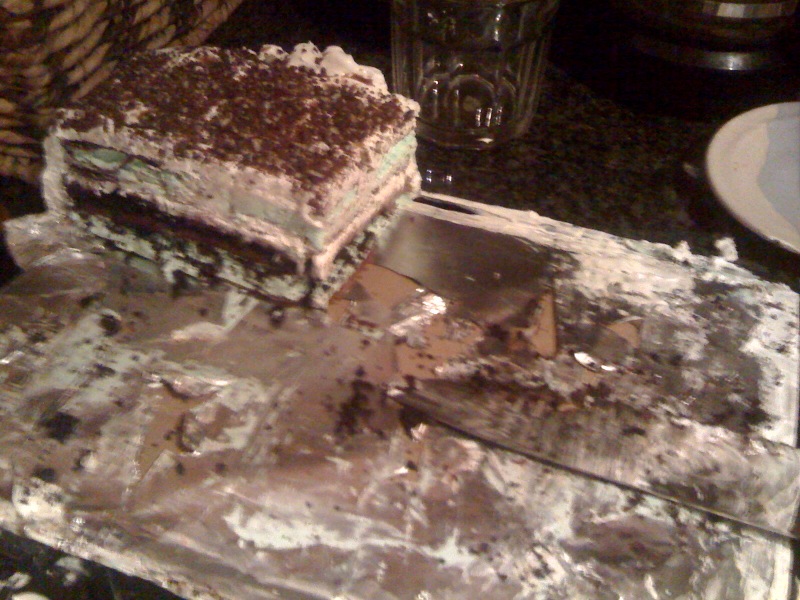
Now, I played a foil covered piece of cardboard on top of the pan and flipped the cake upside down.

Now I covered the whole cake in a layer of cool whip.

And topped it with the chopped Andes mints and a drizzle of chocolate.

Now back into the freezer to harden up before serving! And cut to serve.

Look at the pretty layers!!
")
The end.

Blog at WordPress.com.
Entries and comments feeds.
