Cranberry Daiquiri Cocktail
November 28, 2010 at 5:01 pm | Posted in Uncategorized | 2 Comments
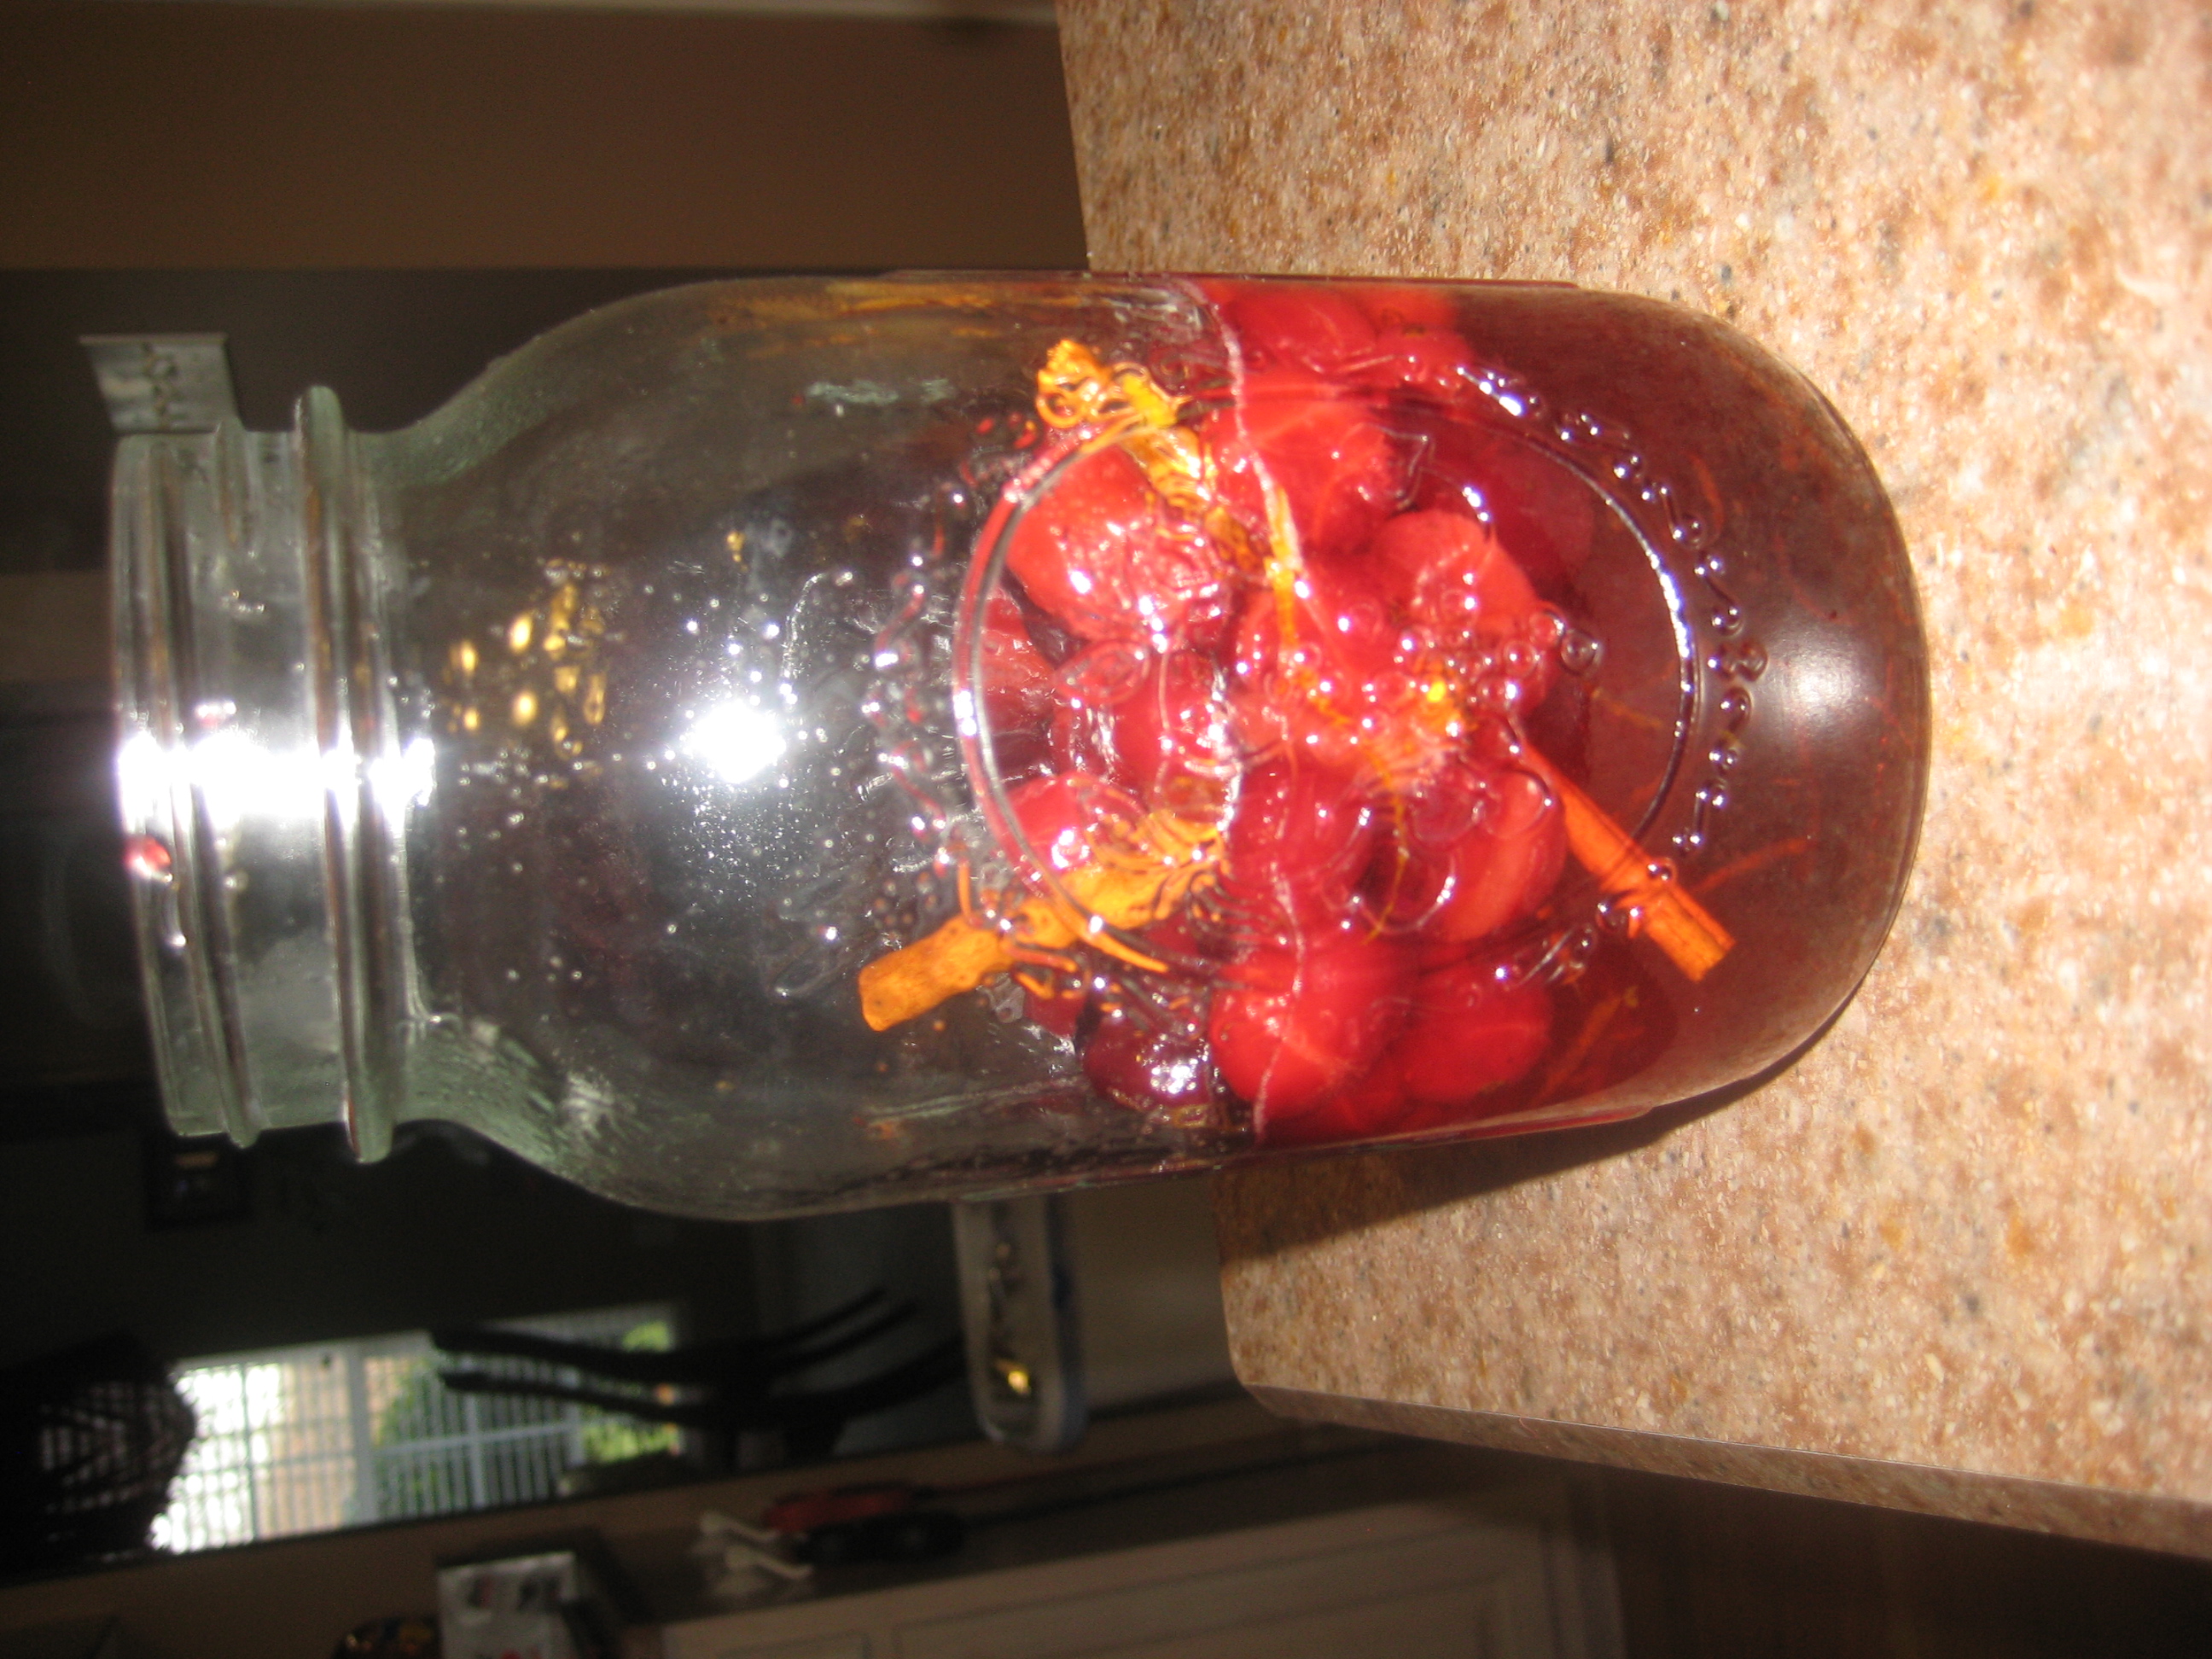
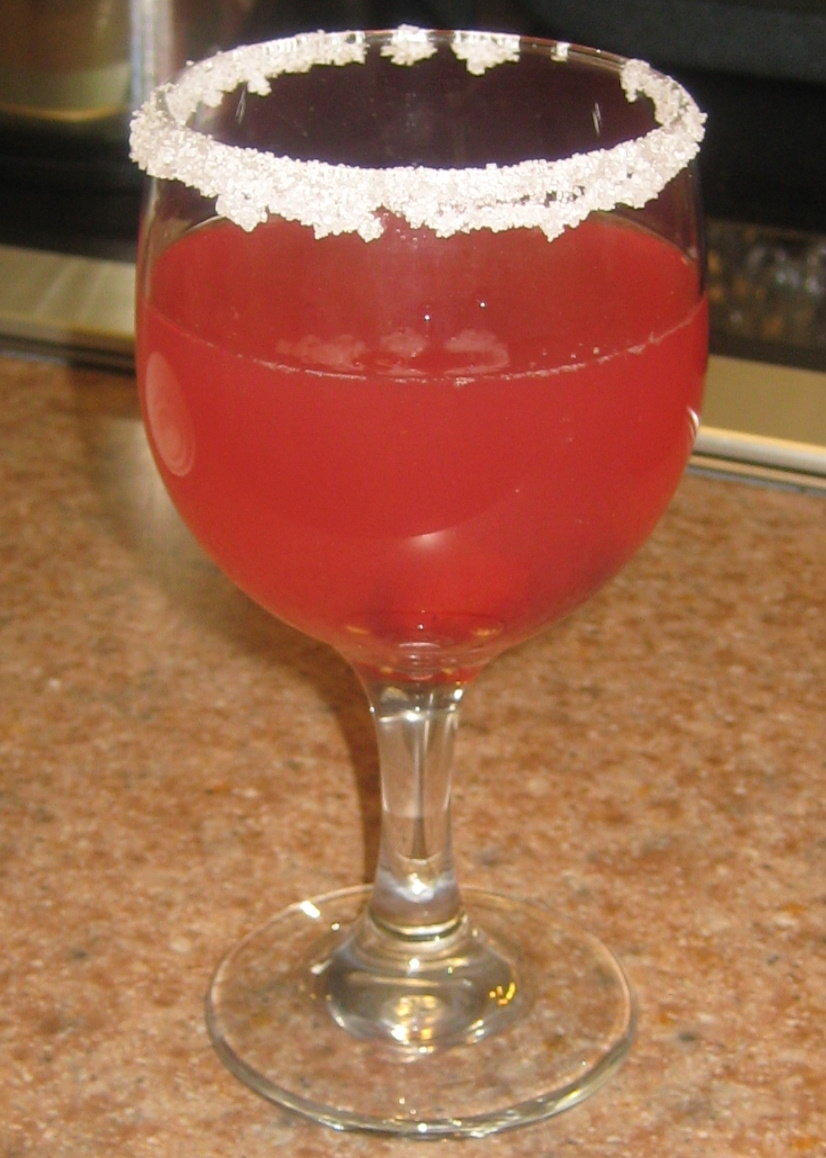
Lauren gave me this recipe, and it is a really nice holiday drink (thanks Lauren!). It’s a unique change from the standard holiday drink fare. I made a double batch in the pictures below. They were really yummy, and the house smelled delicious from the boiling cinnamon sticks! These would have more of a daiquiri feel if served over crushed ice – and obviously, the glass at the bottom is probably a double serving!! I also think adding ice would help the cranberries float on top, rather than sinking to the bottom as they did in my version.
Cranberry Daiquiri (as served at the Gramercy Tavern in New York)
Starting Ingredients:
1/2 cup sugar
1/2 cup water
1 stick cinnamon
1/2 teaspoon grated orange peel
½ cup cranberries
½ cup light rum PLUS 1/3 cup light rum (1/2 cup to spike the berries, and 1/3 cup for the drink)
1/3 cup dark rum
1/3 cup cranberry juice
1/3 cup lemon juice
Preparation:
Combine first 4 ingredients in a medium saucepan and bring to a boil over medium heat (sugar, water, cinnamon, orange peel).

Mix in 1/2 cup cranberries. Cook till cranberries begin to pop.

Cool; discard cinnamon. Pour mixture into a jar and add 1/2 cup light rum. Chill.

Strain syrup into a pitcher (reserve cranberries). Add 1/3 cup dark rum, 1/3 cup light rum, 1/3 cup cranberry juice, and 1/3 cup lemon juice.

Refrigerate pitcher. Serve topped with reserved cranberries (would be good over crushed ice – but we didn’t want to water down the punch!)

Pumpkin Ice Cream
November 23, 2010 at 10:51 pm | Posted in Uncategorized | Leave a comment
I figure after Thanksgiving, I won’t have many more chances to make pumpkin focused recipes, so I wanted to make pumpkin ice cream before it was too late.
I probably should have strained the custard mixture, so if you make this, I’d pour the custard through a sieve.
Overall, I liked this recipe. It tasted like frozen pumpkin pie!
Ingredients:
* 1 cup canned pumpkin
* 1 tablespoon vanilla bean paste
* 2 cups heavy cream
* 3/4 cup firmly packed dark brown sugar
* 5 egg yolks
* 1/2 tsp. ground cinnamon
* 1/2 tsp. ground ginger
* Pinch of freshly grated nutmeg
Directions:
In a bowl, whisk together the pumpkin puree and vanilla bean paste. Sit aside.
In a heavy 2-quart saucepan over medium heat, combine 1 1/2 cups of the cream and 1/2 cup of the brown sugar. Cook until bubbles form around the edges of the pan, about 5 minutes.

Meanwhile, in a bowl, combine the egg yolks, cinnamon, ginger, salt, nutmeg, the remaining 1/2 cup cream and the remaining 1/4 cup brown sugar. Whisk until smooth and the sugar begins to dissolve.

Remove the cream mixture from the heat. Gradually whisk about 1/2 cup of the hot cream mixture into the egg mixture until smooth. Pour the egg mixture back into the pan. Cook over medium heat, stirring constantly with a wooden spoon and keeping the custard at a low simmer, until it is thick enough to coat the back of the spoon.

Place the bowl in a larger bowl partially filled with ice water, stirring occasionally until cool. Whisk the pumpkin mixture into the custard. Refrigerate until chilled, at least 3 hours or up to 24 hours.

Transfer the custard to an ice cream maker and freeze according to the instructions. Transfer the ice cream to a freezer-safe container. Cover and freeze until firm, at least 3 hours or up to 3 days, before serving. Makes about 1 quart.

Hot Wing Dip
November 21, 2010 at 4:04 pm | Posted in Uncategorized | 1 Comment
2 (10 ounce) cans chunk chicken, drained (sometimes the chicken comes in 12 ounce cans and that’s fine – so I end up using 24 ounces)
2 (8 ounce) packages cream cheese, softened
1 cup Ranch dressing
3/4 cup hot sauce (I used Frank’s Red Hot this weekend)
1 1/2 cups shredded cheddar cheese (I use sharp)
fritos, crackers, chips
Directions:
Using a hand mixer or brute force, mix all the ingredients together, with the exception of the last 1/2 cup of shredded cheese.
 Voila:

Put the mixture into a small casserole dish and top with the remaining cheese.
 Bake at 350 until bubbly (about 20 minutes). You can also do this in a crock pot, which is good too because it stays nice and warm.

Pizza Casserole
November 16, 2010 at 8:25 pm | Posted in Uncategorized | 2 Comments
Everyone knows that Matt loves pizza, so I’m not sure what took me so long to make pizza casserole! This is really easily adaptable – you could add any ingredients you like on your pizza – black olives, green peppers, mushrooms, anything!
- 1 pound rotini noodles
- 1/2 pound lean ground beef
- 1/2 pound mild sausage
- 2 cloves garlic, minced
- 1 cup sliced pepperoni
- 32 ounces pizza sauce
- 1 – 2 cups shredded mozzarella cheese
Let’s get started.
- Preheat oven to 350.
- Cook noodles according to package directions.
- In a medium skillet over medium-high heat, cook the ground beef and sausage. Stir in the pepperoni and pizza sauce, and mix well.

By the way, if you are wondering what that strange utensil is in the pan, it is the Pampered Chef Mix N Chop – it’s amazing for cooking ground beef and sausage!!
Add the noodles.

Pour half the mixture into a casserole dish, and layer with half your mozzarella.

Top with the other half of the casserole mixture, then the remainder of the mozzarella and some pepperonis.

Bake for about 30 minutes, or until the mozzarella is bubbly.

And serve – so easy, so good!

Pumpkin Chocolate Chip Cookies Two Ways
November 11, 2010 at 5:56 pm | Posted in Uncategorized | 10 Comments
Every since the great Canned Pumpkin Shortage of 2010 began to wind down, I’ve been keen to find as many ways as possible to use the canned pumpkin I had hoarded from last fall. I’d especially been craving some pumpkin chocolate chip cookies, and I had found a number of recipes that looked good and worthy of a try. With the holiday today, I had some extra time to bake, so here are two different recipes for pumpkin chocolate chip cookies.
The first recipe is super easy and only calls for three ingredients:

Mix together one spice cake mix, one 15-oz can of pumpkin (the smaller size), and two cups of chocolate chips.

Scoop by spoonfuls onto a greased cookie sheet, and bake in a 350-degree oven for 12-15 minutes.

Smack the cookie sheet onto the counter a few times to keep your cookies from becoming too puffy.

Not the prettiest cookies ever, eh? A little on the rustic side for my liking.
So on to recipe #2:


Create a free website or blog at WordPress.com.
Entries and comments feeds.
