Frosé (Frozen Rosé)
August 21, 2016 at 9:37 pm | Posted in Uncategorized | 1 CommentTags: frose, frozenrose, frozenwine, rose, wine slushy
Earlier this summer, Bon Appetit ran an article about Frosé, or Frozen Rosé.
Purportedly one of their most popular articles ever, I was definitely intrigued and heard that lots of trendy DC bars were serving this popular treat. The Washington Post even told me that Frosé is taking over Washington D.C.
But now it’s the end of August, and I still haven’t made it to one of these bars yet. I was worried my dreams of trying this treat might be soon crushed. I read through the recipes online and came up with a quick and easy version that was straight-up-delicious. Like, I drank a bottle of wine delicious.
This also doesn’t make a ton, despite using a whole bottle of wine, so if you’re serving a group, freeze up a few bottles of wine.
You’ll need:
- a bottle of rosé
- 1/2 – 3/4 cup of simple syrup
- 2 tablespoons of lemon juice
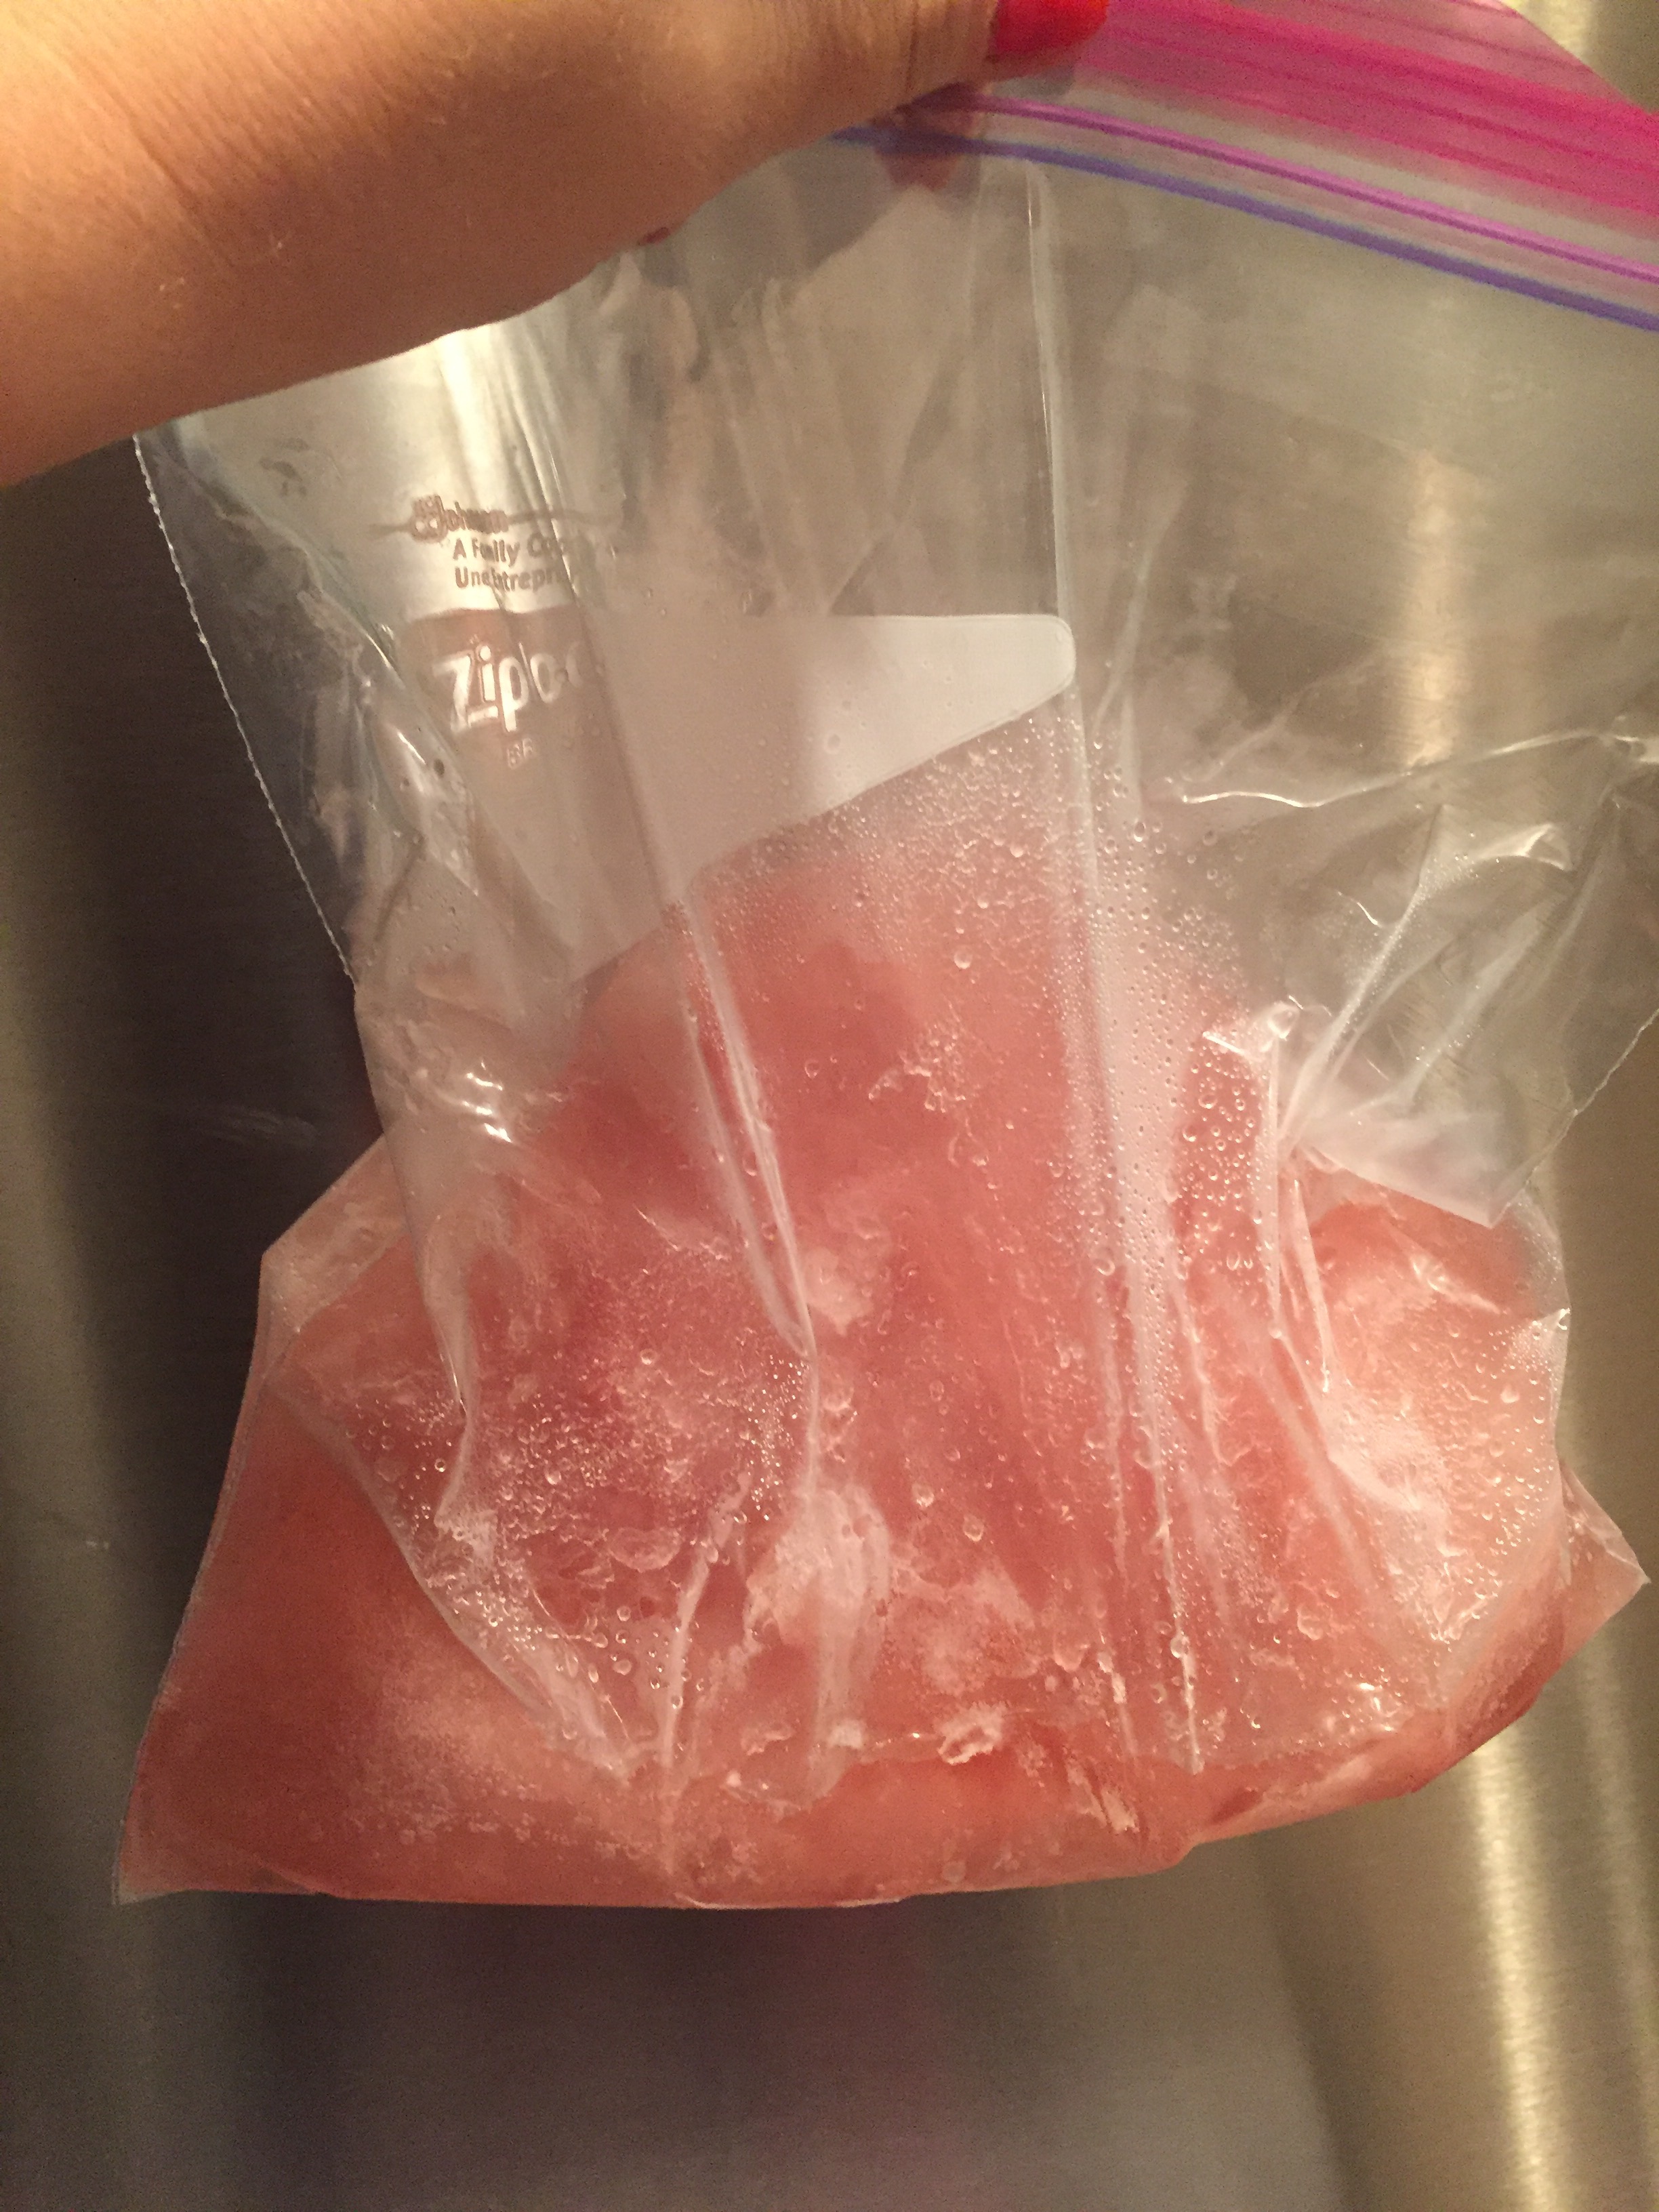
Freeze the wine in a large ziploc bag until it is mostly frozen – this is best to do overnight. It won’t freeze all the way but it will be pretty close, like this:
Add the frozen wine, simple syrup, and lemon juice to your blender and blend until smooth.
Pour into a large wine glass and enjoy!

5 Minute Nutella Croissants
January 11, 2015 at 9:19 pm | Posted in Uncategorized | 1 CommentTags: crescent rolls, croissants, nutella, nutella crescent rolls, nutella crescents, nutella croissants
Five minutes from now, plus time for baking, you could be eating a warm, gooey Nutella croissant. Seriously! Can you think of one reason why you wouldn’t want to make that possibility a reality? I can’t either. Good, let’s get started.
You need:
- one can Pillsbury crescent roll dough, separated into triangles
- one jar of Nutella (you’ll need about 8 tablespoons – one per dough triangle)
- egg wash, made of one beaten egg and one tablespoon of water (and you only need this if you’re feeling fancy)
Preheat oven to 375 degrees.
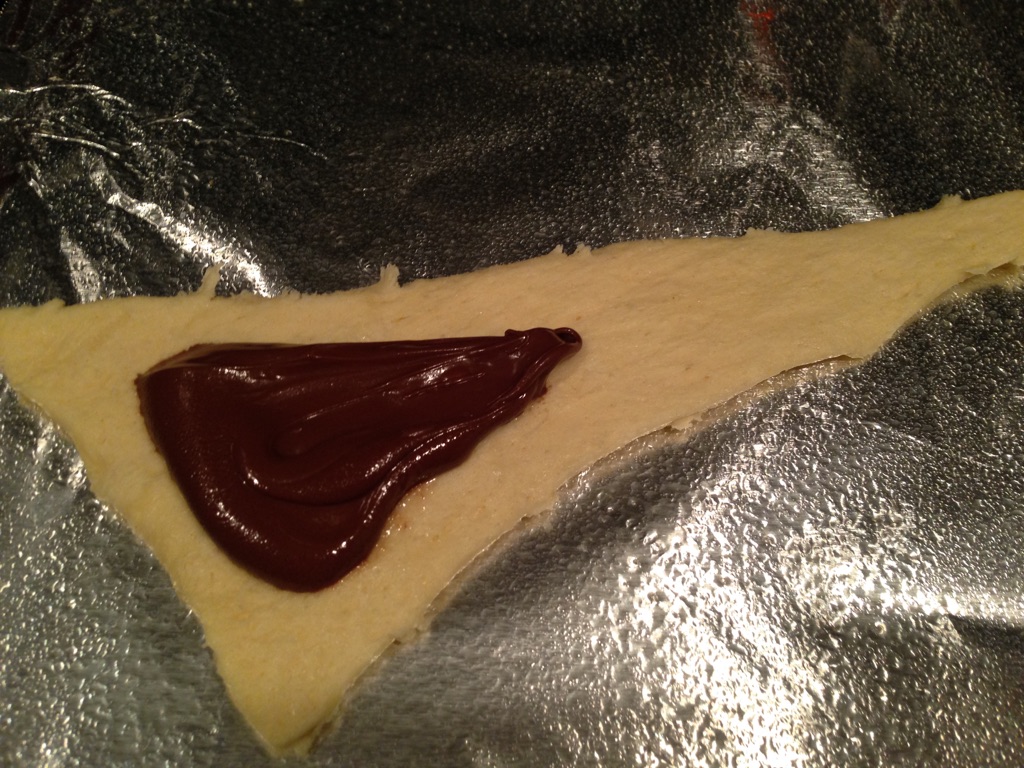
On each dough triangle, spread one tablespoon of Nutella.
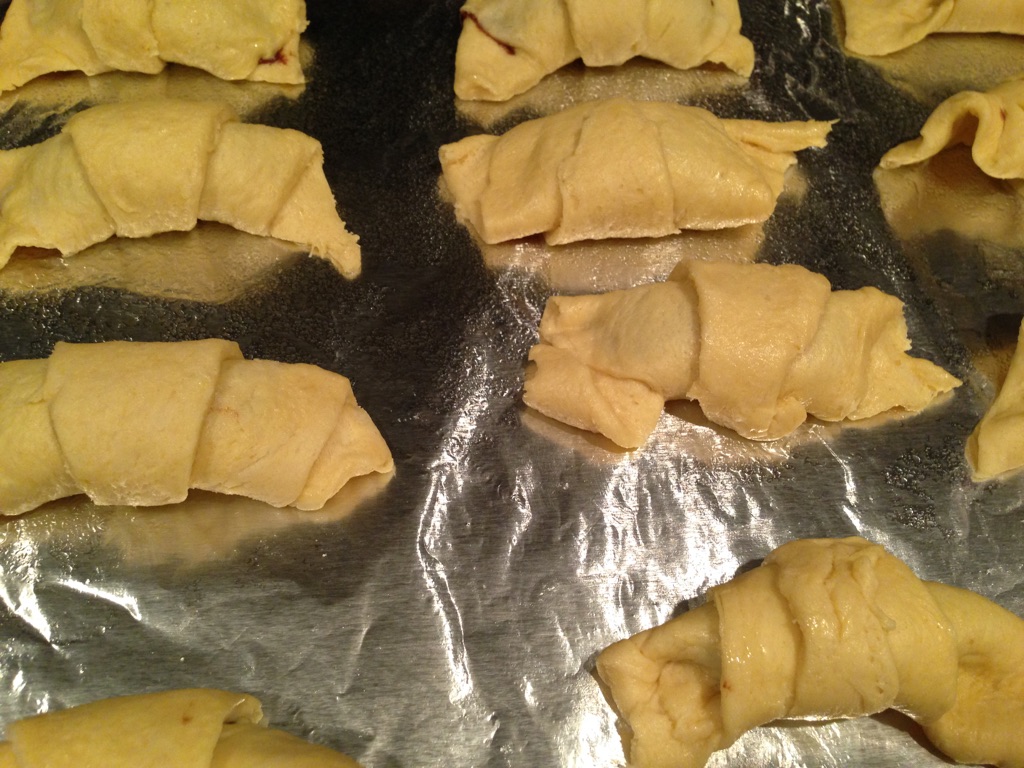
Roll up each crescent starting at the wide part of the dough.
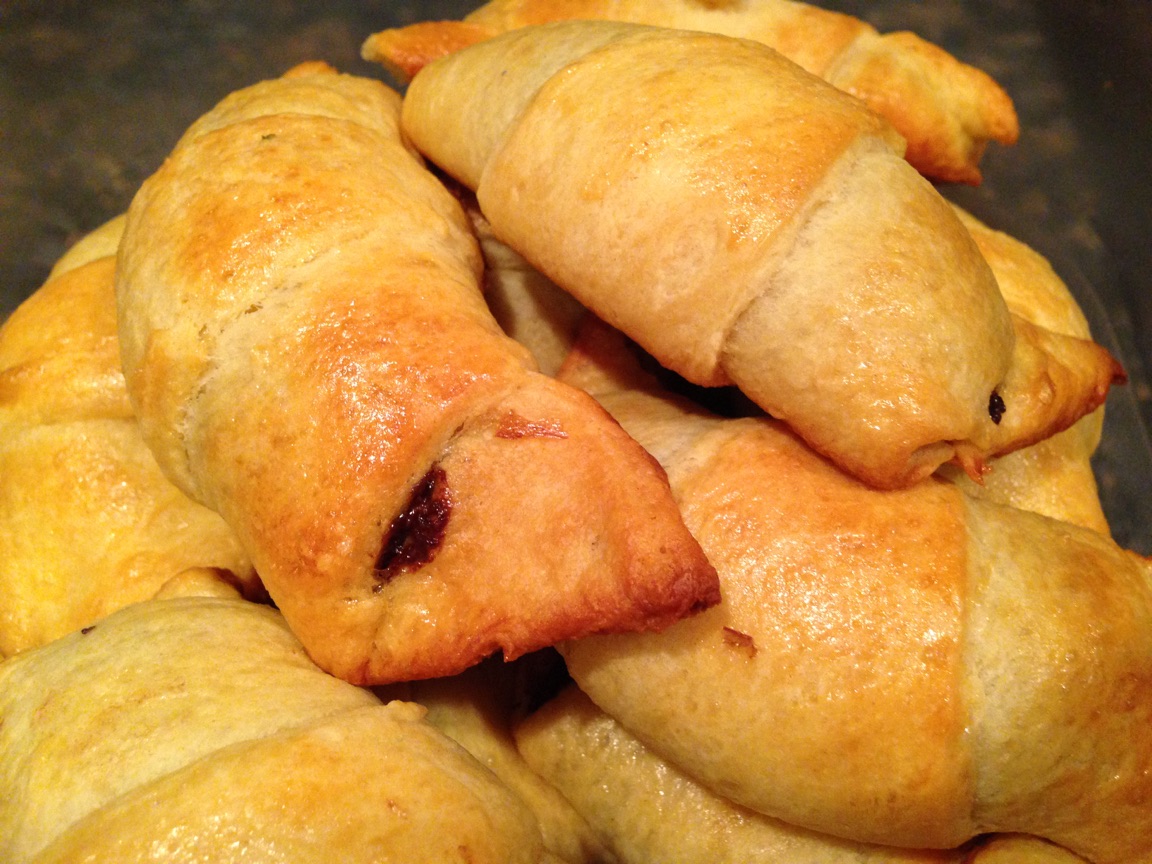
Now if you’re feeling fancy – brush each pastry with an egg wash. It will give the final product a light sheen like typical bakery pastries. Then they’re ready for the oven – bake for 10 minutes and you’re done!
Yum!
Oven Roasted Beef Brisket
November 17, 2014 at 1:29 pm | Posted in Uncategorized | Leave a commentTags: beef brisket, oven brisket, Oven Roasted Beef Brisket
Ever since I got the Big Green Egg, someone will suggest from time to time that I smoke a brisket. This seems like a good idea, except for when I remember that I’ve never made a brisket, ever, via any method of cooking, so I had been reluctant to take the plunge. Then I saw a recipe for an oven roasted beef brisket, and honestly, this was so delicious, I’m not sure that I would ever try another cooking method! So you should make this too. Tonight!
You’ll need:
Ingredients
- 2 tablespoons chili powder
- 2 tablespoons salt
- 1 tablespoon garlic powder
- 1 tablespoon onion powder
- 1 tablespoon ground black pepper
- 1 tablespoon sugar
- 2 teaspoons dry mustard
- 1 bay leaf, crushed
- 3 pounds beef brisket
- 1 1/2 cups beef stock
First, preheat the oven to 350 degrees.
Make a dry rub by combining chili powder, salt, garlic and onion powders, black pepper, sugar, dry mustard, and bay leaf. Season the raw brisket on both sides with the rub.
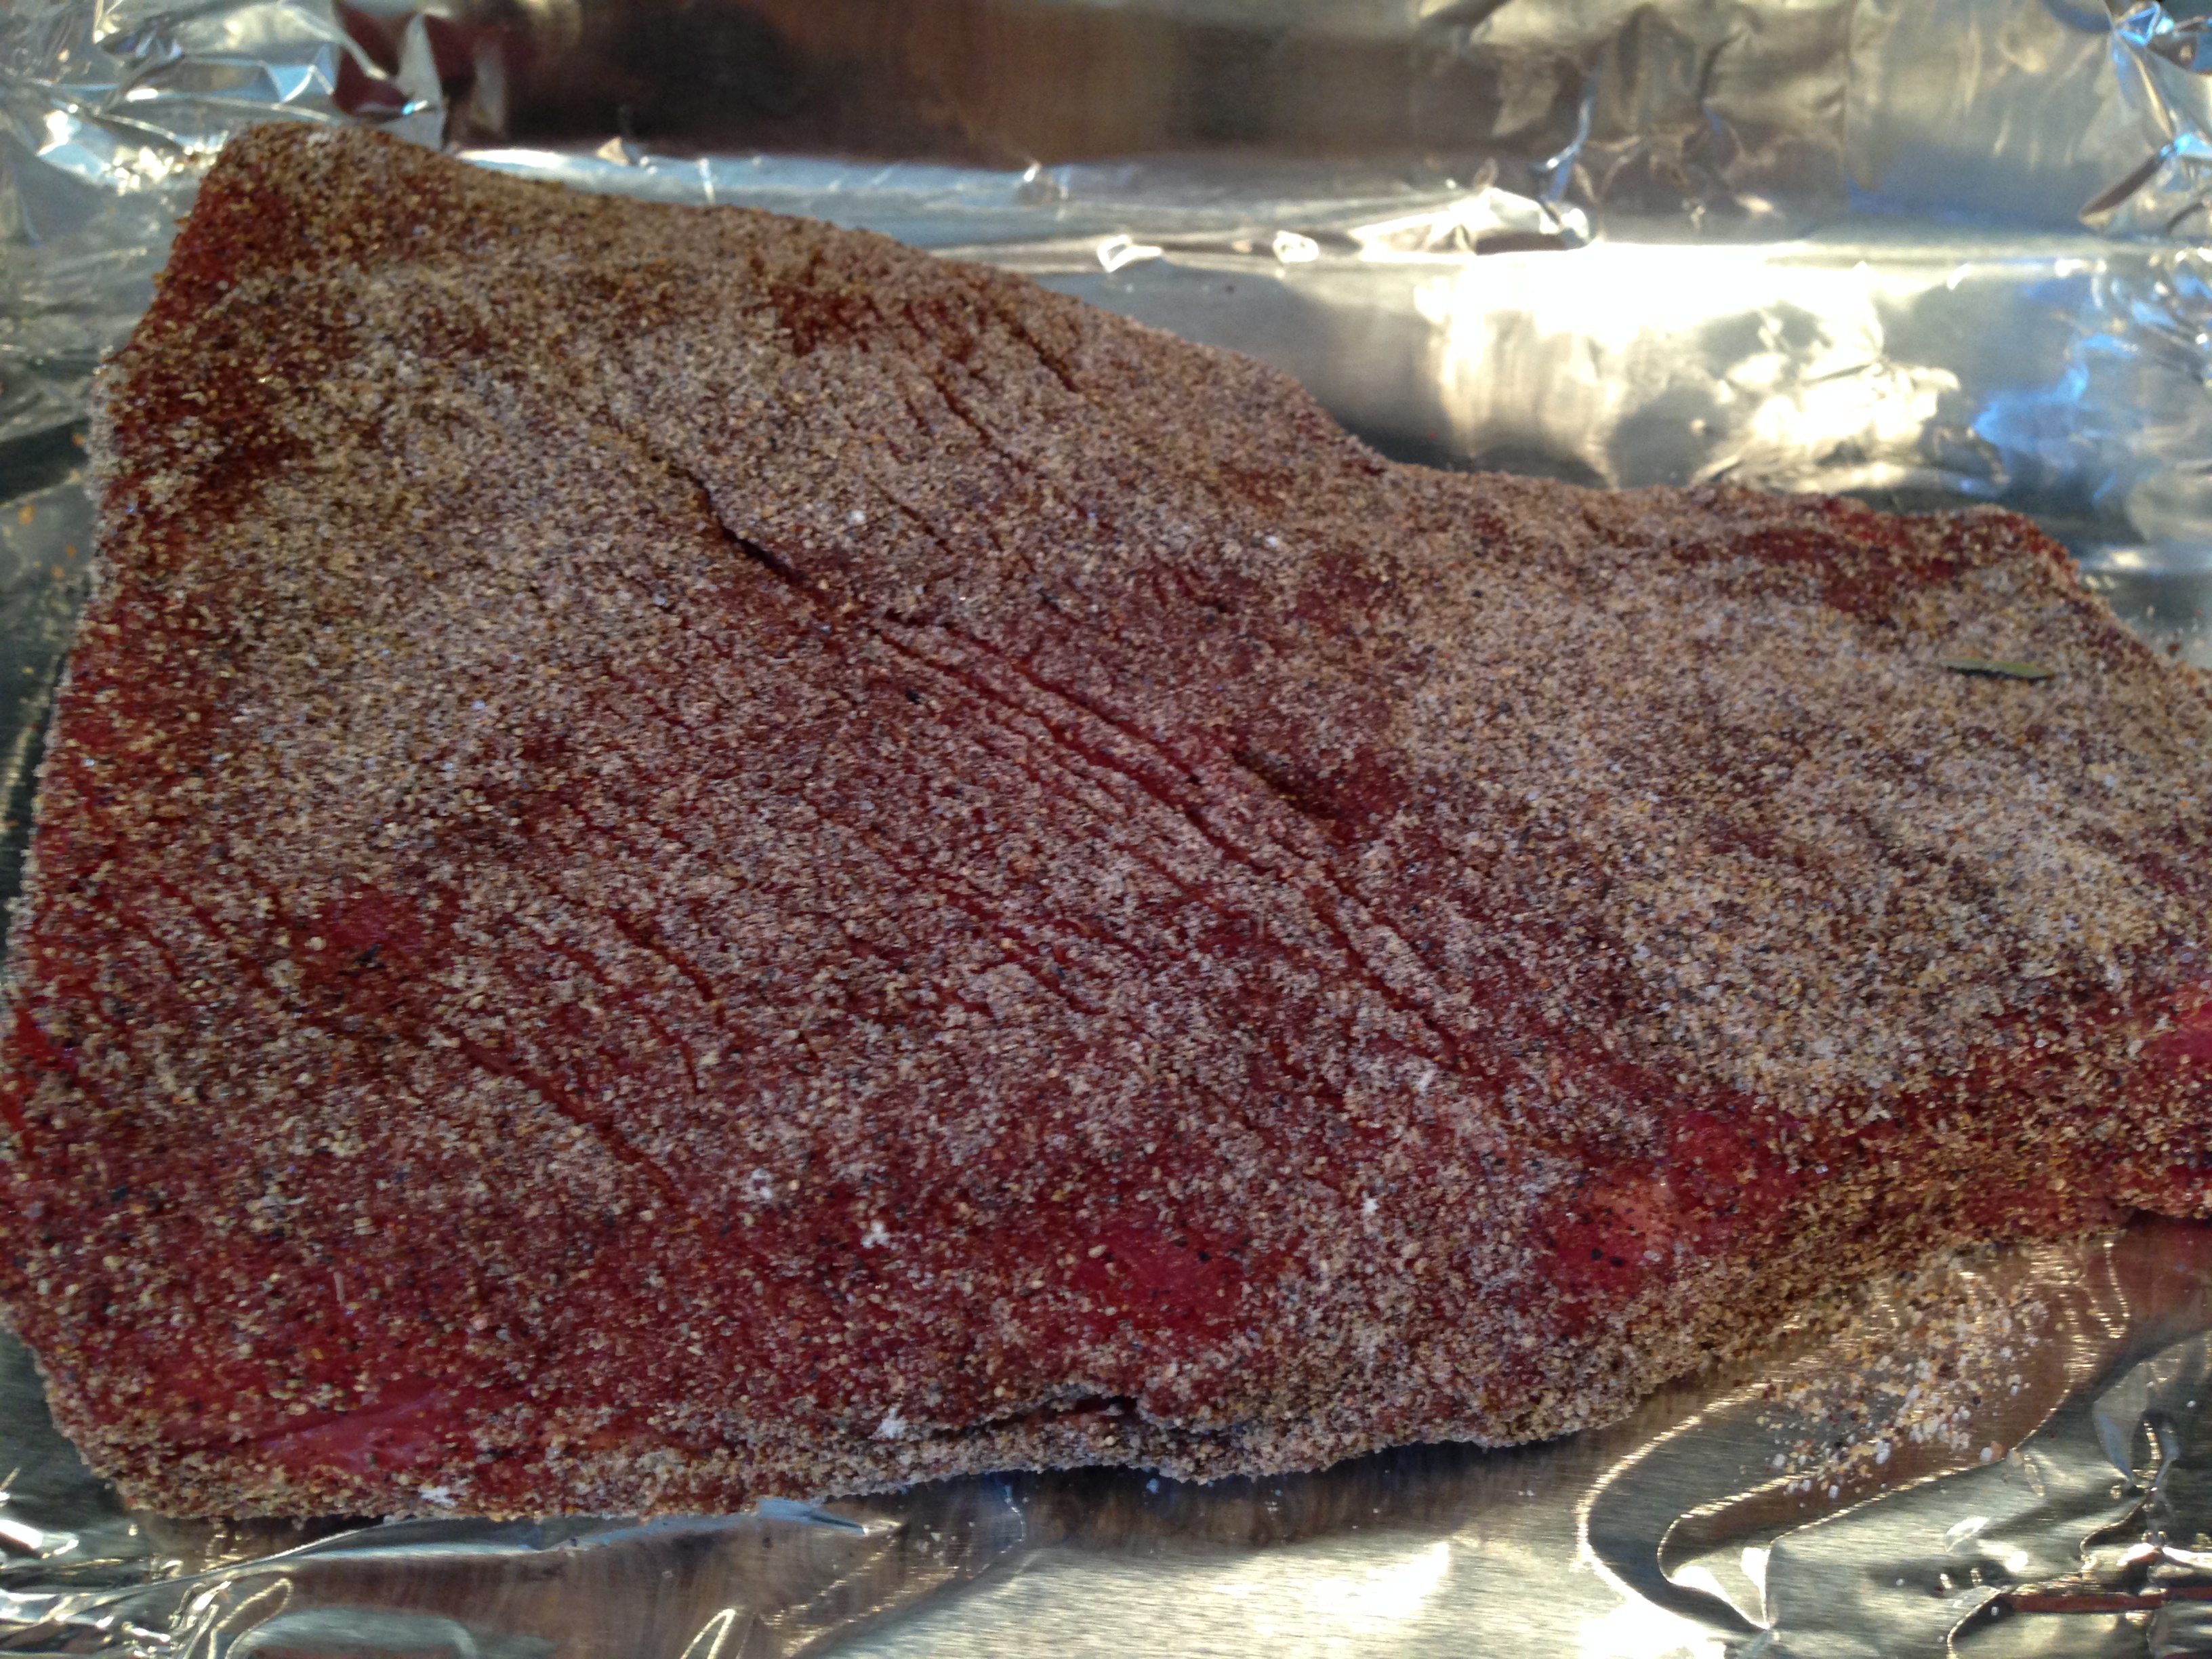
Place in a roasting pan and roast, uncovered, for 1 hour.
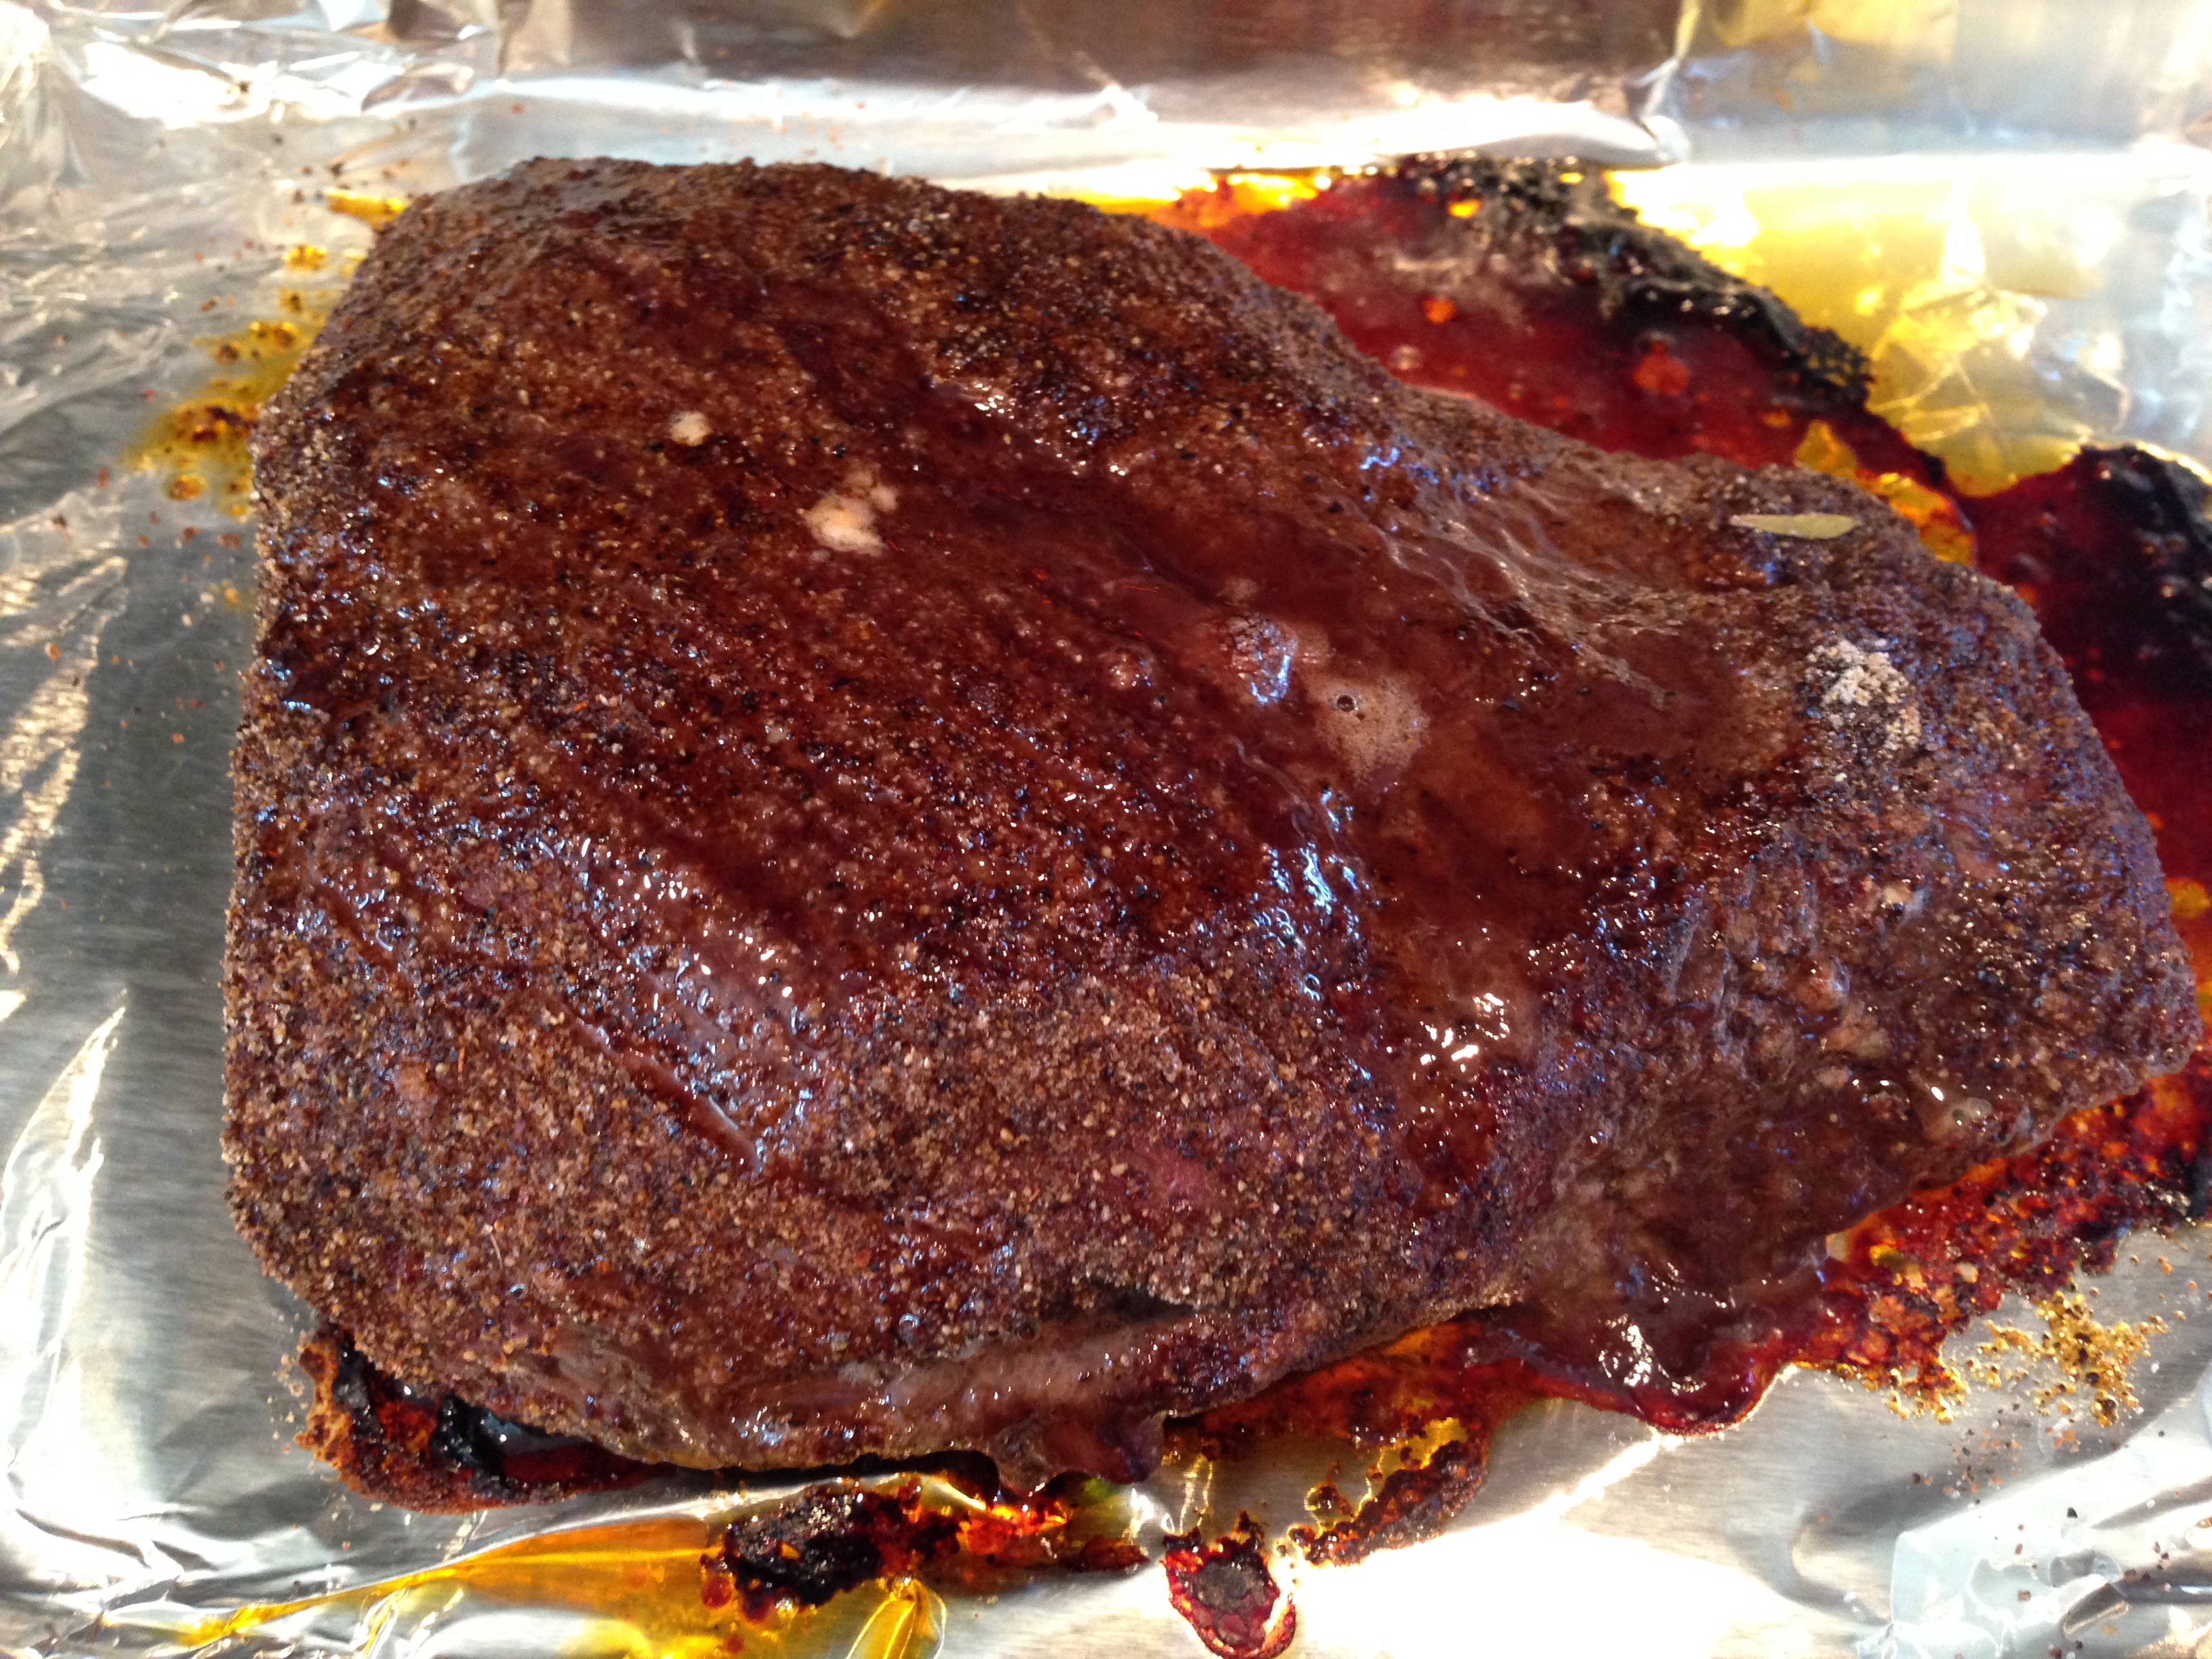
Add beef stock and enough water to yield about 1/2 inch of liquid in the roasting pan. Lower oven to 300 degrees F, cover pan tightly and continue cooking for 3 hours, or until fork-tender.
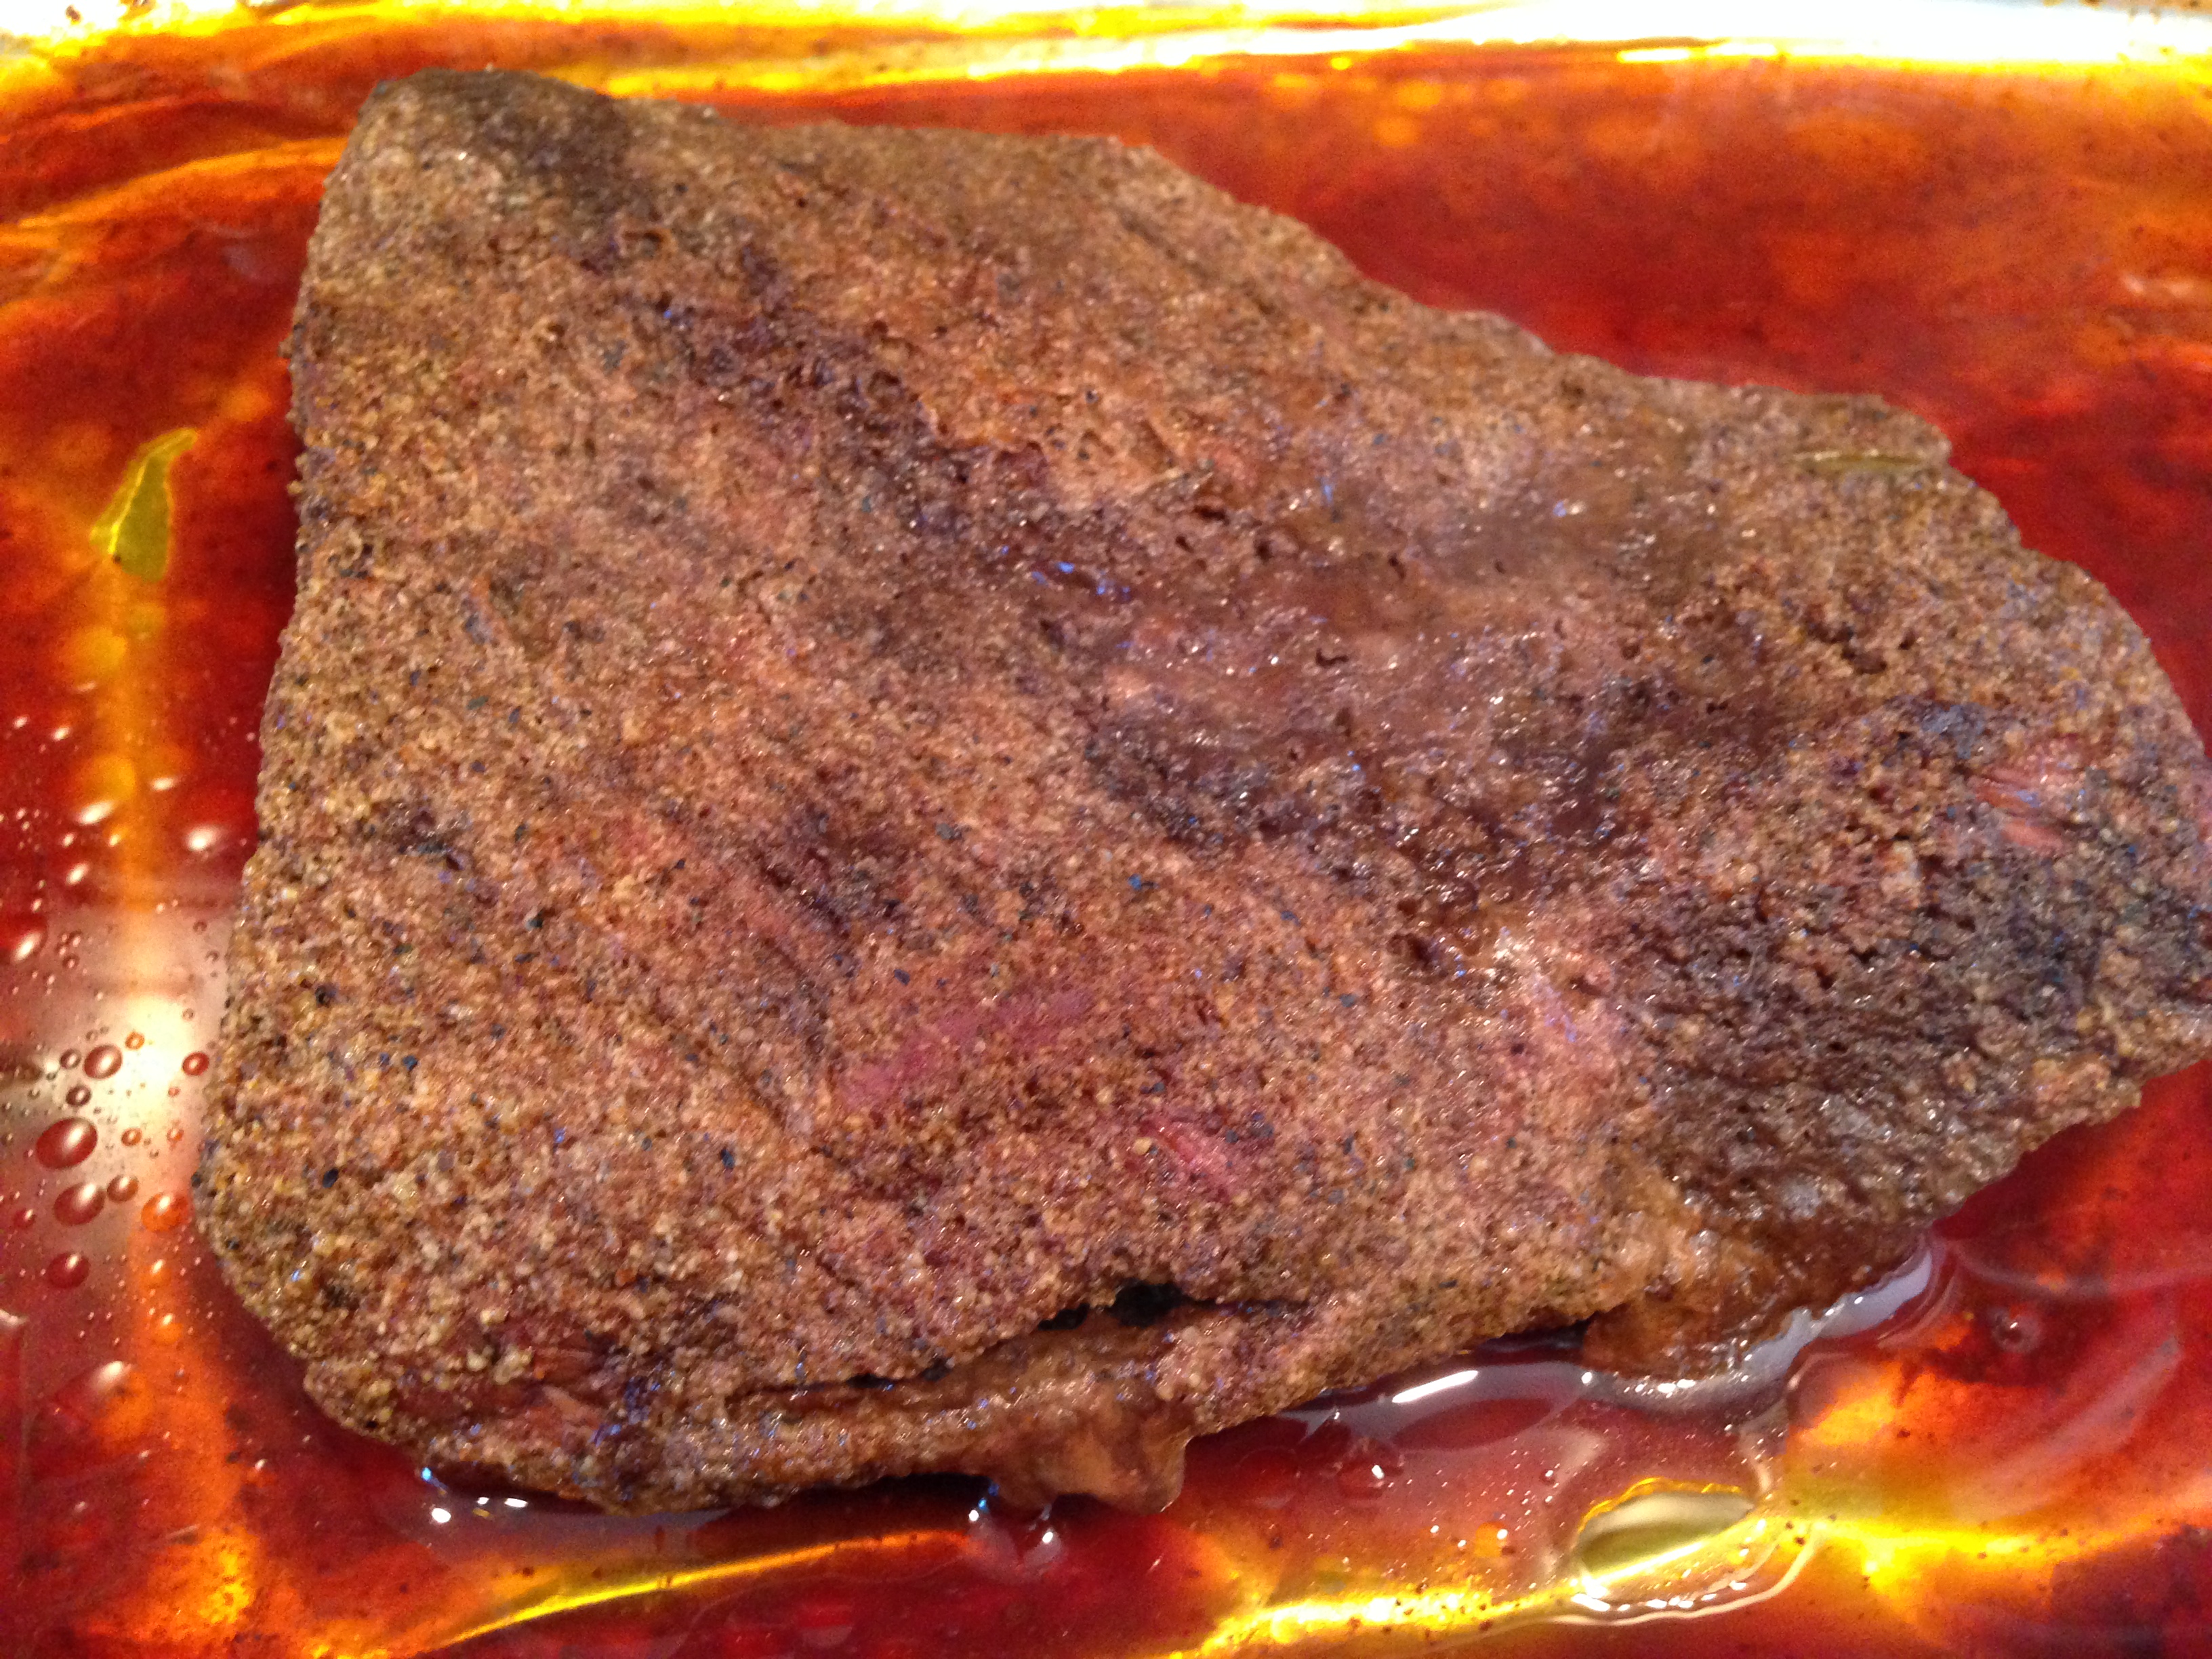
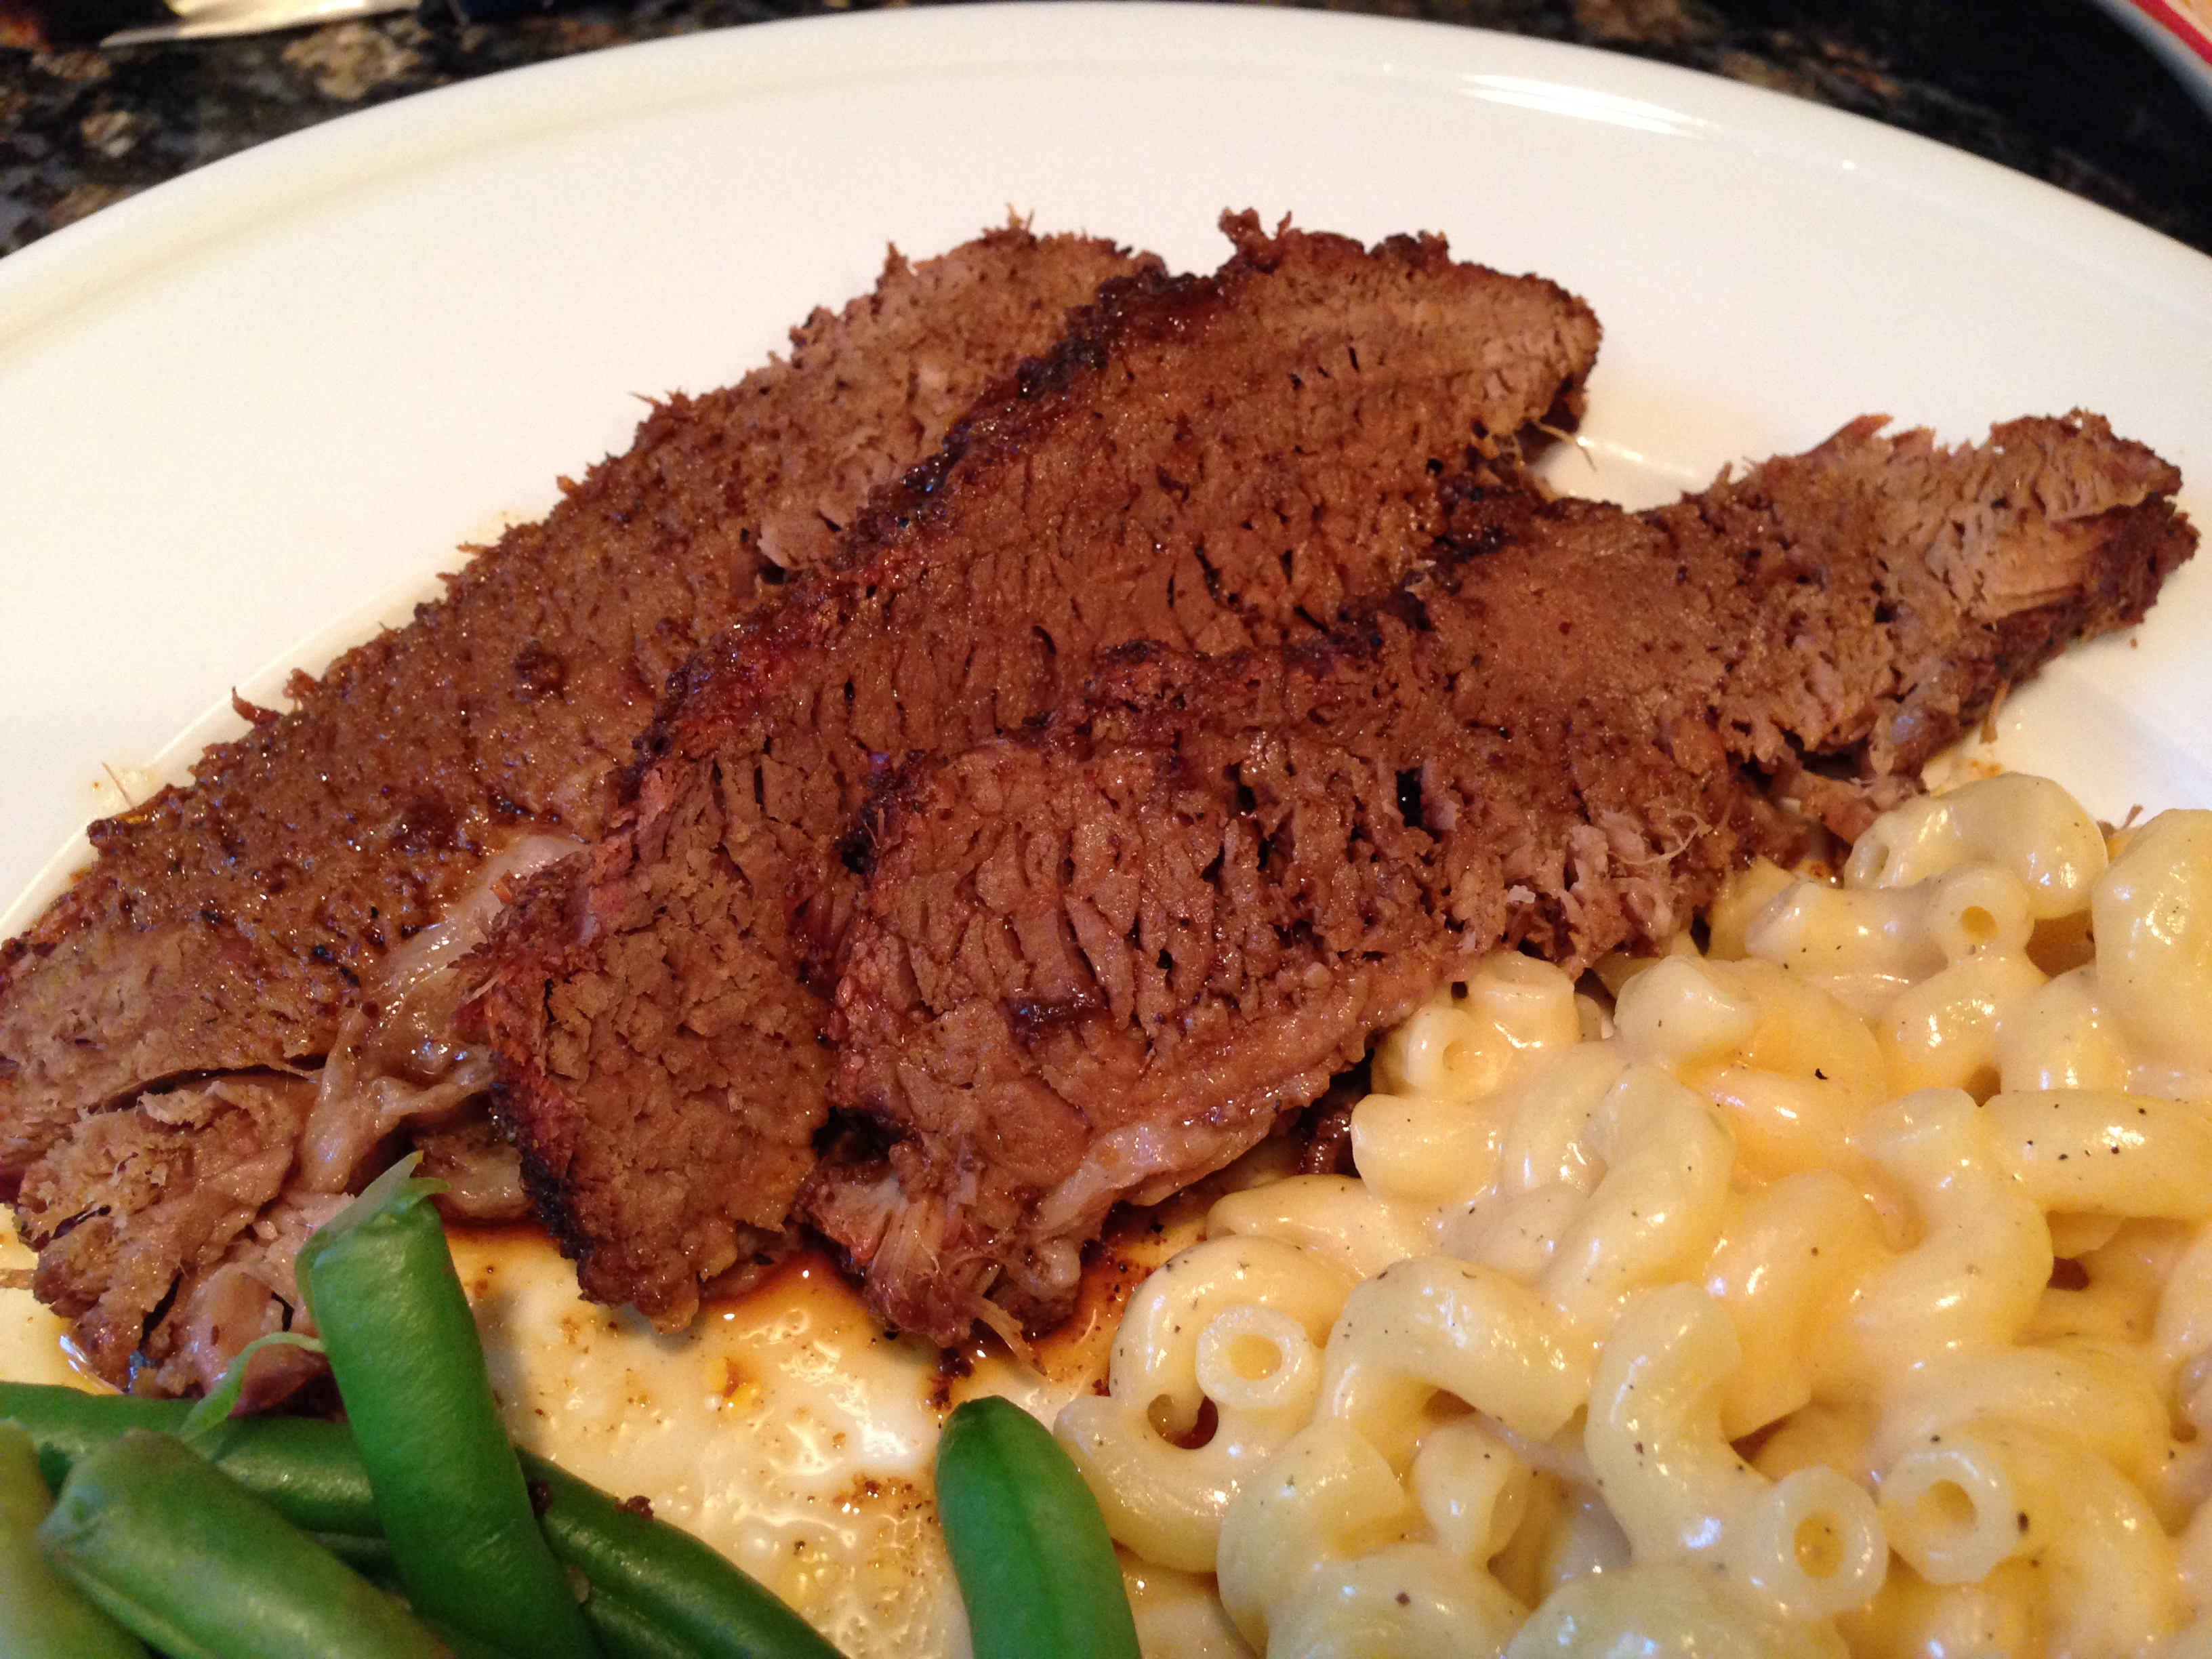
Trim the fat and slice meat thinly across the grain. Top with juice from the pan. Lots of the juice. It’s delicious!
Sweet Cherry Pie with streusel topping
August 9, 2014 at 1:57 pm | Posted in Uncategorized | Leave a commentTags: cherry pie, cherry pie with streusel topping, crumb topping, streusel topping, sweet cherry pie
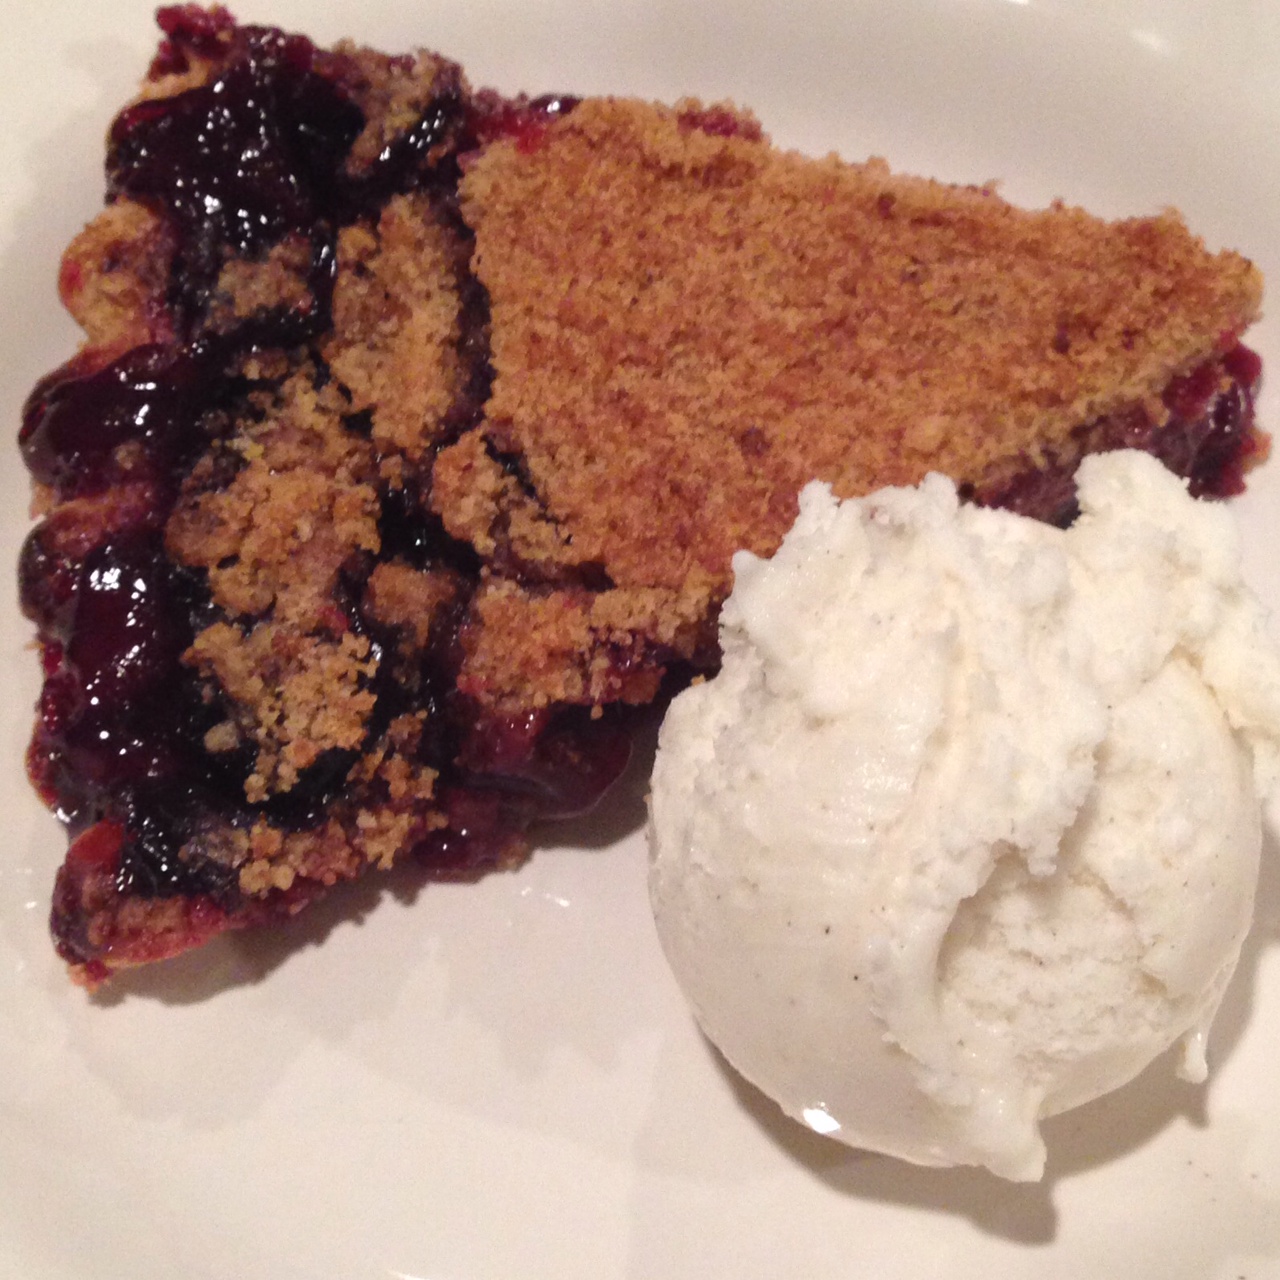
Everyone loves pie! I prefer a streusel or crumb topped pie than a traditional pie crust topping, and so I combined a few recipes into this cherry pie.
You’ll need:
- recipe for 1 pie crust or frozen, deep dish pie crust
- 2 pounds pitted fresh cherries
- 1 1/2 cups sugar
- 3 tablespoons cornstarch
- 1 cup flour
- 1 cup brown sugar
- 1/4 cup butter
Preheat oven to 375.
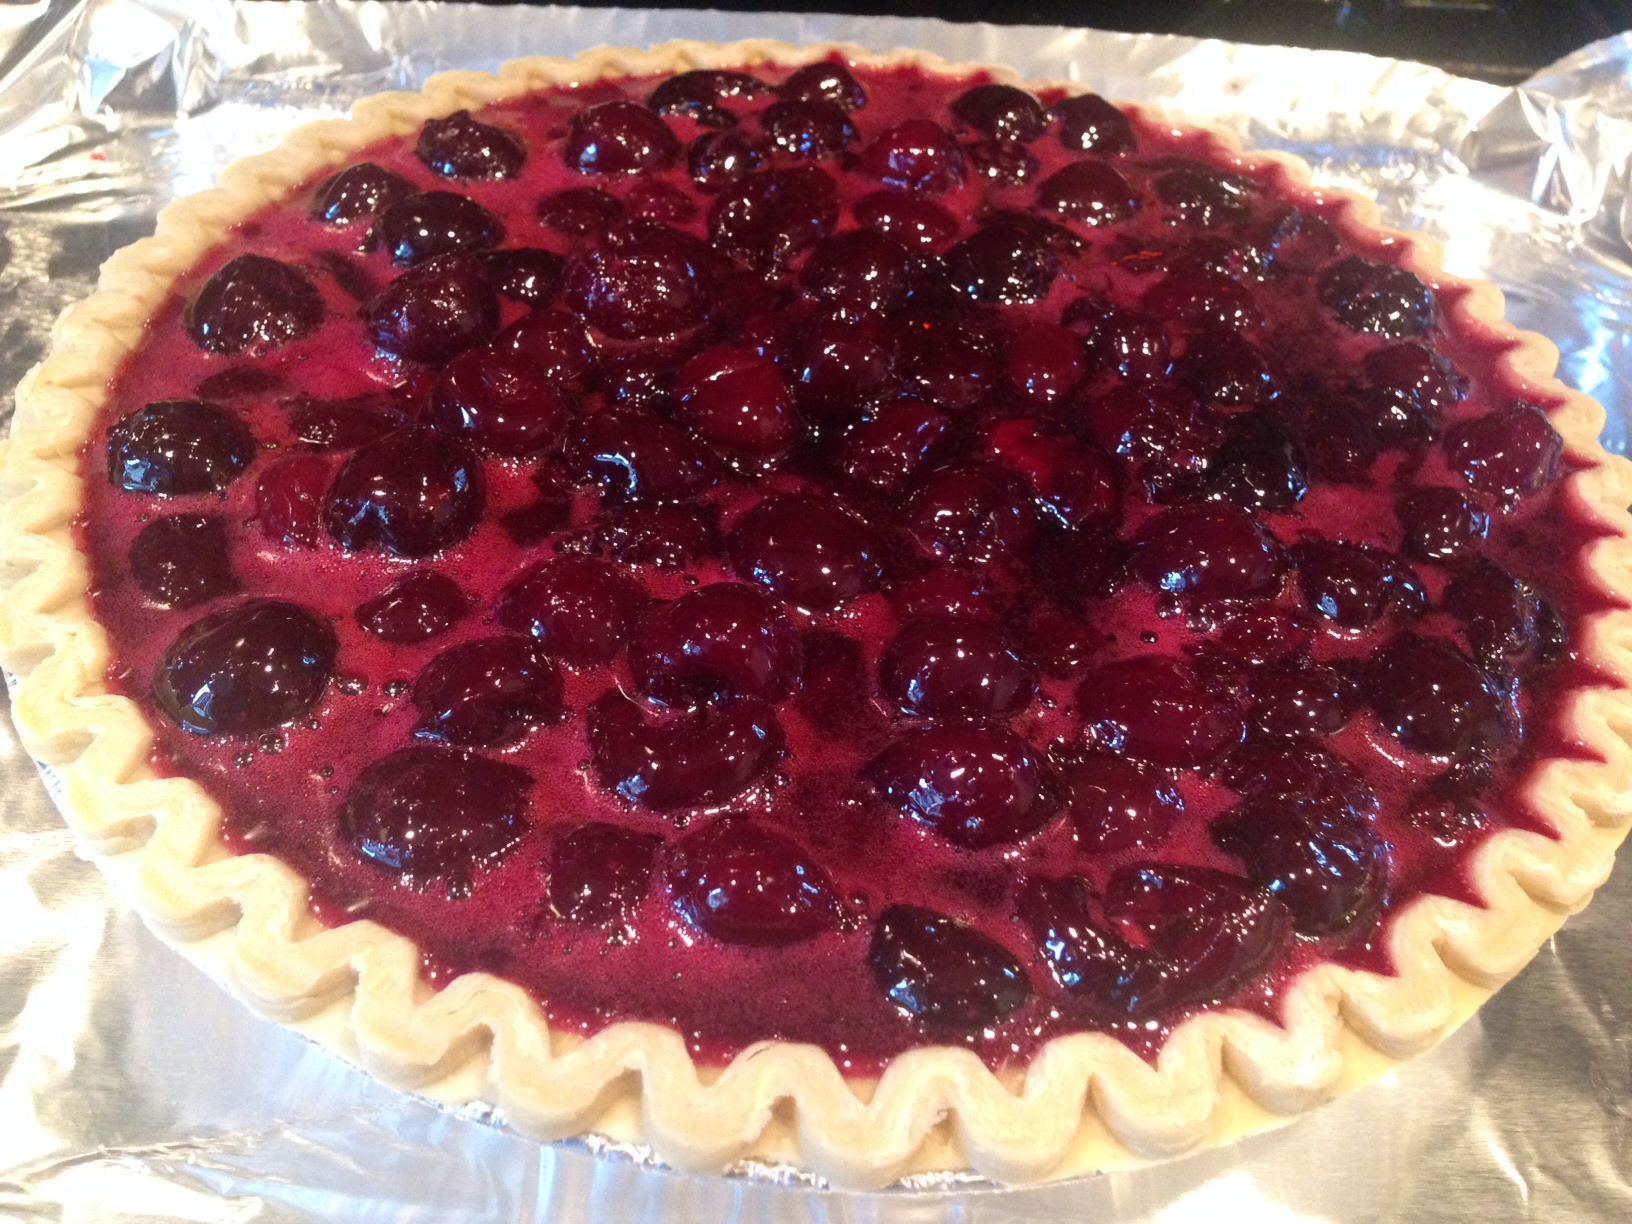
In a saucepan, combine the cherries, sugar, and cornstarch and bring it to a boil, stirring constantly. Reduce the heat and stir until the juices are translucent (just another minute or two).
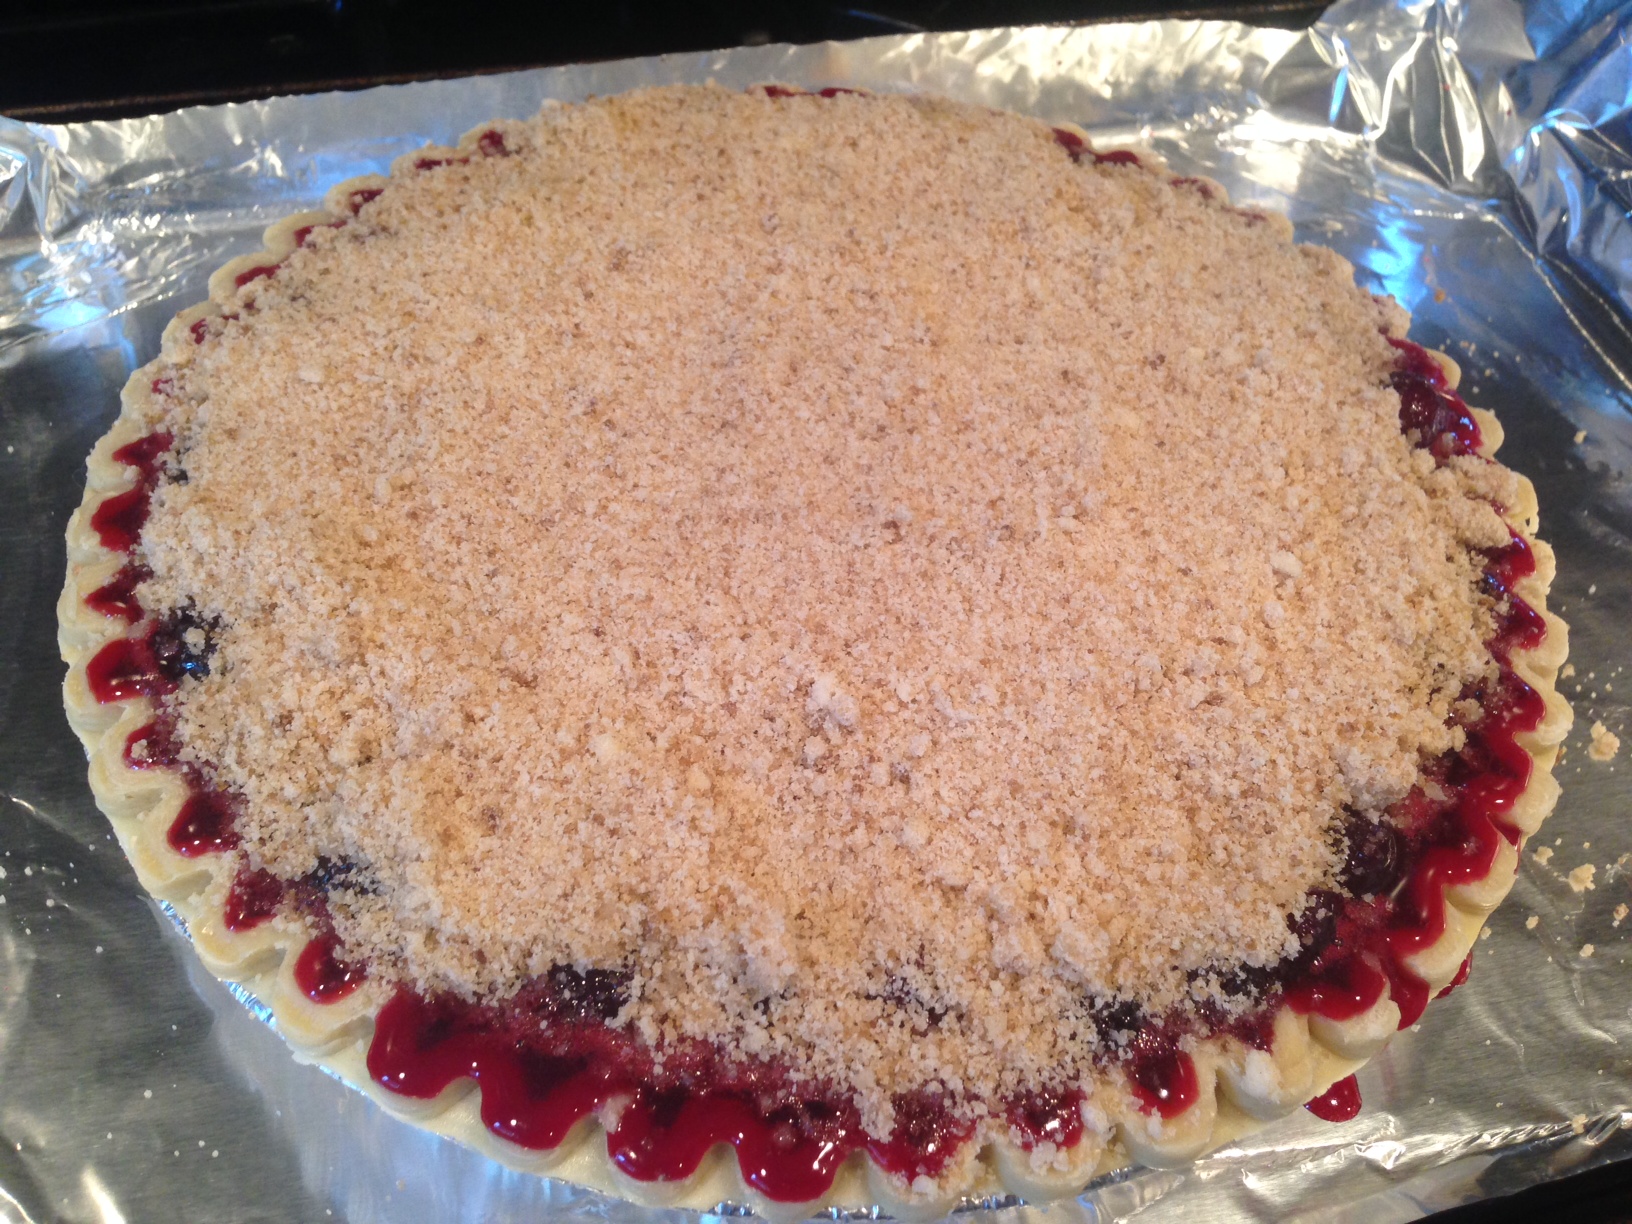
In a food processor (or with a pastry cutter), combine the flour, brown sugar, and butter until crumbly.
Allow the cherry mixture to cool, and pour them into the pie crust.
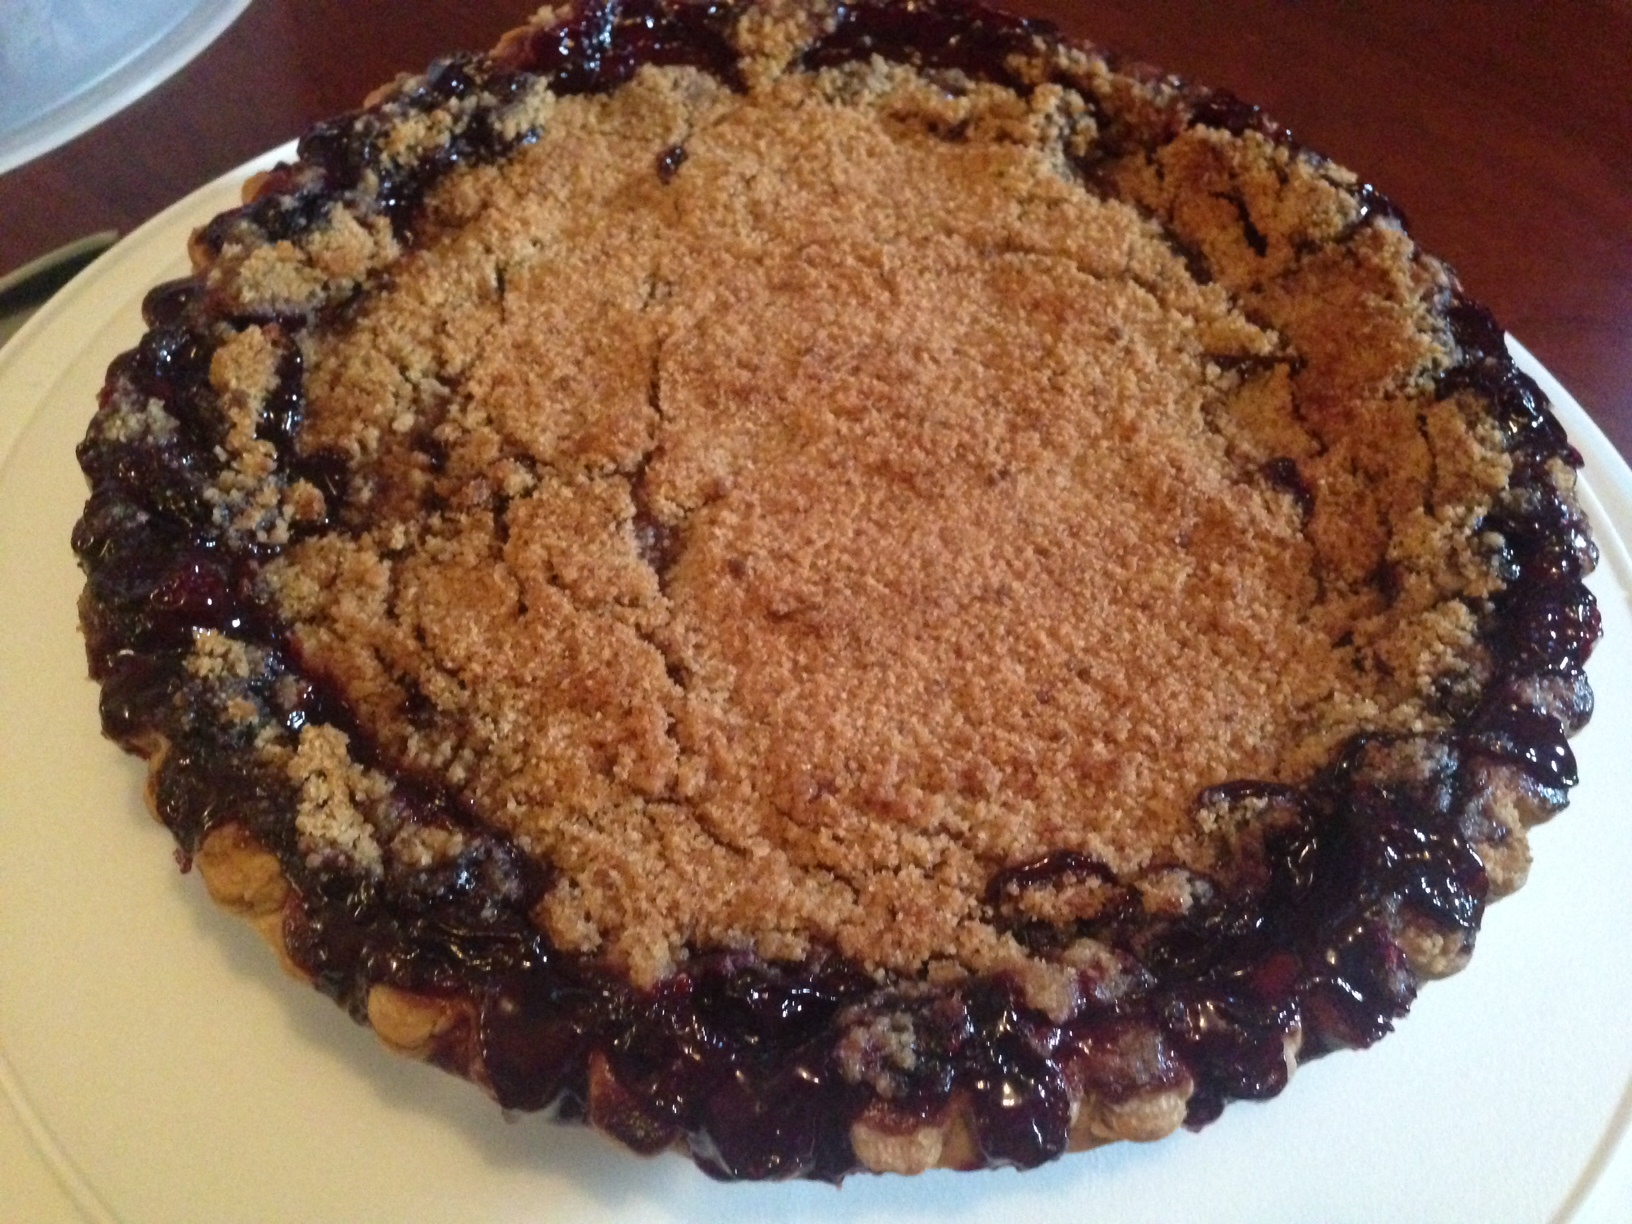
Top with the streusel topping, and bake in the preheated oven for 45 minutes. I recommend baking the pie on a foil lined pan to catch all the drips.
Enjoy!
Bacon Wrapped Scallops with Chili Mayo
July 6, 2014 at 3:10 pm | Posted in Uncategorized | Leave a comment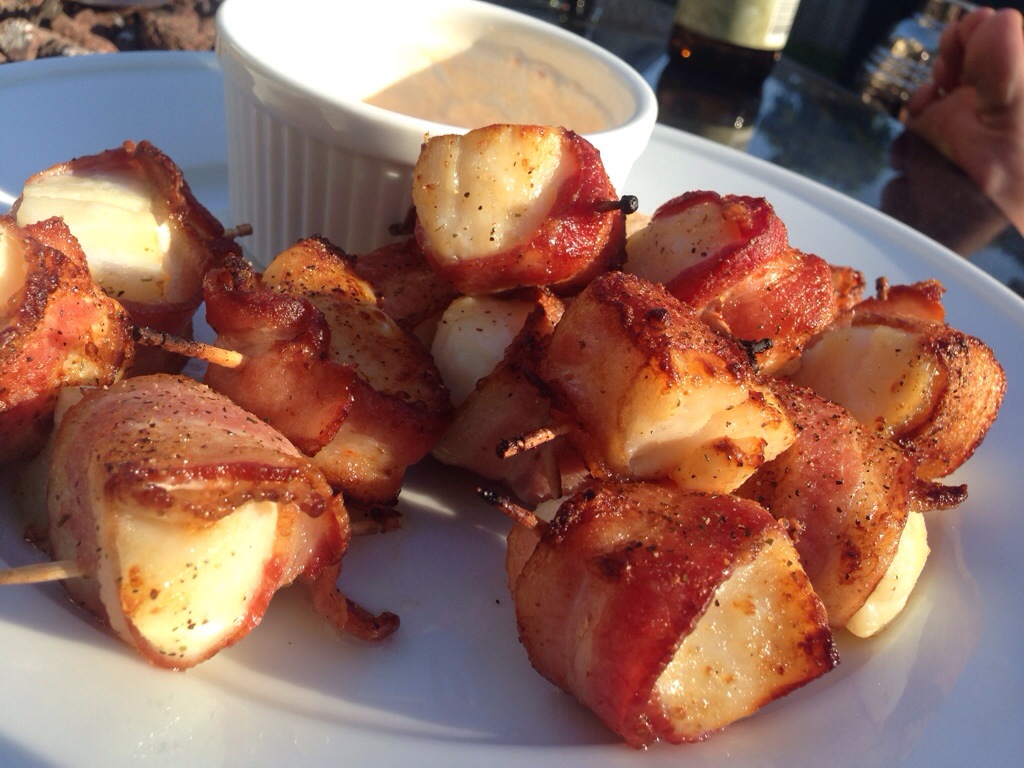
Bacon wrapped scallops: the jackpot of the wedding cocktail hour. Don’t get me wrong, I enjoy a meatball, a mini crabcake, maybe even a stuffed mushroom. But if you’re looking for my husband at a wedding, just find the server with the tray of bacon wrapped scallops. He’s sure to be nearby.
You don’t really need a recipe for bacon wrapped scallops, but this spicy chili mayo as an accompaniment makes this worthy of a post.
I cut these scallops into halves (and sometimes thirds) with the goal of making these bite-sized.
You’ll need:
- 1 pound scallops
- 1/2 pound bacon
- toothpicks
- olive oil
- salt and pepper
- 1 cup mayonnaise
- 1/4 cup chili paste (I prefer sambal – thicker than sriracha)
- 2 tablespoons rice vinegar
Preheat your broiler to 550.
Wrap each scallop (or scallop piece) in half a piece of bacon; hold the bacon in place with a toothpick.
Place on a cookie sheet. Drizzle with olive oil and sprinkle with salt and pepper.
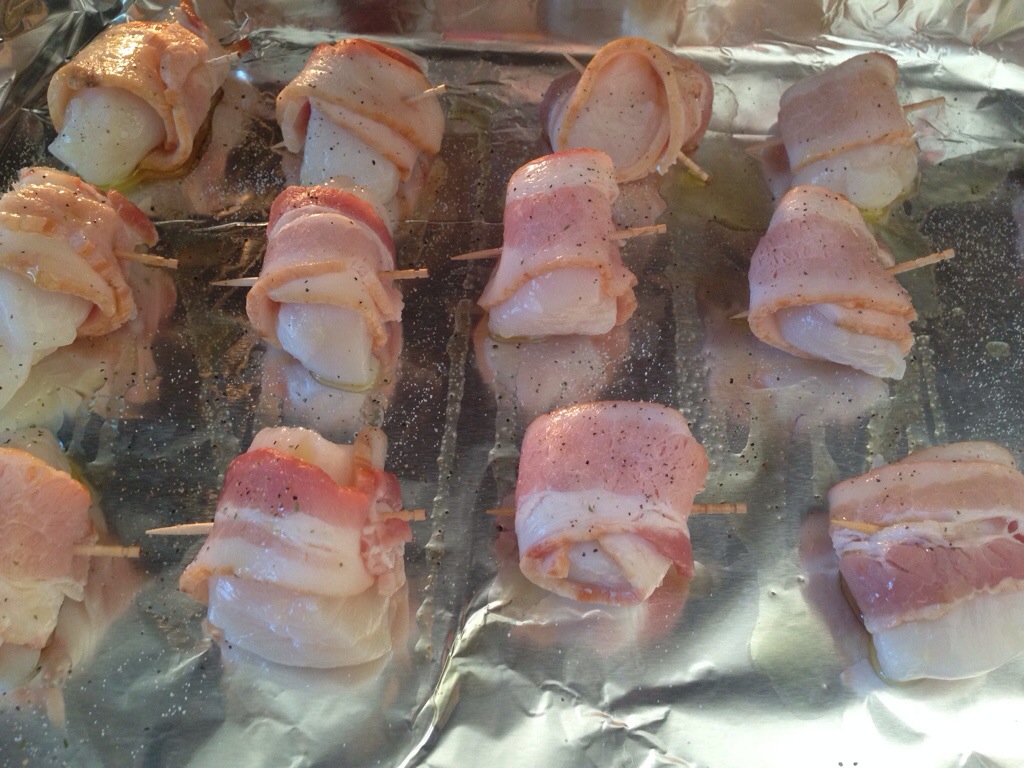
Broil for 15 minutes, turning once.
Combine the mayo, chili paste, and rice vinegar, and serve with scallops! Couldn’t be easier.
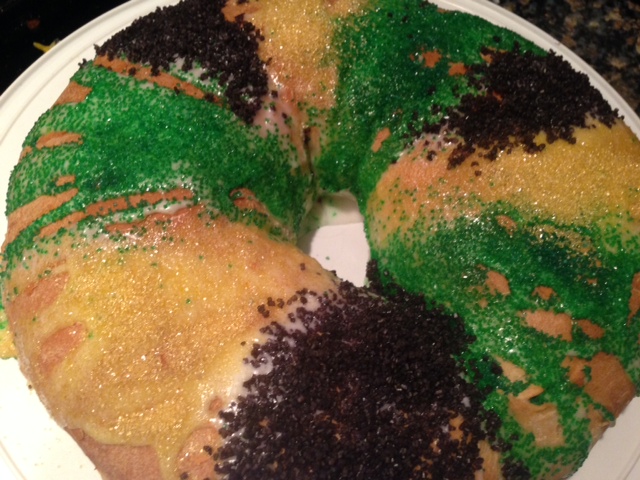
Easy Mardi Gras King Cake
March 4, 2014 at 6:25 am | Posted in Uncategorized | 2 CommentsTags: easy king cake, king cake, mardi gras, mardi gras king cake
Happy Mardi Gras everyone!
The last time I blogged about King Cake was in 2010, and I was in a rush and didn’t include the recipe. That version was a very simple one which you’ll find on the Internet that uses refrigerated sweet dough, like crescent roll dough or cinnamon roll dough.
But traditional King Cake is made from a sweet, yeast-risen dough (more like bread), sometimes filled with a cinnamon mixture, sometimes filled with a cream cheese custard. So this year I set out to make a more traditional King Cake, with a basic white bread dough and an orange-flavored cream cheese filling.
You’ll need:
- 1 recipe white bread dough (before rising) or 1 store-bought frozen bread loaf, thawed
- 1 8 ounce block cream cheese, room temperature
- 1 cup powdered sugar
- 1 teaspoon orange extract
- 1 cup powdered sugar (for glaze)
- 1 tablespoon milk (for glaze)
- 1 teaspoon orange extract (for glaze)
- purple, green, and gold sugars (for decorating)
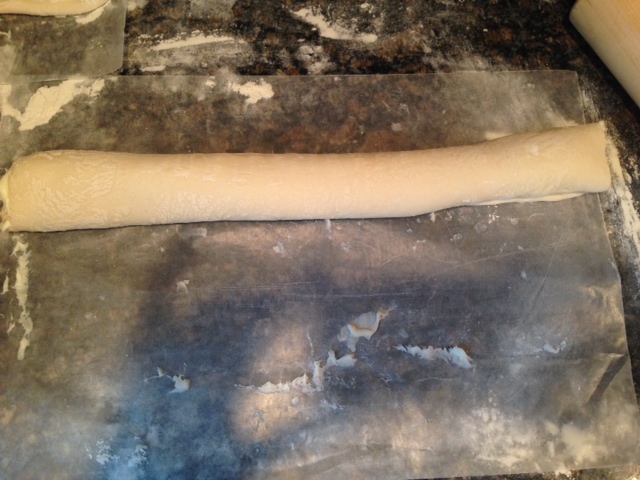
On a floured surface, roll your dough out to roughly an 8×16 rectangle.
Using an electric mixer, combine the cream cheese, 1 cup powdered sugar, and orange extract until smooth. Spread over the dough, leaving a little bit of room at the edges to help with a seal.

Roll the dough up into a cylinder length wise.
Create a ring from the dough, sealing with wet fingers if the dough is too dry.
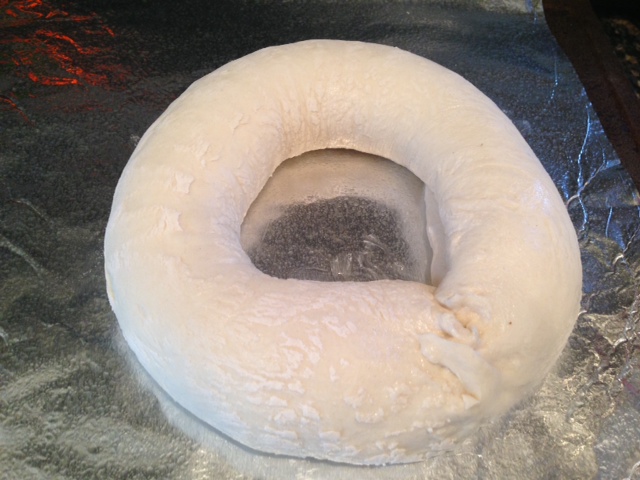
Lightly spray the dough ring with cooking spray, cover with plastic wrap, and let rise in a warm place for at least an hour, until your dough has roughly doubled.
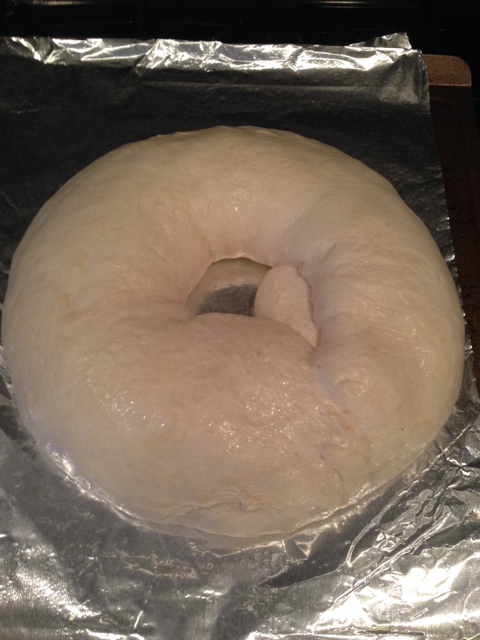
Bake for 30 minutes in an oven preheated to 350 degrees.
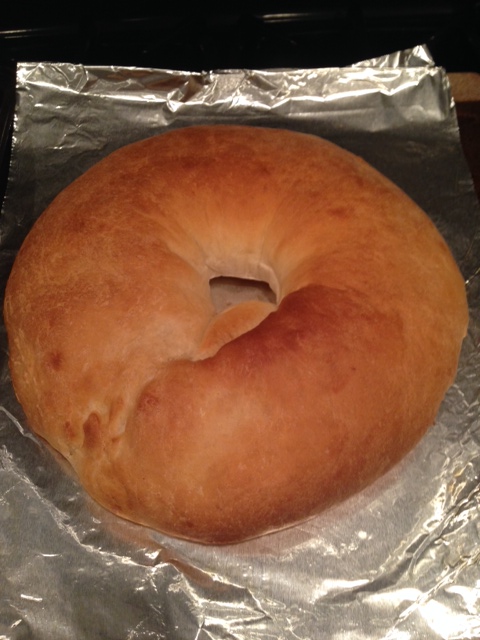
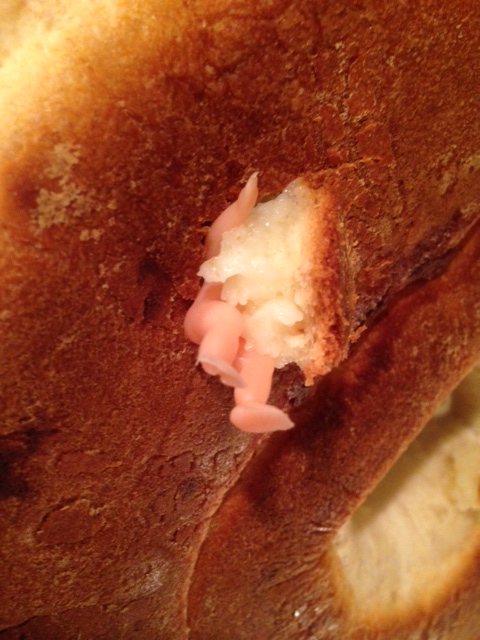
After baking, if you desire, insert the small plastic baby or other “token” into the bottom of your cake. The person whose slice contains the token is responsible for supplying the King Cake next year! Also, this photo is kind of freaky…
After the cake cools, combine the powdered sugar, milk, and extract into a glaze, and drizzle over the cake, decorating immediately with the colored sugars.
Laissez les bons temps rouler!
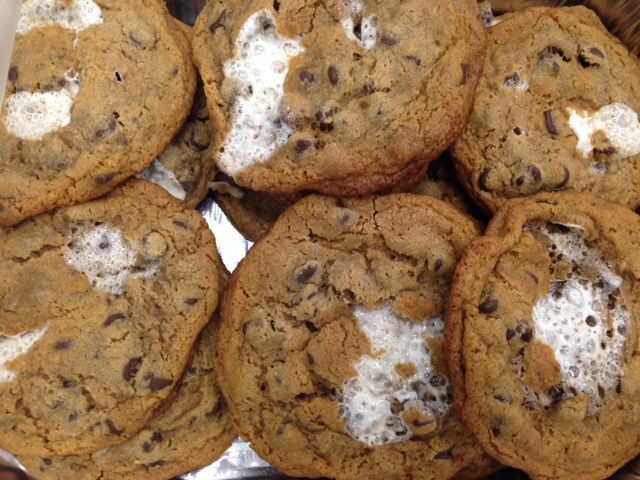
Snow Day S’mores Cookies
March 3, 2014 at 11:16 am | Posted in Uncategorized | Leave a commentTags: s'mores, s'mores cookies, snow day cookies
March 3 and it’s another snow day here in DC! We’re ready for spring… but enjoying the snow while it is here.

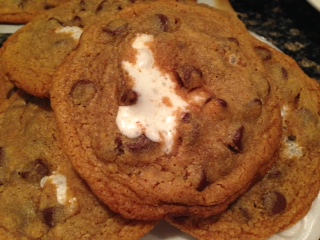
These S’mores Cookies are a perfect snow day treat.
You’ll need:
- 1 1/2 cup Unsalted Butter (Softened)
- 1 cup White Sugar
- 1 cup Brown Sugar
- 2 large Eggs
- 2 teaspoons Vanilla
- 2 1/4 cups All Purpose Flour
- 2 cups Graham Cracker Crumbs
- 1 teaspoon Salt
- 1 teaspoon Baking Soda
- 18oz Chocolate Chips
- 20-24 large Marshmallows
Cream the softened butter, sugar & brown sugar in a stand mixer. Add the eggs in one at a time. Add the vanilla and mix. In a separate bowl, sift the flour, baking soda & salt. Add the graham cracker crumbs and mix together.
Add the flour and graham cracker crumb to the wet ingredients in about 3 increments, scraping the bowl down in between. Mix until combined. Add the chocolate chips and mix all together until combined.
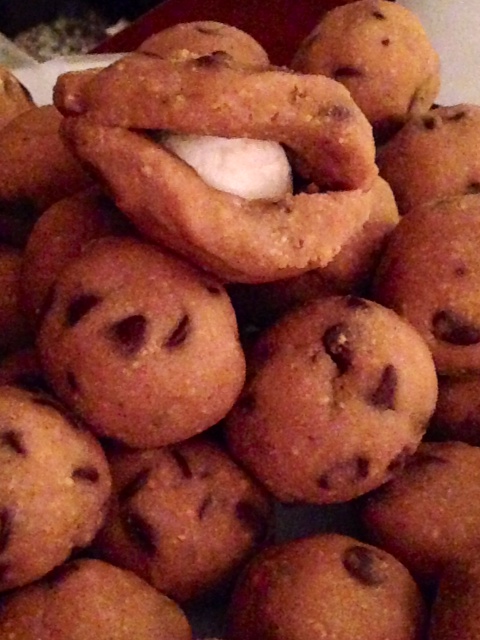
Refrigerate the dough for at least 30 minutes. While refrigerating the dough, preheat the oven to 375. Roll your large marshmallows into a ball.
Line cookie baking sheets with parchment paper. Using an ice cream scoop scooper size, scoop out a portion of cookie dough and divide into two discs. Place your rolled marshmallow between the two discs and seal around the edges.
These spread quite a lot, so be sure to place them at least 2-3 inches apart on your parchment lined cookie sheet.
Bake in the preheated oven for 8-10 minutes, rotating halfway in between. Let cool 5-8 minutes. Yum!
Buffalo Wild Wings Parmesan Garlic Wings
February 7, 2014 at 7:17 pm | Posted in Uncategorized | Leave a commentTags: buffalo wild wings, buffalo wild wings copycat recipe, buffalo wild wings parmesan garlic, buffalo wild wings parmesan garlic copycat recipe, bw3, parmesan garlic wings

I’ll always remember the first time I ever had parmesan garlic wings from Buffalo Wild Wings. It was 2010, and I was in the parking lot of Jiffy Lube Live, tailgating for a Tom Petty concert. Someone had brought wings to share, and I tried a parmesan garlic one. They weren’t even hot anymore, and they were still amazing. Unforgettable. I can’t imagine ordering anything else from Buffalo Wild Wings.
I didn’t know what I was missing until that day, but I didn’t know that I could create the magic at home until this week.
I put some leftover raw chicken wings in the deep fryer at 375 degrees for 14 minutes. I made this sauce in the meantime, and wow! It is an excellent replica of BW3. Enjoy!
- 3 tablespoons minced garlic, microwaved for 2-3 minutes, until slightly golden and fragrant
- 2-3 T olive oil
- 1/2 cup mayo (I used reduced fat and it was fine)
- 1 T light corn syrup
- 4 T grated parmesan cheese
- 1 t lemon juice
- 1 T apple cider vinegar
- 1 T Italian seasoning
- 1/2 t red pepper flakes
- salt/pepper to taste
Stir all ingredients until well combined; toss freshly cooked, hot wings in sauce until coated. Serve!!
Bourbon Fudge
December 18, 2013 at 10:49 pm | Posted in Uncategorized | Leave a commentTags: bourbon, bourbon fudge, fudge, tennessee fudge

Make this naughty holiday fudge right now!
This is my dad’s recipe, and this is the first kind of fudge I ever learned to make. It doesn’t involve cooking your sugars until you reach “soft ball” stage or anything else complicated. It involves one bowl, five ingredients, and a microwave. Couldn’t be easier, and couldn’t be better! I made three types of fudge this Christmas, and this is certainly the best – good enough to give as gifts!
- Melt 2-12oz packages chocolate chips in microwave
- Add 1 can sweetened condensed milk
- 1 tsp. vanilla
- dash salt
- ¼ cup bourbon
- 1 – 1 ½ cup chopped nuts (I used walnuts)
Stir until smooth. Spread into buttered 8×8 pan. Chill, and cut into squares.
Crunchy Candy Santa Hats
November 17, 2013 at 6:42 pm | Posted in Uncategorized | Leave a commentTags: bugle santa hats, candy santa hats, muddy buddies with santa hats

The Internet, especially Pinterest, has brought us so many great ideas. Unfortunately, I sometimes read the instructions AFTER I attempt to recreate something I’ve seen and realize I’ve missed an important step which would have really simplified the process.
In the case of these genius candy Santa hats, I should have added a little shortening to thin out the red candy coating, making it easier to dip. I read that in the instructions after I made them. These are a lot of work, but they actually are really delicious – a wonderful combo of sweet and salty.
You need:
- bugles
- red candy melts
- mini marshmallows
- white almond bark
- white sanding sugar or white sprinkles
Melt the red candy melts in the microwave. Holding just the wide end of the bugle, dip the cone into the melts and place on wax paper to dry.
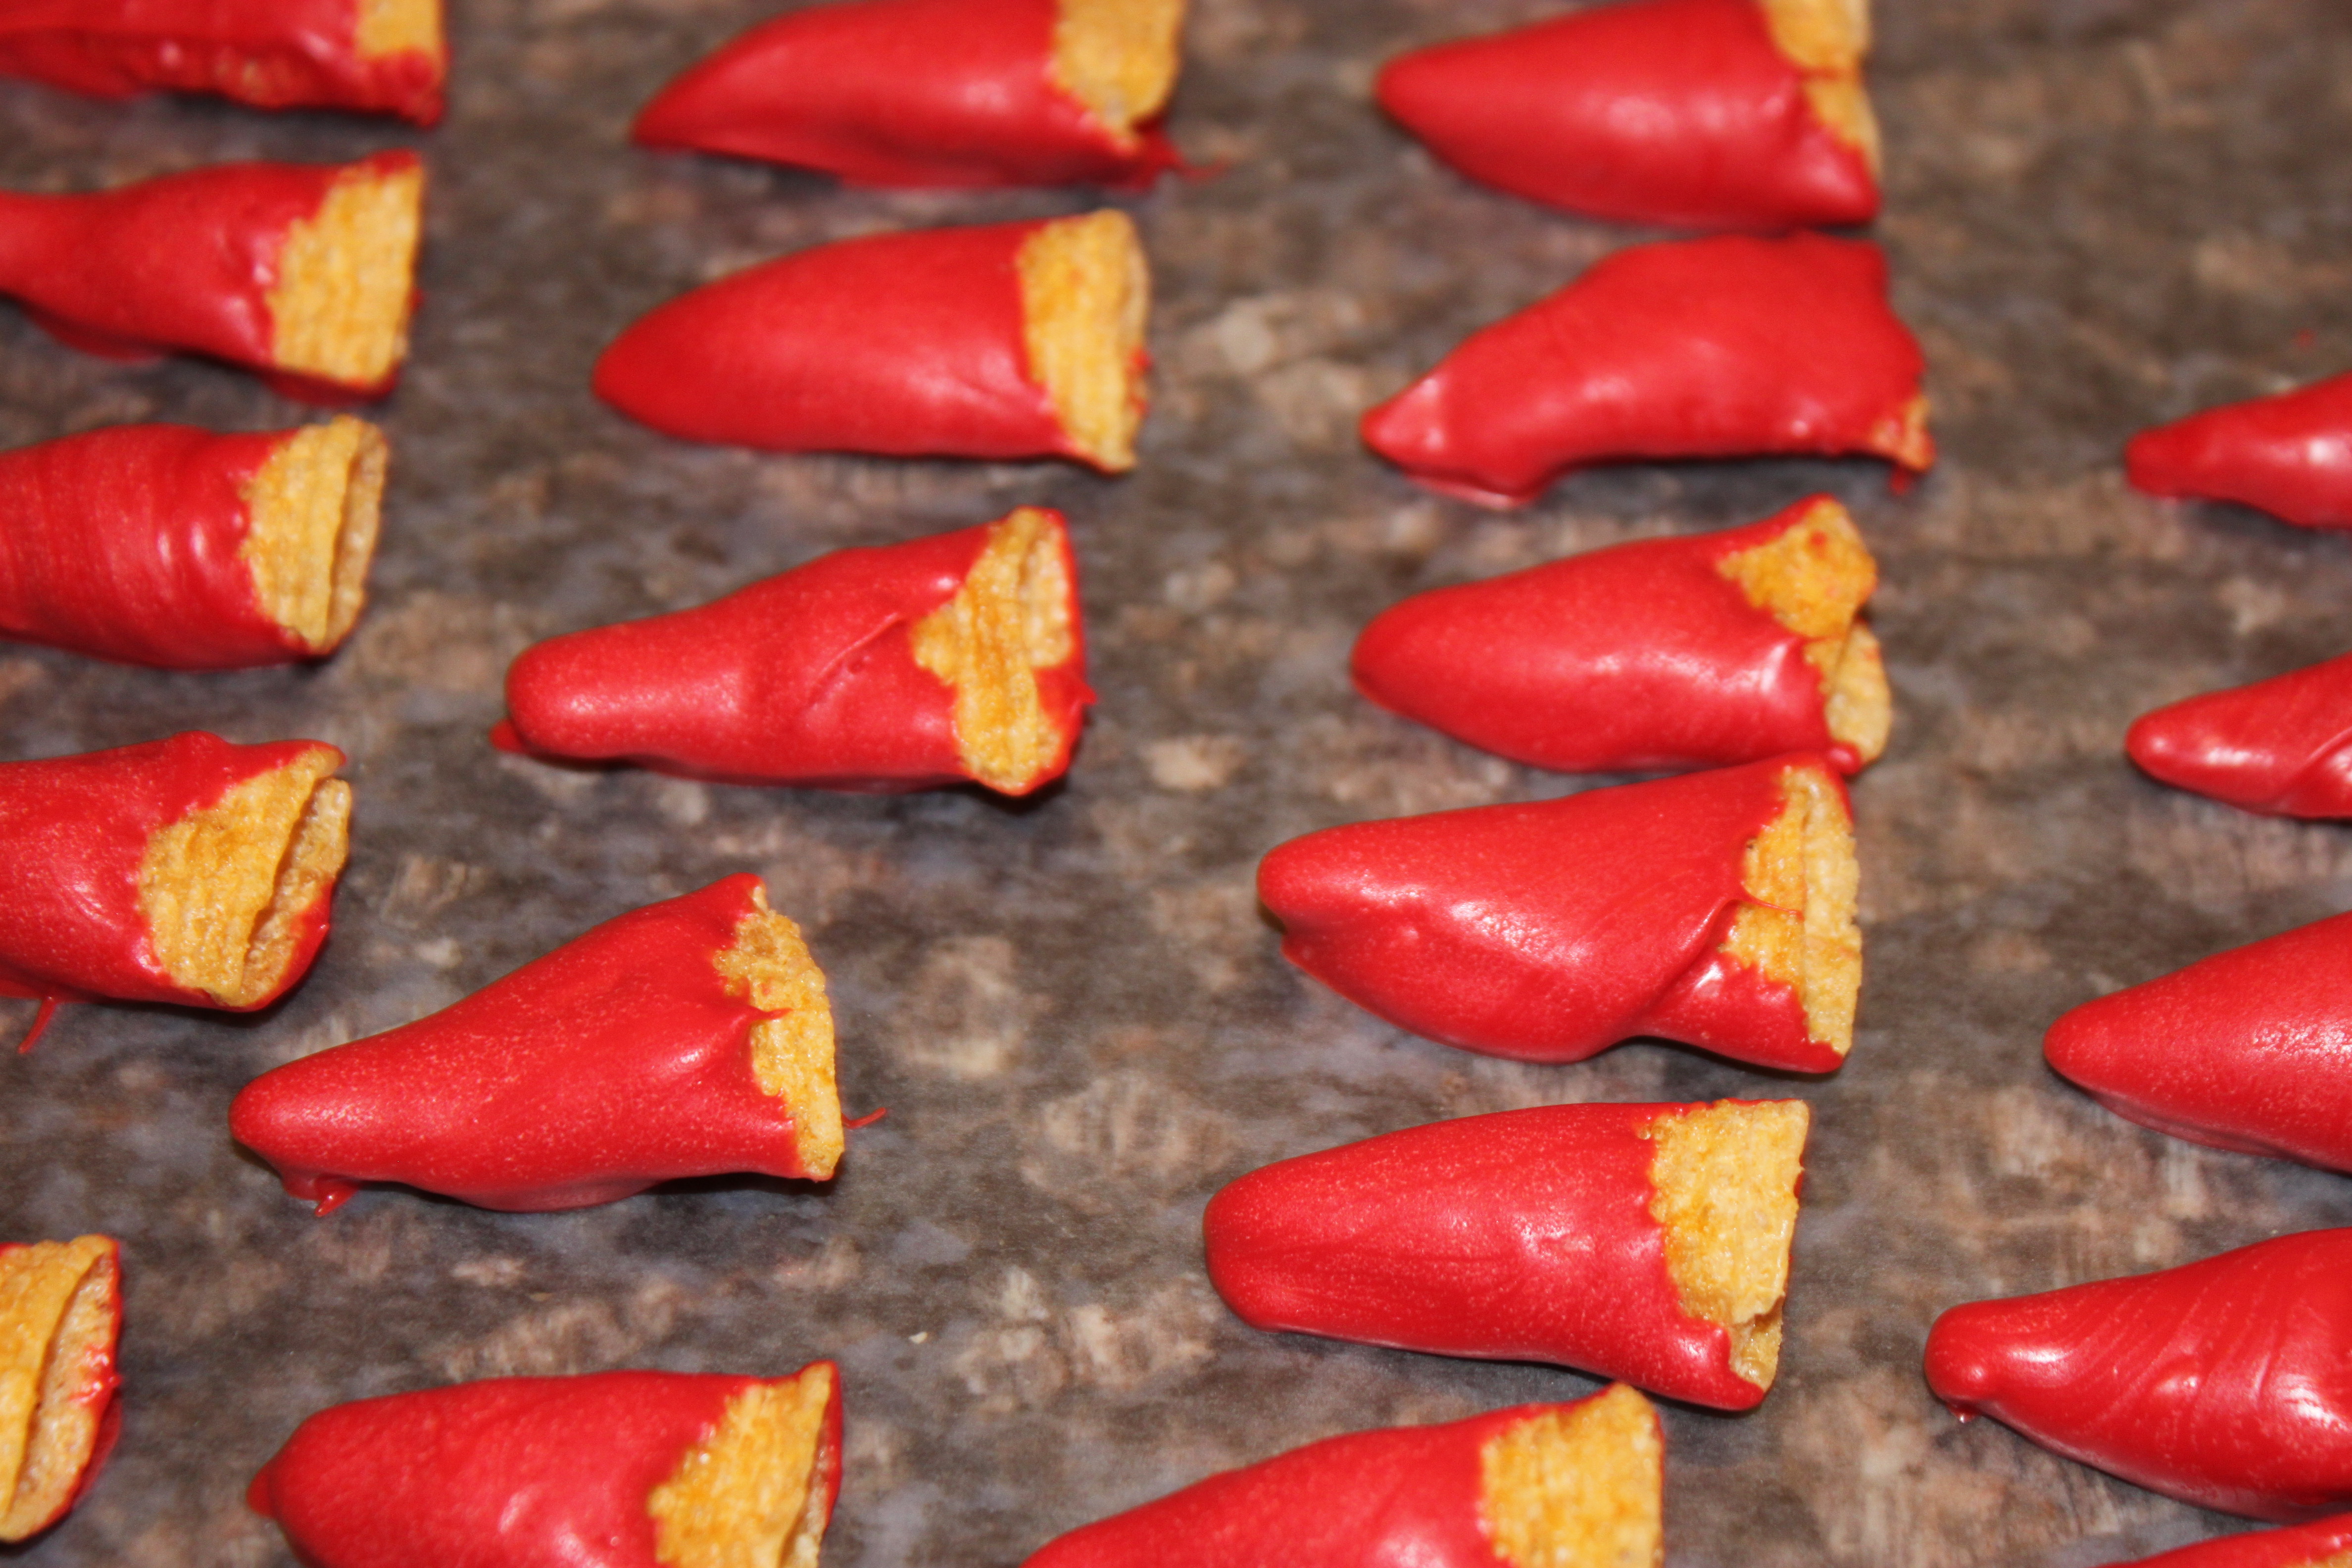
Once the red candy has hardened, add a bit more to the tip and stick a mini marshmallow to the end of each. Allow this to dry as well.
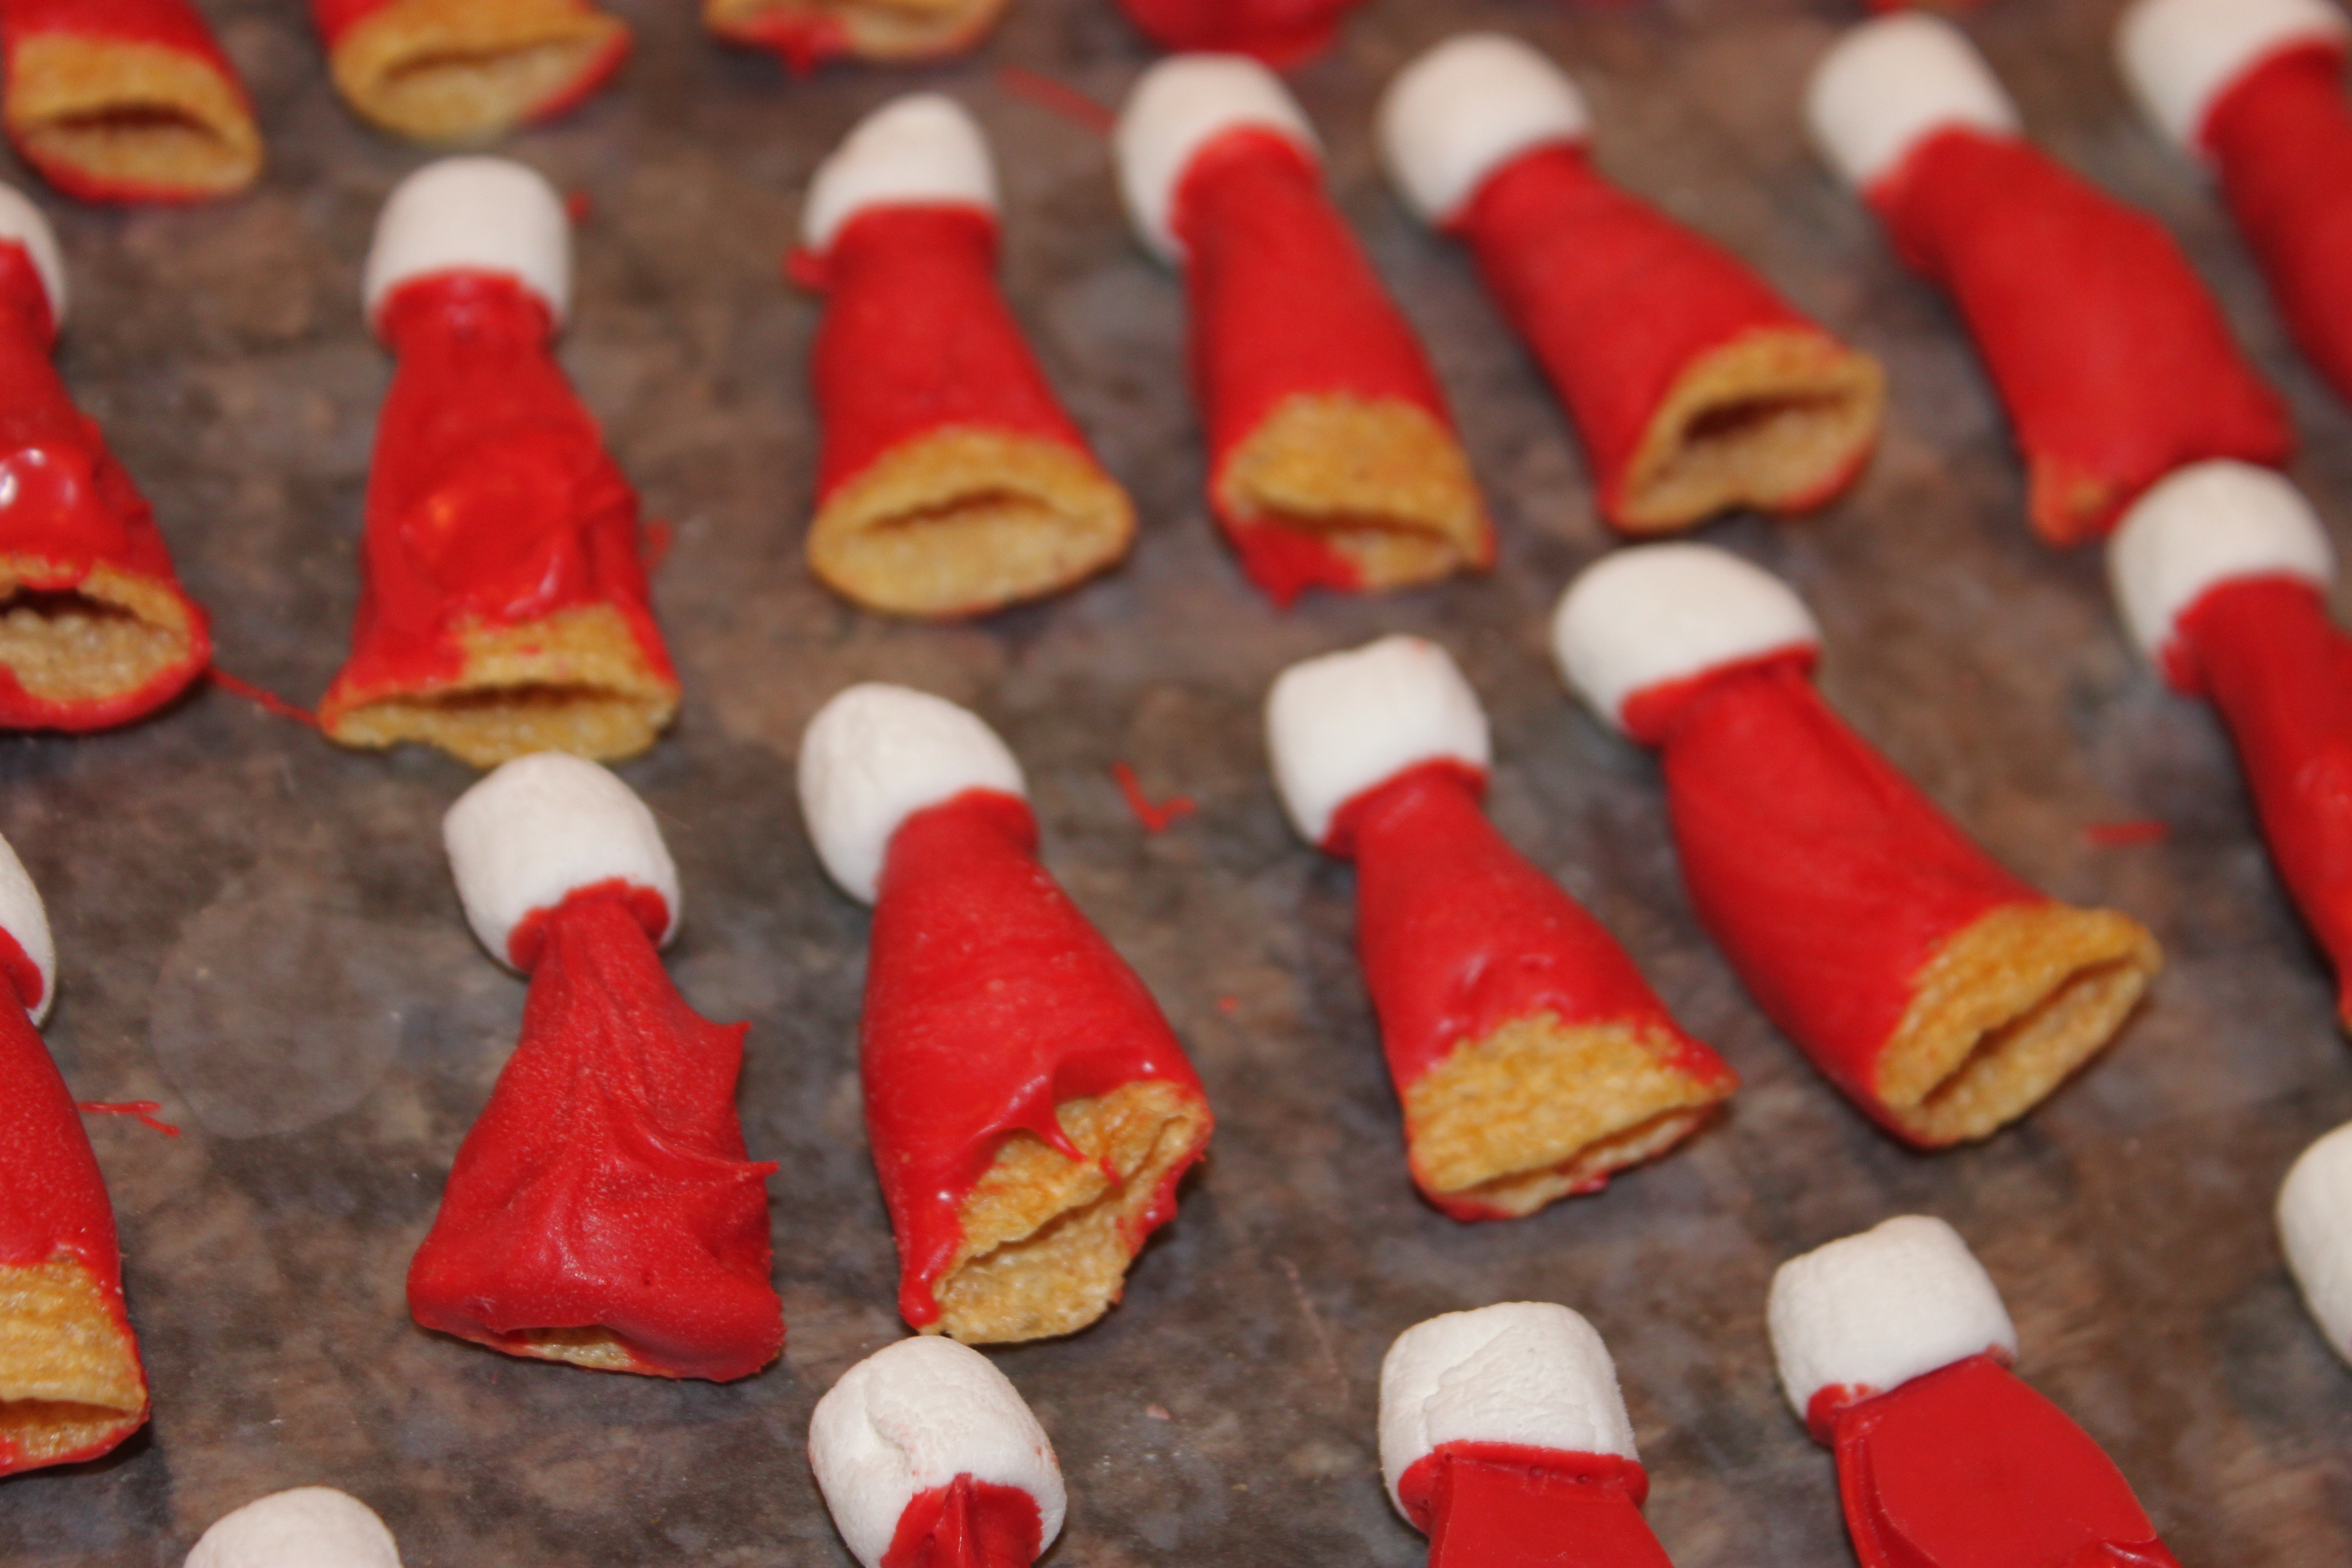
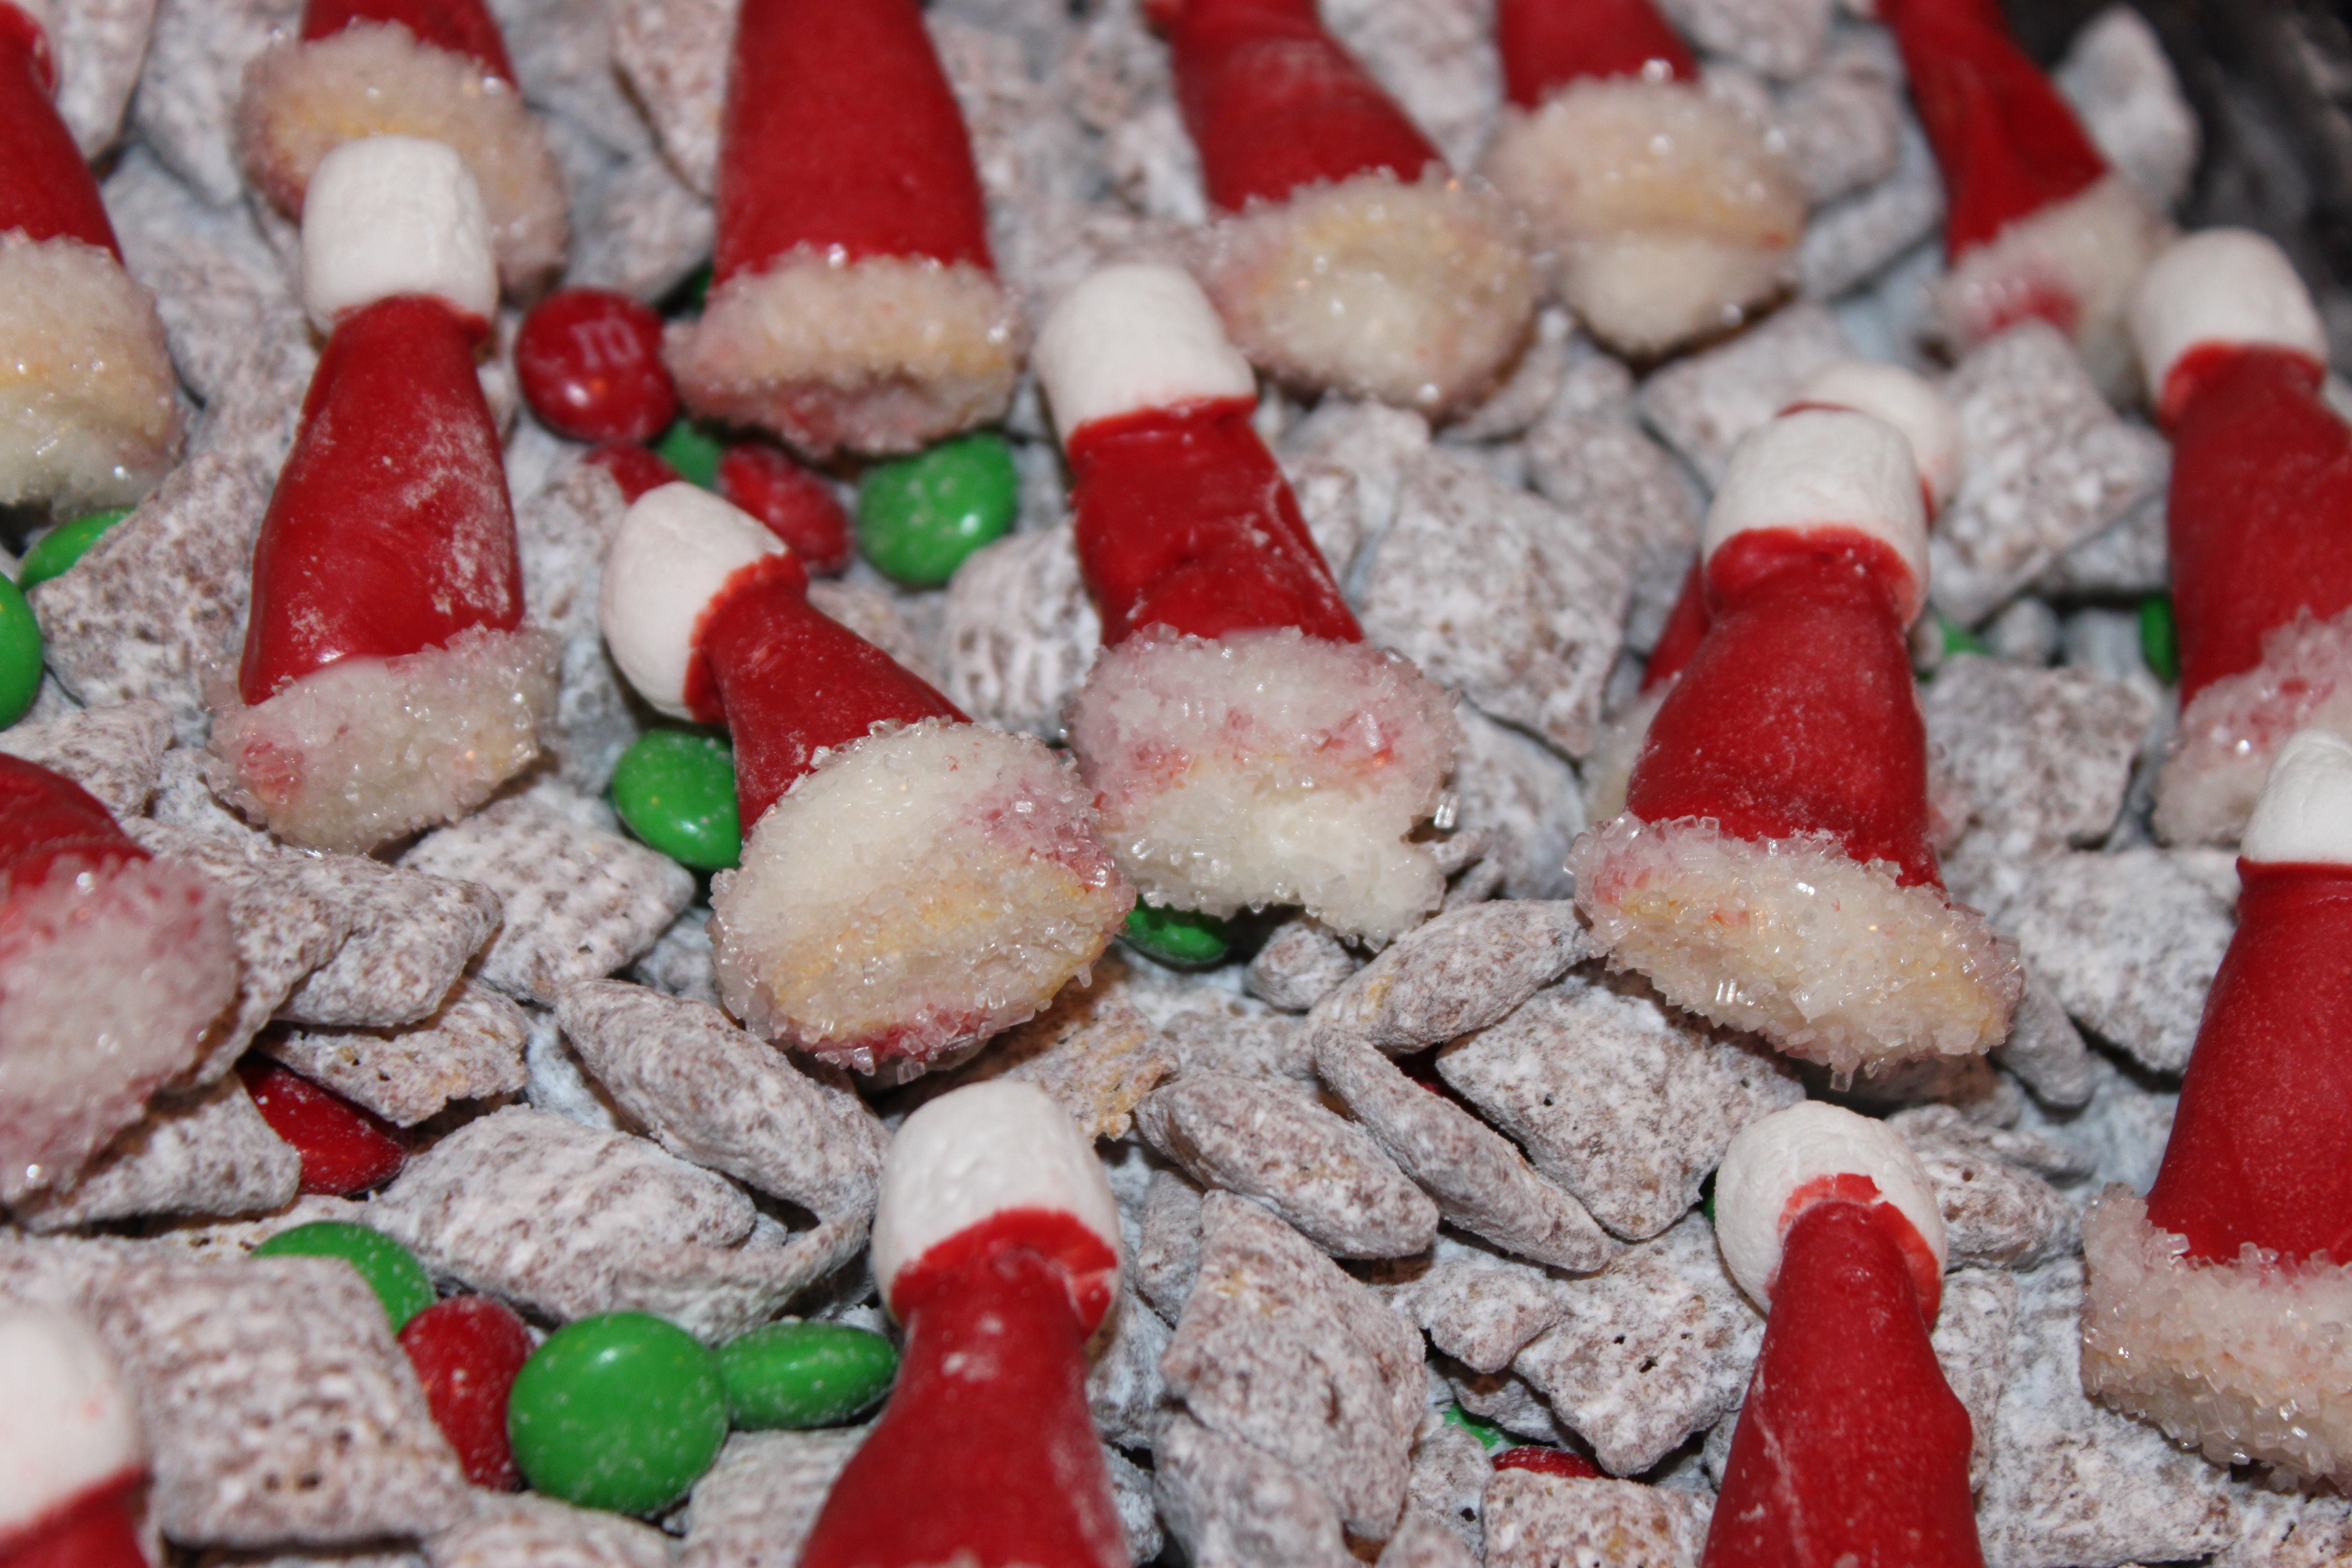
Now melt the white almond bark and dip the uncoated ends into the bark, then immediately in the white sprinkles or sanding sugar, and allow to cool again.

If you want to make the most of these, toss them into some “muddy buddies” with red and green candies.
Blog at WordPress.com.
Entries and comments feeds.
