Big Green Egg – Filets for Beginners
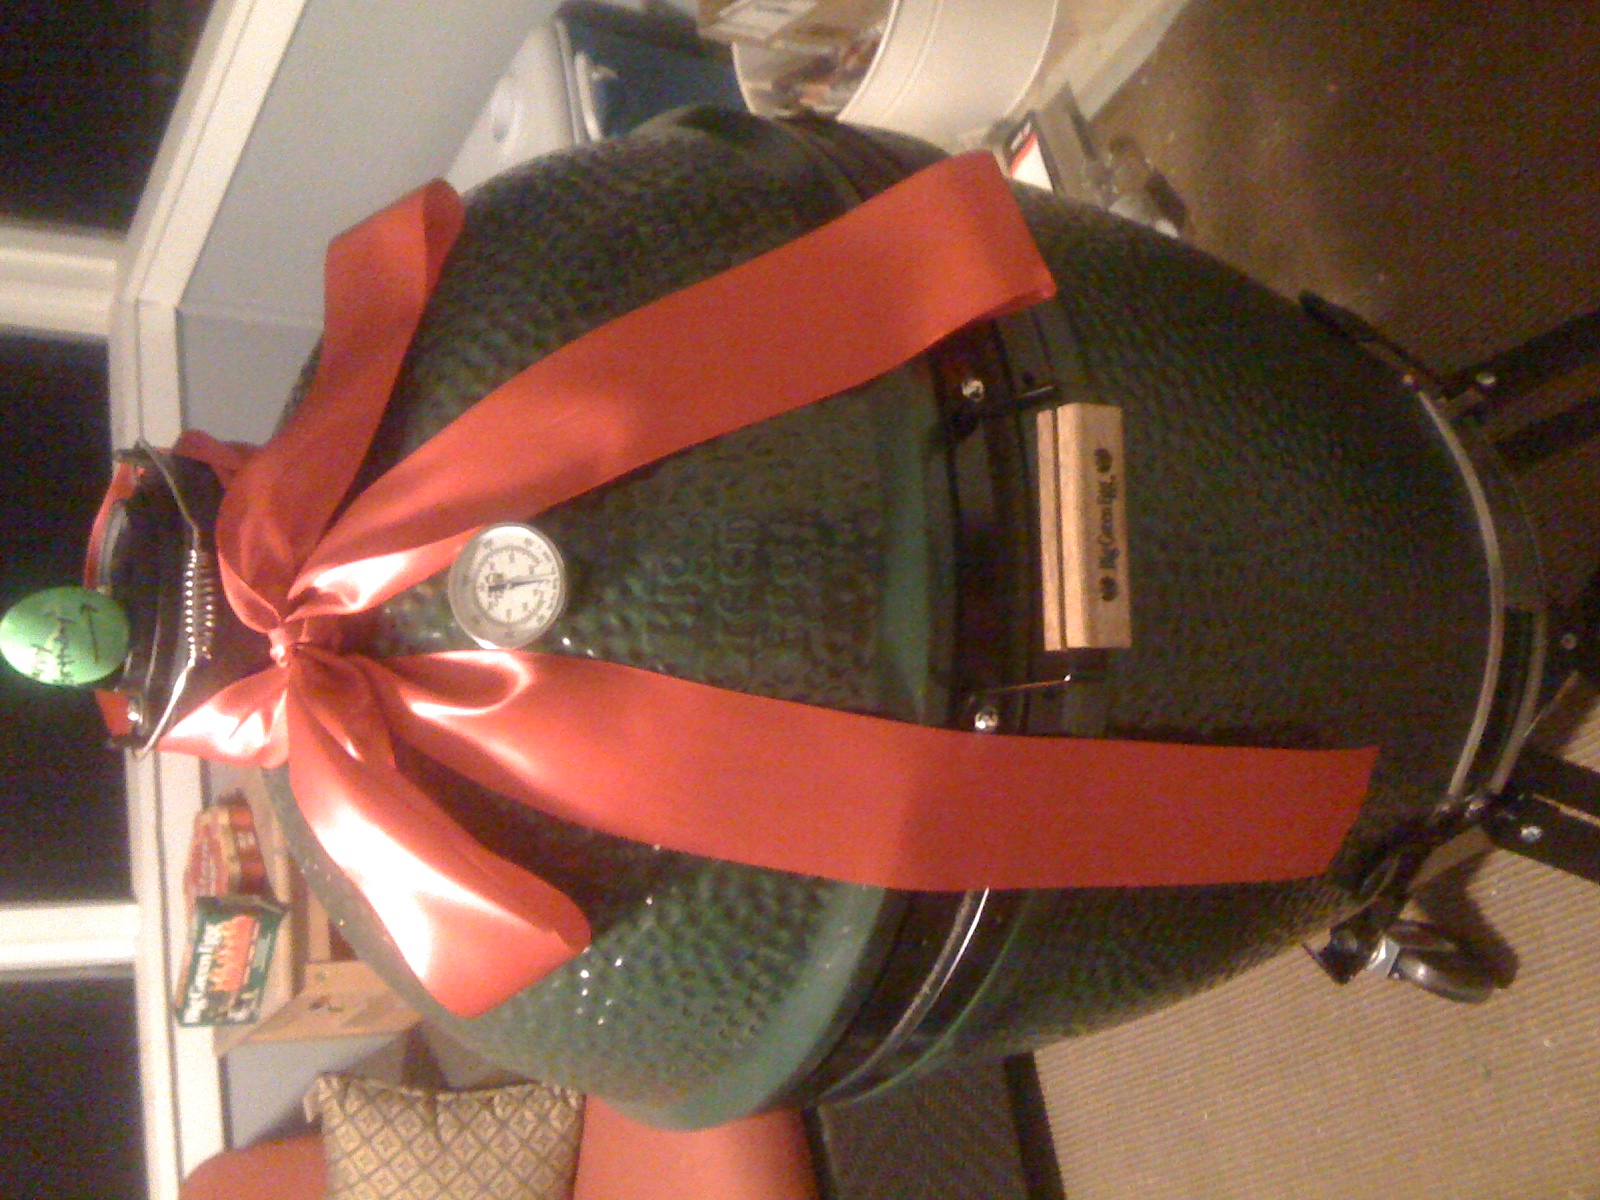
August 14, 2011 at 5:28 pm | Posted in Uncategorized | Leave a commentFor my 28th birthday, Matt surprised me with a Big Green Egg, a kamado-style ceramic charcoal cooker – basically a smoker and a grill. We were visiting friends in the Carolinas for the 4th of July and saw their Big Green Egg, which piqued my interest – and then 2 weeks later, voila:

So the first question was, what to do with this thing?? Seemed only right to break in the grill properly with some Filet mignon! We fired up the grill and broke up the Big Green Egg recipe for the “perfect steaks.”
- 2 steaks, 1-1/2 to 2-inches thick
- 1/4 cup kosher salt
- 1/2 tsp white pepper
- 2 tsp black pepper
- 1/4 tsp cayenne pepper
Trim the steaks of any excess fat. Mix all of the dry ingredients together and apply to both sides of the steaks. Allow to stand at room temperature for 30 minutes before grilling.
Preheat the Egg for direct heat.

When the Egg is heated to 650°F, place the steaks on the grill and sear for two to three minutes.

Open the lid and flip the steaks onto a new section of the grid. After two to three more minutes, flip the steaks once more.

Completely shut down the Egg by closing the damper top and draft door. Let the steaks continue cooking for 3 to 4 minutes, until they reach the desired internal temperature.
Remove the steaks and let them rest for 5 minutes before serving.

YUM!!!
Cream Cheese Crescent Bars
August 6, 2011 at 8:50 pm | Posted in Uncategorized | 2 Comments
I first had these cream cheese bars at a Superbowl party about 5 years ago, and since then, they have been a “go to” treat for parties because they are so quick to make, and everyone loves them!
Here’s what you need:
- 2 8 oz cans refrigerated crescent roll dough
- 2 8 oz packages cream cheese
- 2 eggs
- 1 cup white sugar
- 1 teaspoon vanilla extract
- 1/2 cup butter, melted
- 1/4 cup white sugar
- 1 teaspoon ground cinnamon
Preheat oven to 350 degrees, and grease a 9×13 inch pan. Press one can of the crescent rolls into the bottom of the prepared pan – I like to line my pans with foil because it helps to lift them out and cut them into squares.

In a medium bowl, mix together the cream cheese, eggs 1 cup of sugar, and vanilla until smooth and creamy. 
Spread over the crescent layer.

Unroll the second can of crescent rolls and lay them on top of the cream cheese layer. Don’t press down, and don’t worry about the seams – they will bake together.

Pour the melted butter over the entire pan. Combine the remaining 1/4 cup of sugar and cinnamon; sprinkle over the top.

Bake for 25 to 30 minutes in the preheated oven, or until the top is crisp and golden.

and slice!

Chicken Sausage Risotto
July 25, 2011 at 10:05 pm | Posted in Uncategorized | Leave a comment
The last time I was at Costco, I (impulsively) purchased 3 pounds of Amylu Caprese Chicken Sausage. Now that we have a fancy grill (more on that later), it seemed appropriate to buy something new to try out.
After we grilled a few links this weekend and declared it delicious, I started thinking of other ways to use up that sausage. So I came up with a basic creamy risotto and mixed in a little over a pound of the sausage (and I could have used quite a bit less – it was very meaty). Risotto is awesome because even with no butter, no milk, and no cream, this turns out super creamy and rich. This was a change of pace for us, and we enjoyed it – so I think I will freeze the rest of that chicken sausage for the next time we are craving this!!
Here is what you’ll need:
- 1tablespoon olive oil
- 1 pound of chicken sausage (any variety)
- 4 tablespoons minced fresh garlic
- 2 teaspoons italian seasoning
- a few cracks of black pepper
- 1 1/4 cups arborio rice
- 1 cup dry white wine (and I only had about 3/4 of a cup open, so I filled it up with water)
- 3 1/2 cups chicken broth, low-sodium
- 1/4 cup parmesan
Slice up the sausage and heat it in a skillet – keep warm while you make the risotto.

In a saucepan, heat oil over medium heat. Add garlic and italian seasoning and cook until garlic is fragrant, about 30 seconds.


Christmas (Penguins) in July!
July 20, 2011 at 11:00 pm | Posted in Uncategorized | 1 Comment
It’s been ridiculous hot this July in the nation’s capital, and what could be more “chill” than some arctic penguins!
I made these back in December when the weather was a bit cooler, and they are still one of the cutest holiday party appetizers I have ever seen. And they require a little patience but less skill to assemble!
Here’s what you’ll need:
- a can of large olives
- a can of small olives
- a few carrots
- a block of cream cheese, softened
- red pepper strips (for decoration only)
- toothpicks
Slice open one side of a large olive. Using a plastic zip bag filled with cream cheese, stuff the large olive with cream cheese.

Slice your carrot into small rounds, and cut out a pie sized notch from your round, which you will stick into the opening of the small olive.

Assemble the small olive on top of the large olive on top of the carrot base and skewer with a toothpick.

Repeat, and decorate a few of these bad boys with red pepper “scarves.” What a cute idea!!
Blueberry Ice Cream
July 11, 2011 at 9:14 pm | Posted in Uncategorized | Leave a comment
I love homemade ice cream. This blueberry ice cream was so sweet, and I thought it was delicious. I especially liked the rich purple color of this recipe. Yum!
Here’s what you’ll need to make it:
4 cups fresh blueberries or 4 cups frozen blueberries (I used frozen)
2 cups sugar
2 tablespoons water
4 cups half-and-half cream
Directions
1. In a large saucepan, combine the blueberries, sugar and water; bring to a boil.

2. Reduce heat and simmer, uncovered, until sugar is dissolved and the blueberries are softened.

3. Cool the blueberries and process them in a blender or food processor.

4. Stir in cream.

5. Cover and refrigerate overnight.
6. Fill cylinder of ice cream freezer two thirds full and freeze according to the manufactur’s directions.

7. Allow to ripen in ice cream freezer or firm up in regular freezer for 2-4 hours before serving.

Oreo Cheesecake
June 26, 2011 at 9:37 pm | Posted in Uncategorized | Leave a comment
We tested out a new cheesecake recipe for Father’s Day – and I think it was a success. It is an Oreo cheesecake, similar to the one served at The Cheesecake Factory.
Interestingly – probably the best part was the cookies n cream cool whip that I put on top of the cheesecake – so you should make that too – just save a few cookie crumbs, stir them into the cool whip, and top it!
Here’s what you’ll need for the cheesecake:
Filling
1 1/2 pound cream cheese
1 cup sugar
5 large eggs
1/4 teaspoon salt
2 teaspoon vanilla
1/4 cup flour
8 ounces sour cream
5 Oreo cookies, coarsely chopped for the batter
10 Oreo cookies, coarsely chopped for the topping
Crust
25 Oreo cookies, finely chopped (I chopped them up in a food processor until they were a fine cookie powder)
2 tablespoon melted butter
9″ spring form pan (buttered on bottom and sides)
1. Mix melted butter with Oreo crumbs and press in the bottom of the spring pan and 1 1/2″ up the sides, set aside.

2. Beat cream cheese with a mixer on low until fluffy.
3. Slowly add sugar and continue beating cream cheese until mixed well.
4. Add eggs one at a time and continue to beat until blended.
5. Measure the vanilla, salt and flour, pour into cream cheese and egg mixture and beat until smooth. Add the sour cream and beat.
6. Stir in the coarsely chopped oreo cookies with a spoon.

7. Pour cream cheese into the spring pan and place the nine coarsely chopped Oreo Cookies on to of the cream mixture.

8. Place pan on the top rack and in the middle of a preheated oven at 325 degrees F and bake for one hour and 15 minutes.

9.After that time, keep oven door open and let the cheese cake stay in the oven for one hour. Remove from oven and let cool enough to place in the refrigerator for 24 hours.

10. Decorate as you see fit – I highly suggest the doctored cool whip I mentioned above!

Yum!

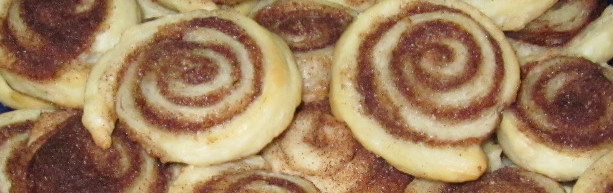
The Best Cinnamon Roll Cookies
June 7, 2011 at 8:26 pm | Posted in Uncategorized | 2 Comments
Matt has a very specific sweet tooth (unlike me, for example – if it’s sweet, I’ll eat it). Thus, I’m always on the lookout for sweet things to cook that I know will pique his interest. One of those things, pretty much without question, is cinnamon. When we first started dating, I used to make these cinnamon chip cookies, which were kind of a pain to make, but good. Since then, I’ve made cinnamon coffee cake, cinnamon ice cream, and cinnamon rolls, but I’d never gone back to “cinnamon cookies” – until today.
Although there are a number of “cinnamon roll cookie” recipes floating around the Internet, you won’t find anything easier than these little bites of heaven. Their slight pastry texture will make you feel like you got a home delivery from your local Cinnabon on a lazy Sunday morning. (Or in our case, Tuesday night.)
And they take about 10 minutes to make. Literally, from start to finish, you could have them ready to eat that soon – even a canned roll of cinnamon rolls can’t give you that!
So here’s what you’ll need:
- store bought pie dough (or hey, make your own, but they won’t be ready in 10 minutes
- shortening (depends on how many cookies you are making, but about 2 tablespoons tops)
- cinnamon sugar – with white sugar (about 1/2 cup) and cinnamon (probably 1 tablespoon, depending on how strong you like your cinnamon sugar)
Now let’s get started! Preheat your oven to 425.
On a clean counter, unroll your pie dough.

Cut your pie dough into a rectangle. (You can use the excess pie dough to make another log of dough if you like.)

Spread with a thin layer of shortening.

Sprinkle the cinnamon sugar over top.

Now roll up the dough into a log.


Once your log is rolled, slice the dough into quarter inch thick slices.

And lay out your slices in a lightly greased cookie sheet. Sprinkle with extra cinnamon sugar if you’re really serious.

Bake for 8 minutes.

And you’re done!

Was that easy or what?!
Oatmeal Caramel Bars
May 25, 2011 at 8:38 pm | Posted in Uncategorized | 1 Comment
I had a Junior League get together this week and I wanted to make something a little different for dessert. I had made the Pillsbury recipe for Oatmeal Carmelitas in law school, and this is very similar, except you melt the caramels at home instead of using store bought caramel sauce. This is pretty easy and could be modified to suit your taste with the addition of nuts or coconut.
Even just as this basic version, they were pretty yummy, and I got a request to add them to the blog, so here you go!
You will need:
a bag of ~40 individually wrapped caramels, unwrapped
6 tablespoons heavy cream
2 cups all-purpose flour
2 cups quick oats
1 1/2 cups brown sugar
1 teaspoon baking soda
1/2 teaspoon salt
3 sticks of butter, melted
1 cup semisweet chocolate chips (I used mini chips)
1. Preheat the oven to 350 degrees.
2. In a medium saucepan over low heat, melt together the caramels and heavy cream, stirring occasionally until smooth.

3. Stir together the flour, oats, brown sugar, baking soda and salt. Stir in the melted butter until well blended. Press half of the mixture into the bottom of a 9×13 inch baking pan. Reserve the rest.

4. Bake the crust for 8 minutes in the preheated oven. Remove and sprinkle with chocolate chips.

5. Pour the caramel mixture over the top, and swirl the chocolate in with a spoon.

6. Crumble the remaining crust mixture over top of the caramel and chocolate.

7. Return to the oven and bake for an additional 15 minutes, or until the top is lightly toasted.

8. Cut into squares while it is still warm.

Can chicken put a ring on it?
May 12, 2011 at 8:03 pm | Posted in Uncategorized | Leave a commentLast month, Glamour Magazine released their new cookbook, “100 Recipes Every Woman Should Know: Engagement Chicken and 99 Other Fabulous Dishes to Get You Everything You Want in Life.” Chicken so good that it turns boyfriends into fiancés. What decade is this?!?
Horrifying, right? I was so horrified that I had to try it out for myself, right away. And evidently, this is something that a lot of people know about – check out these google search results. Women everywhere – I am so disappointed in us.

This recipe was pretty good. It’s certainly better than Dying Alone Porkchops. I don’t even really liked cooked onions, and these onions were seriously one of the most delicious things I have ever eaten. Now you can try this too!
Here’s what you’ll need:
- 1 5 pound roasting chicken
- salt and freshly ground black pepper
- 2 lemons
- 1 whole head garlic, peeled
- Good olive oil
- 2 Spanish onions, peeled and thickly sliced (just big old white onions!)
- 1/2 cup dry white wine
- 1/2 cup chicken stock
- 1 tablespoon all-purpose flour
Preheat the oven to 425 degrees.
Remove and discard the chicken giblets. Pat the outside dry. Liberally salt and pepper the inside of the chicken. Cut the lemons in eighths, place one lemon in the chicken along with the garlic and reserve the rest of the lemon slices. Brush the outside of the chicken with olive oil and sprinkle the chicken liberally with salt and pepper.

Tie the legs together with kitchen string and tuck the wing tips under the body of the chicken.

Place the chicken in a small roasting pan. (If the pan is too large, the onions will burn.) Place the reserved lemons and the sliced onions in a large bowl and toss with 2 tablespoons of olive oil, 1 teaspoon of salt, and 1/2 teaspoon of pepper. Pour the mixture around the chicken in the pan.

Roast the chicken for about 1 hour and 15 minutes, until the juices run clear when you cut between a leg and a thigh.

Add the drippings to a saucepan and turn the heat to medium-high. Add the wine and stir with a wooden spoon to scrape up the brown bits. Add the stock and sprinkle on the flour, stirring constantly for a minute, until the sauce thickens. Add any juices that collect under the chicken. (this is called the “marry me” juice)

Carve the chicken onto a platter and serve with the lemons, onions, and warm sauce.

Do you think we enjoyed it??

(Result? Matt said it was good, but not the best thing I’ve ever made. )
Diaper Cake
March 19, 2011 at 10:14 am | Posted in Uncategorized | 8 Comments
I told a few folks that I was going to be making a diaper cake for my friend’s upcoming baby shower. Evidently, the diaper cake phenomenon has not spread amongst my social circle because most people’s reactions indicated that they thought such a cake would be edible, not to mention incredibly unappetizing.
But now that they understand the concept, I think everyone agrees a diaper cake is the perfect baby shower accessory… and not all that difficult to put together! To make a 4 tier cake like mine, you’ll need 4 pans – a 12 inch, a 10 inch, an 8 inch, and a 6 inch.
Start by fanning out the diapers in your largest pan:

Continue filling with diapers until they are pushed firmly against the edges (meaning you can’t force any more diapers into the layer. Tie a ribbon (or use a rubber band) around the outside of the layer, and flip the pan over onto your base.

Remove the pan (gently) and you have your first layer finished!

Repeat with all your remaining layers until you have a beautiful, plain white diaper cake.

I kept the layers together with a plain white wire clothes hanger, bent straight. To use tape or glue would make the diapers unusable for the mommy-to-be.

And then decorate however you like! If you search the web, you’ll find tons of extremely decorated diaper cakes. Most of them are covered in baby toys and baby goodies, but I went pretty basic.

Serve with cupcakes so you don’t disappoint those who are expecting an edible diaper cake!

Blog at WordPress.com.
Entries and comments feeds.
