Oreo Truffles
November 25, 2009 at 3:04 am | Posted in Uncategorized | 5 Comments
My mom might make these truffles for her book club’s holiday party, which is also to say that my mom soon might be the most popular person in her book club. So to help her out (like she needs help), I’m posting this step by step guide to making the world’s best truffles.
They are very easy and also ridiculously good. They are a hit every time I take them anywhere, and no one ever believes how simple the ingredients are.
Let’s review. The ingredients are 1. oreos, 2. cream cheese, 3. vanilla, 4. chocolate. That’s it. You could leave out the vanilla, even, and they would be fine.
I’ll post the recipe at the bottom, but here’s how the process should look.
1. Open the package of Oreos. Throw those bad boys in a food processor and pulse until they are crushed into a fine “cookie powder.”

Now add the cookie powder to the cream cheese and vanilla.

Blend the cream cheese, cookie powder, and vanilla until you have this shiny mass of deliciousness below. I use a hand mixer because it’s easier. Or because I’m lazy. It’s definitely one of those reasons, though.

And then roll the mixture into balls!

Now dip in chocolate and decorate however you like! I like to drizzle with white chocolate.

Go forth, Mom, and conquer.
Oreo Truffles
1 18-oz. package of Oreo cookies
1 8-oz. package of cream cheese, softened to room temperature
½ tsp. vanilla extract (can be substituted with 1 tsp. peppermint extract for mint truffles)
2 8-oz. packages of semi-sweet baking chocolate (This type of chocolate works best for dipping because it contains much less stabilizer than semi-sweet chocolate chips, so it melts more readily. You can also substitute chocolate flavored bark, which will be less rich. So that sounds like a mistake, right?)
- In the food processor, grind the cookies to a fine powder.
- With a mixer, blend cookie powder, cream cheese, and extract until well combined. The color should be consistent throughout, with no obviously streaks of cream cheese.
- Roll the mixture into small balls and place on wax paper on a cookie sheet. (I think it’s easier to refrigerate the mixture for about 30 minutes before rolling into balls, but you can do it immediate after blending.)
- Refrigerate the balls for about an hour.
- Melt the chocolate in a double boiler or in the microwave.
- Dip the balls and coat them thoroughly, then allow them to drain through a slotted spoon before returning them to the wax paper.
- At this point, you can decorate them with white chocolate or leave them as is.
- Let them cool, either at room temperature or in the refrigerator.
- Store in the refrigerator.
Makes approximately 40 truffles.
Hokie Kitchen
November 13, 2009 at 10:12 pm | Posted in Uncategorized | 16 CommentsTags: cookie, hokie, hokie bird, jello shot, virginia tech, vt

it’s football time, and this season has definitely provided a few good opportunities to do some Virginia Tech “cooking” – which I’ve decided to post since I had such a difficult time finding examples online when I took on a few of these projects.
here are the “hokie bird” cookies, cookie cutter purchased at the Tech Bookstore:

definitely the most difficult – and in order to get the maroon frosting that dark, I had to use so much food coloring gel that it stained your mouth. but they were cute.
This batch also included a few of the more basic “VT” cookies:

and here’s the whole shebang on my football platter:

For the Tech/Miami tailgate in Blacksburg, I went with the basic VT cookies but this time I used maroon and orange M&Ms for decoration rather than frosting:

Not the greatest picture and the heat of the baking cracked the M&Ms, but you get the idea. I hope.

And now the fun part… Virginia Tech Jello shots! For the first tailgate, I started off easy – black cherry and orange layers:

Which you can hardly distinguish here.

But now for tailgate #2, it’s getting serious. Five layers – maroon, white, orange, white, maroon.

Yes, my parents are proud.

Woo – can’t wait for tomorrow! Let’s go Hokies, beat Maryland!!!!
tis the season. to carve pumpkins.
November 11, 2009 at 3:55 am | Posted in Uncategorized | 1 Comment2015 pumpkin carving update!!
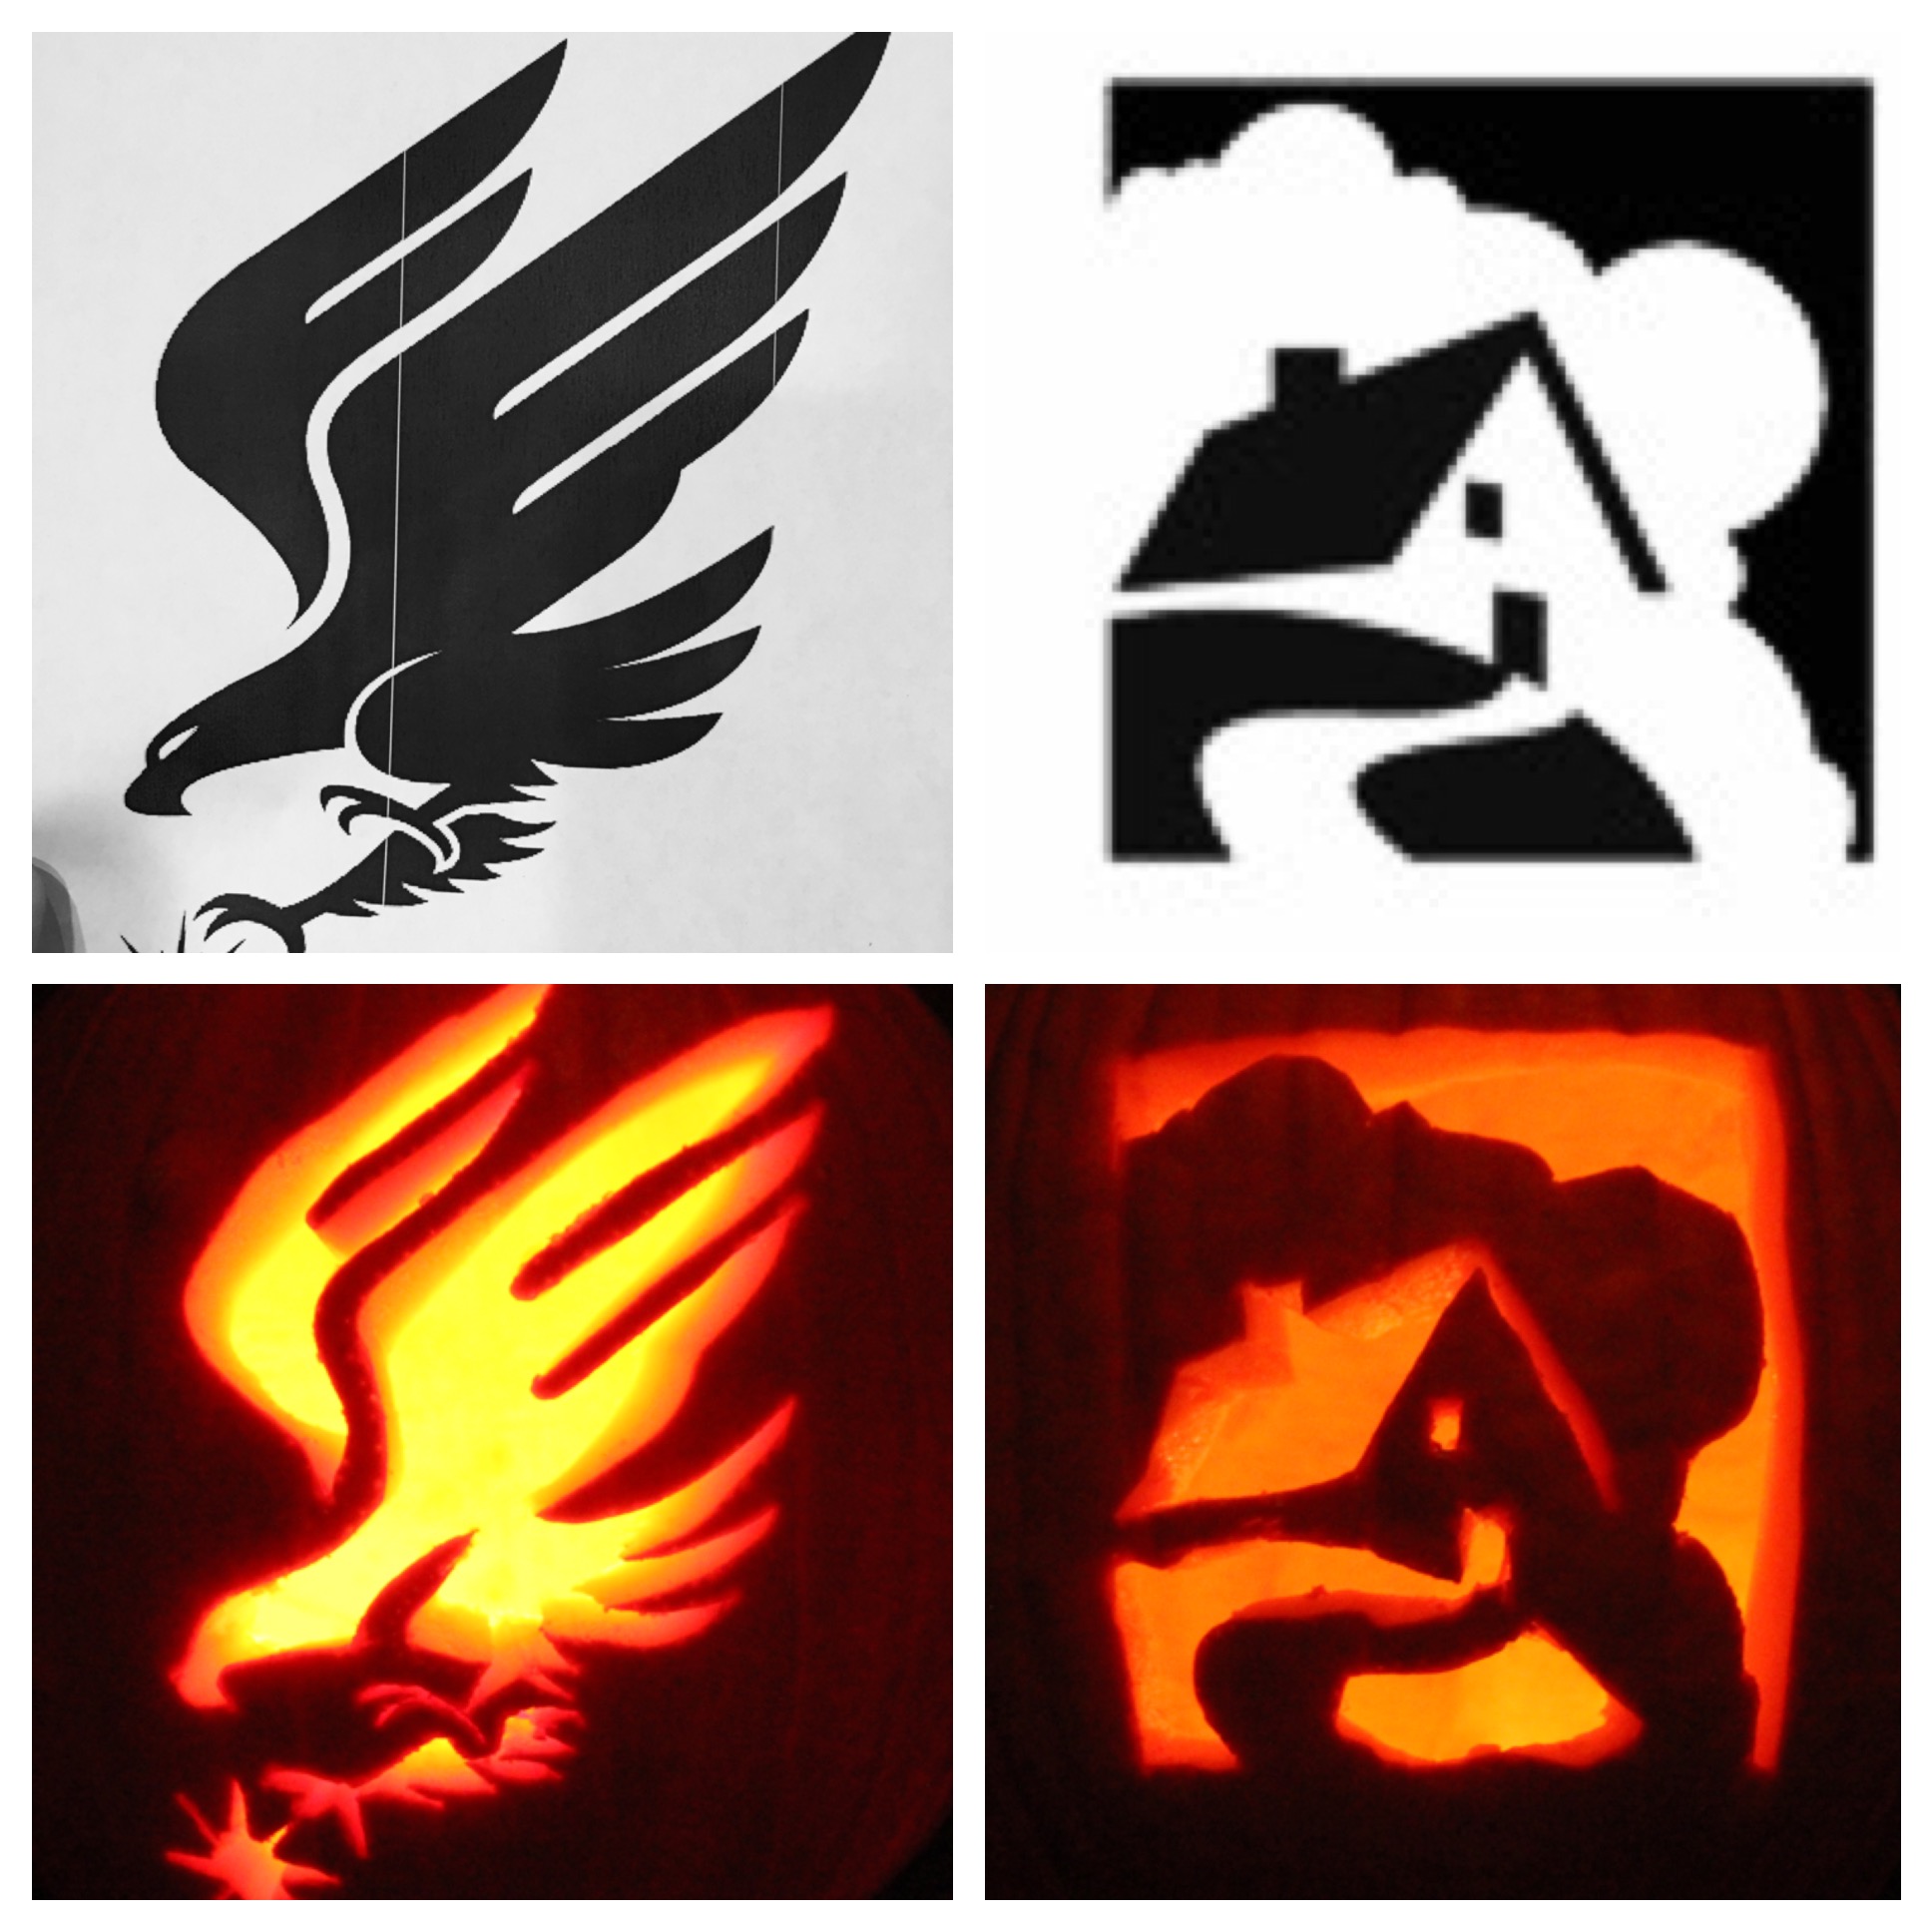
Some work logo pumpkins this year:
and with the logos for comparison:
Original Post, October 2009:
pumpkin carving was BACK this year after taking a hiatus in 2008 since I was out of the country. since I have never posted about pumpkin carving but it is moderately related to cooking, this seems like a good place to look at past Halloween endeavors…
starting with the most recent, 2009:

this year featured a tribute to Matt’s beagle, Bailey (although some people seemed to think it was UT’s Smokey, which is fine too). Then the Baltimore Oriole bird. He is supposed to look like this:

I post this because most people seemed to have no clue what that pumpkin was supposed to be (not that I haven’t had that problem before) but this should clear it up.
The last two pumpkins should be pretty clear – Virginia Tech and Washington Capitals. Now, a few people indicated to me that they thought it was pretty lame that I carved pumpkins related to my boyfriend’s interests, but those people didn’t realize that I’ve been at this for awhile, so I was starting to run out of things that were interesting enough to deserve a pumpkin, you know? So don’t be haters.
Back to the pumpkins but proving my point – in 2007, I was already running out of things to carve, so I went with the logo of my place of employment. Yes, I realize how cool this is, and yes, we can be friends. This is what the logo looks like:

And this is how the pumpkin turned out:

Don’t judge me.
Waaaaay back in 2006, this is how the collection turned out:

The “Trick or Treat” one is just terrible and I don’t think it even made it out to the front porch before I trashed it. Here’s a better picture of the three good ones:

And who is that familiar face on the left? I’ve gotten some interesting guesses, including John Denver and Jesus.
It’s, of course, Crocodile Hunter Steve Irwin.
I also did these two more generic ones in 2006:

Way back in 2005, I took on the task of carving 5 pumpkins which resulted in a pretty late night.

Clockwise from the top left we’ve got Napoleon Dynamite, the UT logo, Smokey the UT mascot, Mickey Mouse, and a generic Halloween scene.
I’d provide a picture of Napoleon Dynamite for those who might not get it, but I just can’t bring myself to do that. So google it. I remember showing my dad the Napoleon pumpkin and he said “Oh look, it’s Buddy Holly,” so if you’d rather imagine that’s Buddy Holly, go right ahead.
Somewhere around this time I also carved a watermelon basket for my cousin’s wedding. Yes. This happened.

And then…
2004 was the first year of taking this whole pumpkin carving thing seriously, and this is what we came up with that year:

That beach scene on the top left is really struggling.
I know some of you were probably hoping I would “get a life” or “learn a marketable skill” but alas, this is what I’ve done with myself over the last five years.
And let’s be honest… you’ll be looking forward to seeing next year’s editions.
Vanilla Bean Cheesecake
July 21, 2009 at 12:33 am | Posted in Uncategorized | 1 Comment
One night after a late movie, Matt and I were trying to decide where to eat. I suggested “cheap” and “fast” but somehow we ended up at the Cheesecake Factory, which, while neither cheap nor fast, was delicious. And after dinner, Matt gushed about the wonderful Vanilla Bean Cheesecake. I can honestly say I probably would have worked my way through just about every cheesecake on the menu before I ended up ordering this, but he has never pointed me in the wrong direction before – and he was right again, it was very good.

I wanted to surprise him and make this cheesecake, but it turns out, it was pretty difficult to find a recipe. But I did, and it is posted below. I think it is a pretty good replica. A word of advice though – vanilla beans can be pretty pricey at your everyday grocery store, but I actually found them to be much cheaper at Whole Foods – shocking, right? But whatever works!
Because this cheesecake has two layers, it is a little time consuming to make. As I left my apartment to deliver the finished product, I thought to myself, “I hope he likes this cheesecake, but I hope he doesn’t love it” (so I wouldn’t have to go through this process again!) but turns out, he loved it. And I’ll be happy to make it again – someday 🙂

White Chocolate Vanilla Bean Cheesecake
Crust:
2-1/2 c. graham cracker crumbs
1/2 c. melted butter
4 T. sugar
1/2 t. vanilla extract
Filling:
3 (8 oz.) blocks cream cheese, softened
1 c. heavy cream
1 c. sugar
3 large eggs, room temperature
1 T. lemon juice
vanilla beans from 1 pod
1/2 t. vanilla extract
White chocolate mousse topping:
1 c. whipping cream
3 T. powdered sugar
4 oz. cream cheese, softened
4 oz. white chocolate backing squares
vanilla beans from one pod
Spray a spring form pan and set on a large baking sheet. I used a 9 inch pan. For crust, combine the crumbs, sugar, butter and vanilla. Press onto bottom and sides of pan with the back of a large spoon. Do not bake.
For the filling, beat the cream cheese in a an electric mixer until smooth. Add in the sugar and beat until it’s soft and creamy. Add eggs, one at a time, beating for at least a minute after each addition. Add the rest of the ingredients until well incorporated.
Pour filling into the prepared pan and bake at 350 degrees for 45 minutes. Shut the oven off and leave the cheesecake in the oven for an hour. Stick a wooden spoon handle in the oven door to keep it slightly propped open. After an hour, remove it to cool completely on a wire rack, then refrigerate.
When the cake is completely cooled, it’s time for the mousse topping.
Beat whipping cream until soft peaks form. Add powdered sugar, and beat a few more minutes until stiff peaks form. Set this bowl aside. Melt the white chocolate squares. Beat the cream cheese until smooth. Add the innards of the vanilla bean to the melted chocolate and add this mixture to the cream and beat until smooth. Fold in the whipping cream mixture to the cream cheese mixture. Spread on the cooled cheesecake. Refrigerate overnight before serving.
Birthday Desserts continued
July 21, 2009 at 12:15 am | Posted in Uncategorized | Leave a commentOh my birthday is my second favorite holiday! You can bake and make as many birthday desserts as you want and no one can stop you! I didn’t really go overboard this year – I did just basic dark chocolate cupcakes with vanilla buttercream to take into work. The trick was, though, that the frosting matched my “It’s My Party” nail polish. Whew. It gave me much more joy than it should have. Mmmm pink cupcakes…

Here’s the matching.

And a little more. The best part about this last picture is that I uploaded it to Facebook, forgot about it, and then saw it in my News Feed and thought to myself, “Oh HEY, who got engaged!?” Man, was that a letdown or what!? I even tricked myself.

And while we’re on the topic of birthday desserts, here’s a piece of delicious tiramisu that we baaaaarely made a dent in after my birthday dinner at Chima. But it was good!

Bailey’s Irish Cream Cheesecake
July 20, 2009 at 11:58 pm | Posted in Uncategorized | Leave a commentI made a Bailey’s Irish Cream Chocolate Chip Cheesecake for my birthday. It was pretty good but a bit rich and definitely not the best cheesecake I’ve ever made. But it was pretty!

Crust
* 1/2 cup toasted pecans, cooled and crushed (I left this out because Matt doesn’t like nuts)
* 2 cups chocolate Oreo cookie crumbs (I didn’t use oreos – used all chocolate wafers instead and added more since I left the nuts out)
* 1/4 cup sugar
* 6 tablespoons melted butter
Filling
* 2 1/4 lbs cream cheese, at room temp
* 1 2/3 cups sugar
* 5 eggs, at room temp
* 1 cup baileys original irish cream
* 1 tablespoon vanilla
* 1 cup semi-sweet chocolate chips
Coffee Cream Topping
* 1 cup chilled whipping cream
* 2 tablespoons butter (I omitted this – it seemed weird. I put sugar instead.)
* 1 teaspoon instant coffee powder
* chocolate curls or Skor English toffee bit, for decoration on top
1. Crust:.
2. Mix all ingredients.
3. Press into a 10″ spring form pan and up the sides one inch.
4. Bake at 325 for 7-10 minute.
5. Filling:.
6. Beat cream cheese with electric mixer until smooth.
7. Beat sugar in gradually, and then add eggs one at a time.
8. Blend in Bailey’s and vanilla.
9. Sprinkle half of chocolate chips over crust.
10. Spoon in filling.
11. Sprinkle with remaining chocolate chips.
12. Bake at 325 degrees approximately 1 hour and 20 minutes or until puffed, springy in center and golden brown. Place a pan of water on bottom rack of oven while baking to keep it moist.
13. Cool cake completely.
14. Coffee Cream Topping:.
15. Beat all ingredients and spread over cooled cake.
16. Decorate!
Crab Feast
July 20, 2009 at 11:51 pm | Posted in Uncategorized | 2 CommentsNow that I am officially a northern Virginia resident, which I hope is as close to the M-D line as I ever get, I have experienced my first “Crab Feast.” It was very good, I’d do it again. Especially now that I have a crab shaped cookie cutter! Here was my “Crab Feast” contribution. Y’all know how I love a good theme!
Here are the crab cookies, baked and ready to be filled with royal icing. I used a recipe called “No Fail Sugar Cookies” which you can find easily on the Internet.

And here are the little guys, filled with royal icing and topped with sugar eyes.

The final product, next to some Key Lime Cupcakes topped with white chocolate crabs. I have no life, I know!
 I’ll post the recipe for those cupcakes one of these days because they were really good – just a basic vanilla cupcake, plus 1/2 cup of key lime juice and a 3oz. pack of lime gelatin? Perfect!
Food blogging is back?
July 2, 2009 at 2:32 am | Posted in Uncategorized | Leave a commentDon’t get your hopes up too much, but I am going to try to bring back the blog.
Peanut Butter Pie
July 3, 2008 at 3:16 am | Posted in Uncategorized | Leave a comment
I have been told that this is the “best pie ever” – and while I’m not sure I can guarantee that, I do feel pretty confident in saying that this is best peanut butter pie ever. The original recipe I was given called for crunchy peanut butter and a plain graham cracker crust. I think that it’s better with smooth peanut butter (gives it more of a cheesecake texture) and with a chocolate crust. Those changes, plus the whipped cream on top, certainly make this a rich pie, but people love it! Enjoy, and as you look at these pictures, keep in mind that they were taken as I made a double batch, so don’t be surprised if your bowls look a little less full!
- 1 1/2 cups heavy whipping cream
- 1/4 cup sugar
- 8 ounces cream cheese, softened
- 1 cup peanut butter (I usually microwave the peanut butter in the jar to make it easier to measure but BE CERTAIN you have removed all the metal from the jar before you do this!)
- 1 cup powdered sugar
- 1 chocolate cookie crust
- 1/2 cup heavy whipping cream (for decoration)
- 1/4 cup chocolate chips (for decoration)
- Whip cream with 1/4 cup sugar until soft peaks form.
- Mix all other ingredients until smooth.


- Fold in whipped cream until well blended.

- Pour mixture into the crust.

- Whip remaining cream with 1 tablespoon of sugar and spoon into a bag fitted with a decorating tip. Pipe whipped cream onto the pie.
- Melt chocolate chips and decorate as you wish!

- Chill for several hours before serving!

Hot Dog Buns
June 15, 2008 at 7:56 pm | Posted in Uncategorized | Leave a commentTags: buns, hot dog, hot dog buns
It’s Father’s Day, so what are you doing special for your dad? Or grandfather? Or ladies, someone who you’d like to make into a daddy? Kidding. My dad requested hot dogs for his Father’s Day dinner. You say, “tell me something special I can make for you!” and he says, “hot dogs.” What’s not to love about that?
So I thought I’d try my hand at making hot dog buns, and they turned out okay. Minus the one that fell in the bottom of the oven. The best part was that my entire house smelled like a delicious Fuddrucker’s. For a little while. Until one of the buns fell off the pan and ignited.
I’m still pretty partial to the store-bought buns. But, if you’re feeling adventurous, here’s how you too can make your very own hot dog buns. I think it is important to shape the buns well, and you can learn from my mistake – don’t be afraid to place the dough pieces very close to each other! Or you could always invest in one of these fancy schmancy “hot dog pans” but if you’ve got that much money to burn, please send me some while you’re at it.

- 5 cups all purpose flour
- 2 (.25 oz) packages dry yeast
- 1 cup milk
- 3/4 cup water
- 1/2 cup vegetable oil
- 1/4 cup white sugar
- 1 teaspoon salt
- Stir together 2 cups flour and yeast. In a separate bowl, heat milk, water, oil, sugar and salt to lukewarm in microwave. Add all at once to the flour mixture, and beat until smooth, about 3 minutes.
- Mix in enough flour to make a soft dough, about 2.5 cups. Mix well. Dust a flat surface with flour, turn dough out onto floured surface, and let rest under bowl for about 10 minutes.
- Shape dough into approximately 15 balls, then roll into a worm shape. Put them MUCH closer together than you see in this picture:

- Place on baking sheet to rise until doubled in size. Don’t grease the baking sheet or you will end up with buns on the bottom of the oven once you touch the baking sheet!
Case in point:

- Bake in a preheated 400 degrees F (200 degrees C) oven for 12 to 15 minutes.

P.S. If you want these to look more beautiful, brush an egg wash (one egg white with a little water) over the buns about 2 minutes before they come out of the oven!
Blog at WordPress.com.
Entries and comments feeds.
